
Re-posted from November 2017
I love to make these little bags from the quilted fabric left over from making my “Cutting Mat Tote Bags”
you can make them any size you want. The instructions that follow make a “snap bag” approx. 5 1/2″ x 7 1/2″ finished.
Snap Bag
To make your snap bag, you will need:
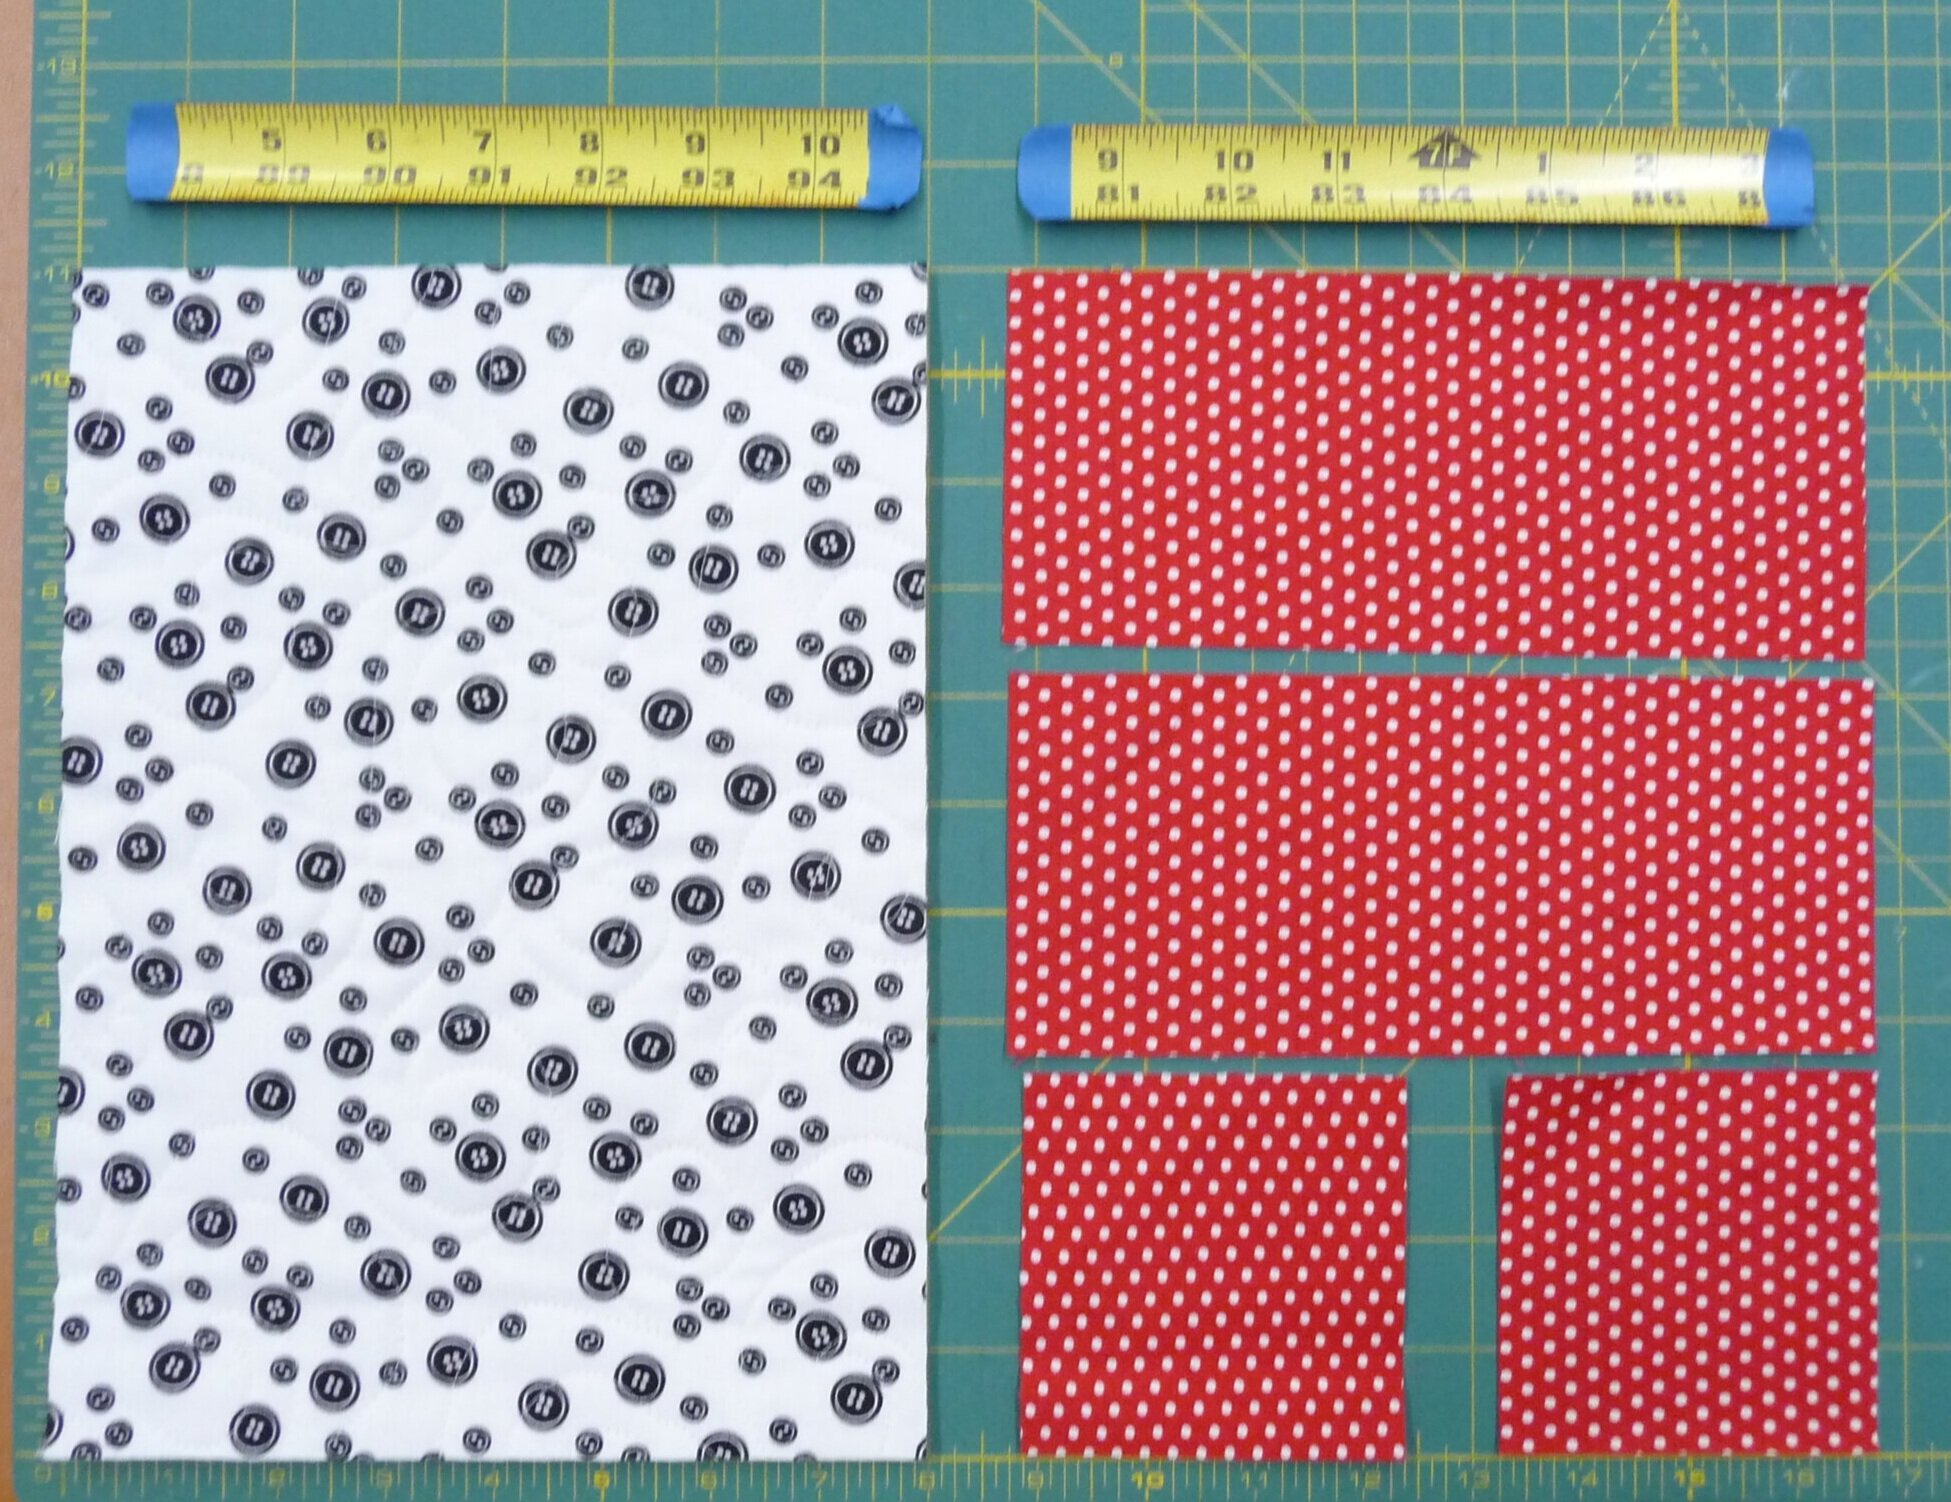
1) 1 piece of quilted fabric 8″ x 11″ (my quilted fabric is the same design on both sides)
2) 2 binding fabric pieces 3 1/2″ x 8″
3) 2 prairie point fabric pieces 3 1/2″ square
4) 2 pieces of 1″ wide metal tape measure 7 1/4″ long with the ends rounded and cut edges taped

Start by folding your binding pieces in half lengthwise and pressing.
Take your prairie point pieces and fold them in half lengthwise. Press.

With the raw edges facing up fold each edge in to the center to form a triangle.
With the “wrong” side of the 8″ x 11″ fabric facing you on the table align the raw edges of your folded binding strips up with the raw 8″ edges of your snap bag, pin in place and stitch with 1/4″ seam allowance. (not shown)

Press stitching to set then press binding up. Binding shown stitched and pressed.

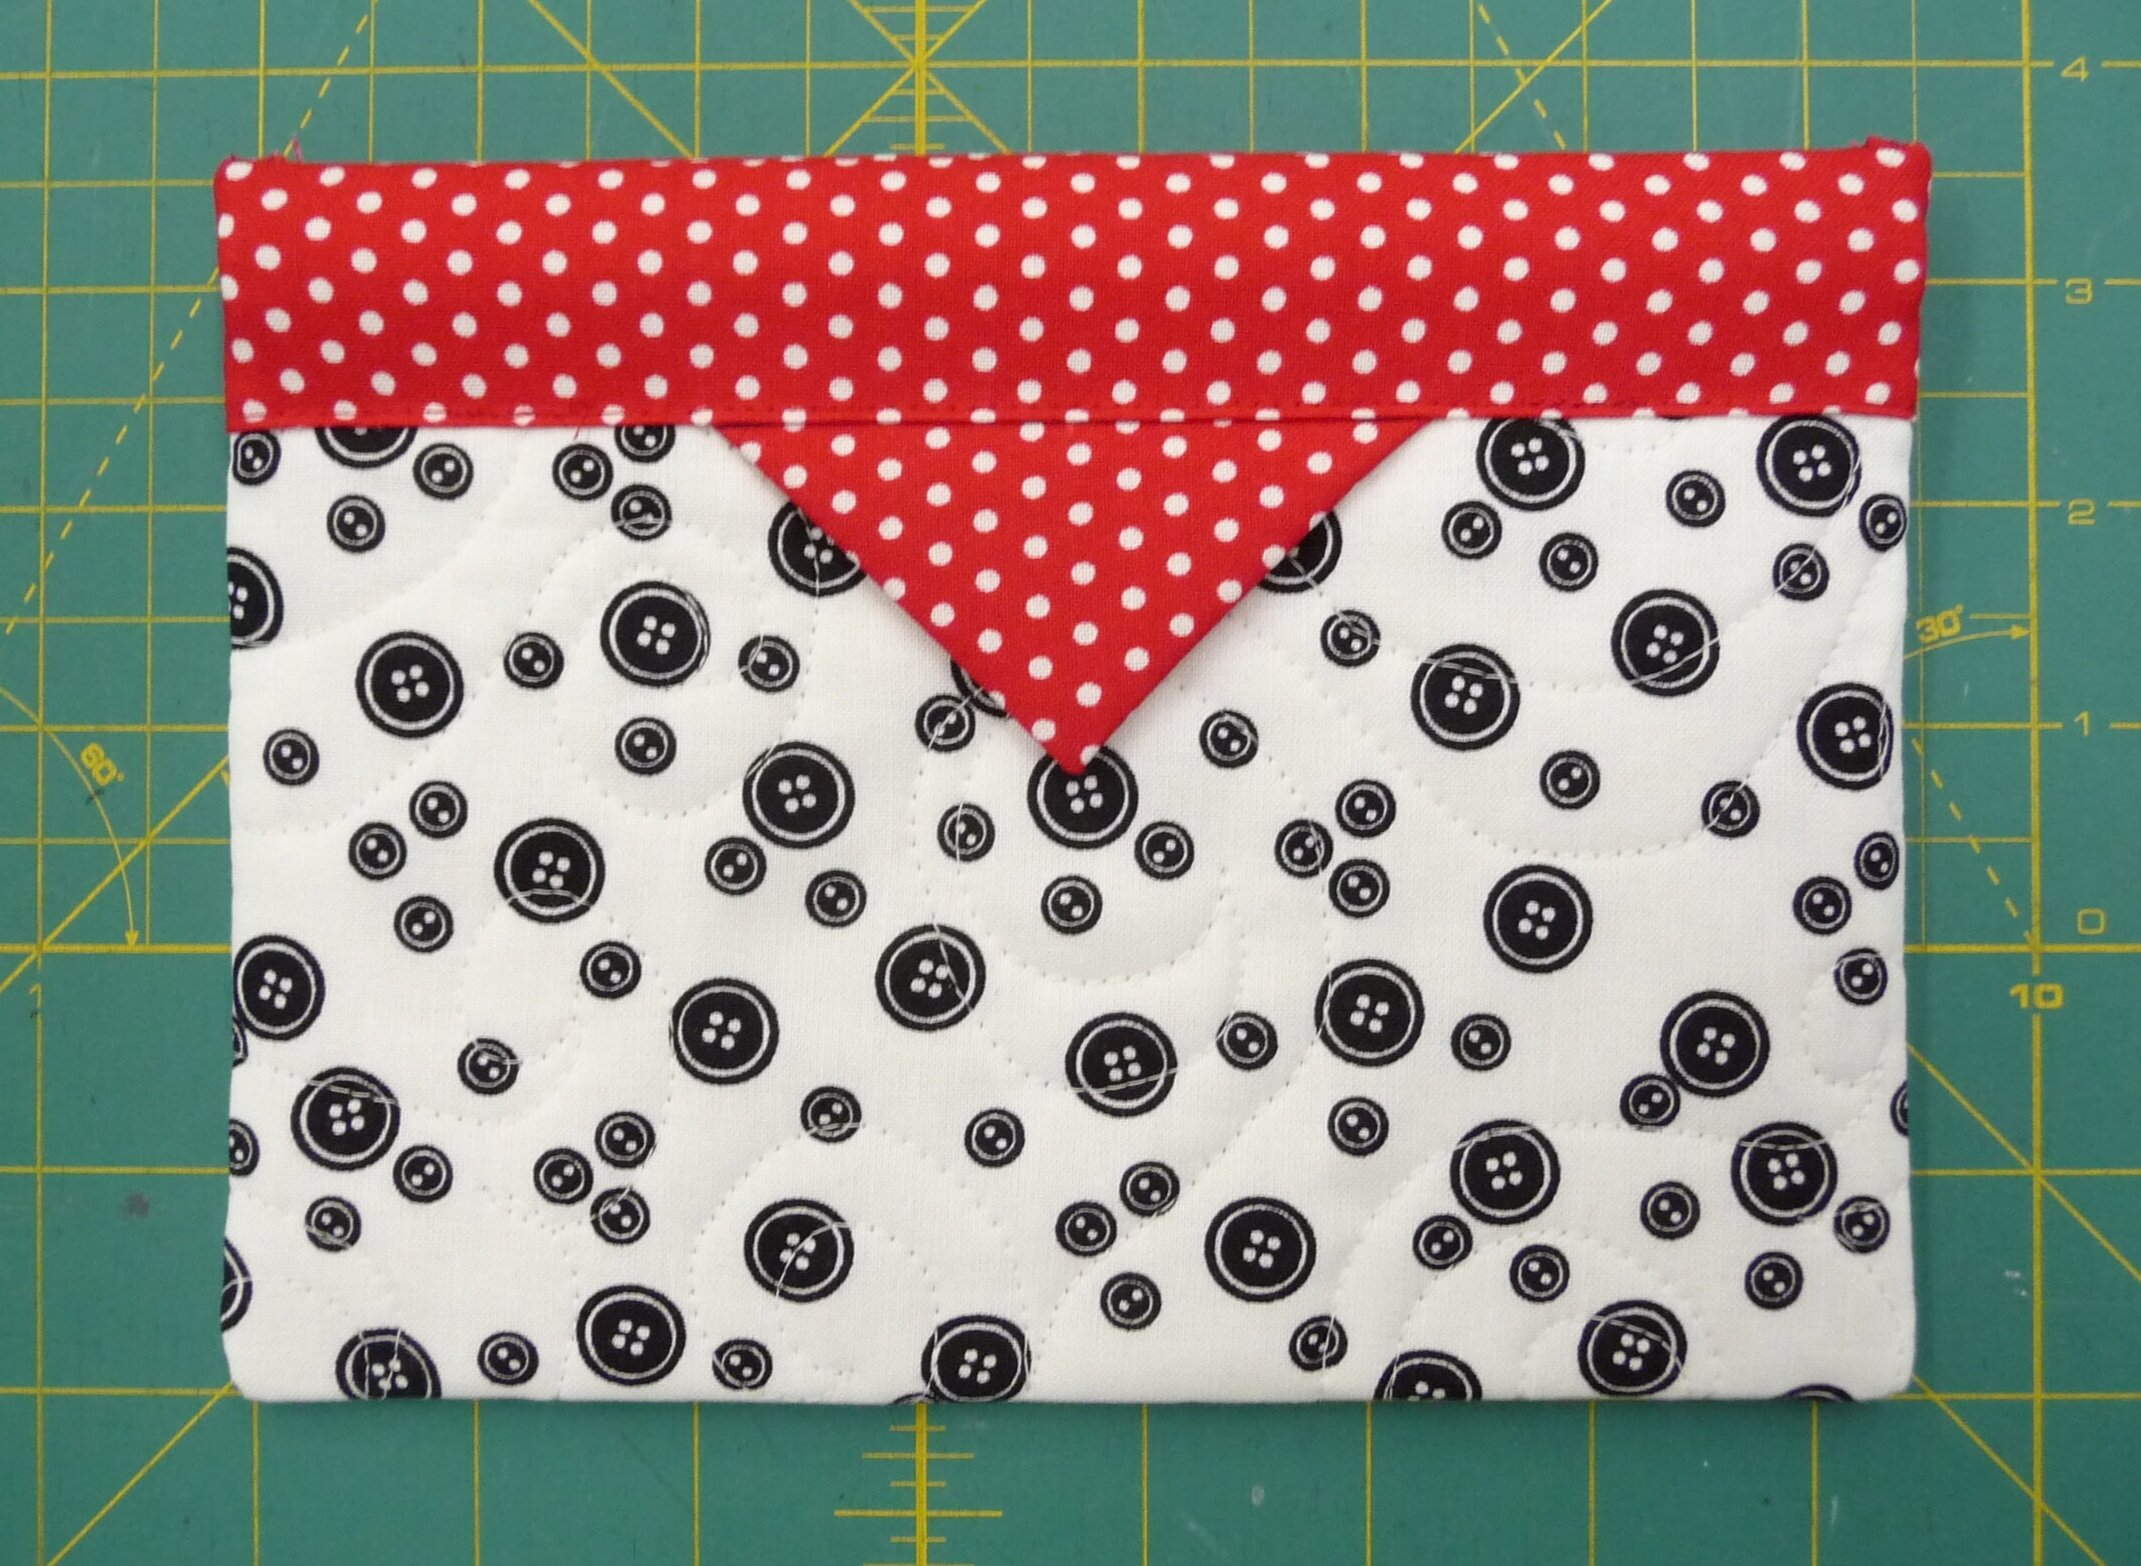
Turn your quilted fabric over and wrap the binding around to the front pinning in place. The binding should come down over the front edge about 1 1/8″ find the center and tuck the prairie points under the binding edge about 1/4″ and pin. Top stitch close to the edge of the binding to stitch binding and prairie points. Reverse side should have a finished edge (not raw edge) of about 1/4” of binding (see finished inside photo below)

Photo above shows correct direction of curved side of tape measure, but it is easier to sew the 1st side and then insert as described below.
Fold your snap bag in 1/2 “right sides together” aligning the binding edges.(not shown) On one side only Stitch 1/4″ seam. Insert each of the metal tape measure pieces under the bindings sliding them all the way into the pocket. The rounded side of the tape measure needs to be on the outside (right side) of the snap bag, so working from the the inside (wrong side) slide it in so the inside curve faces you and the outside curve faces the front. Make sure its the same for both sides of the snap bag.
Stitch the other side closed using 1/4′ seam allowance. Finish by zig zag stitching the raw edges.
Turn right side out and carefully poke out the corners to make nice and flat and square.
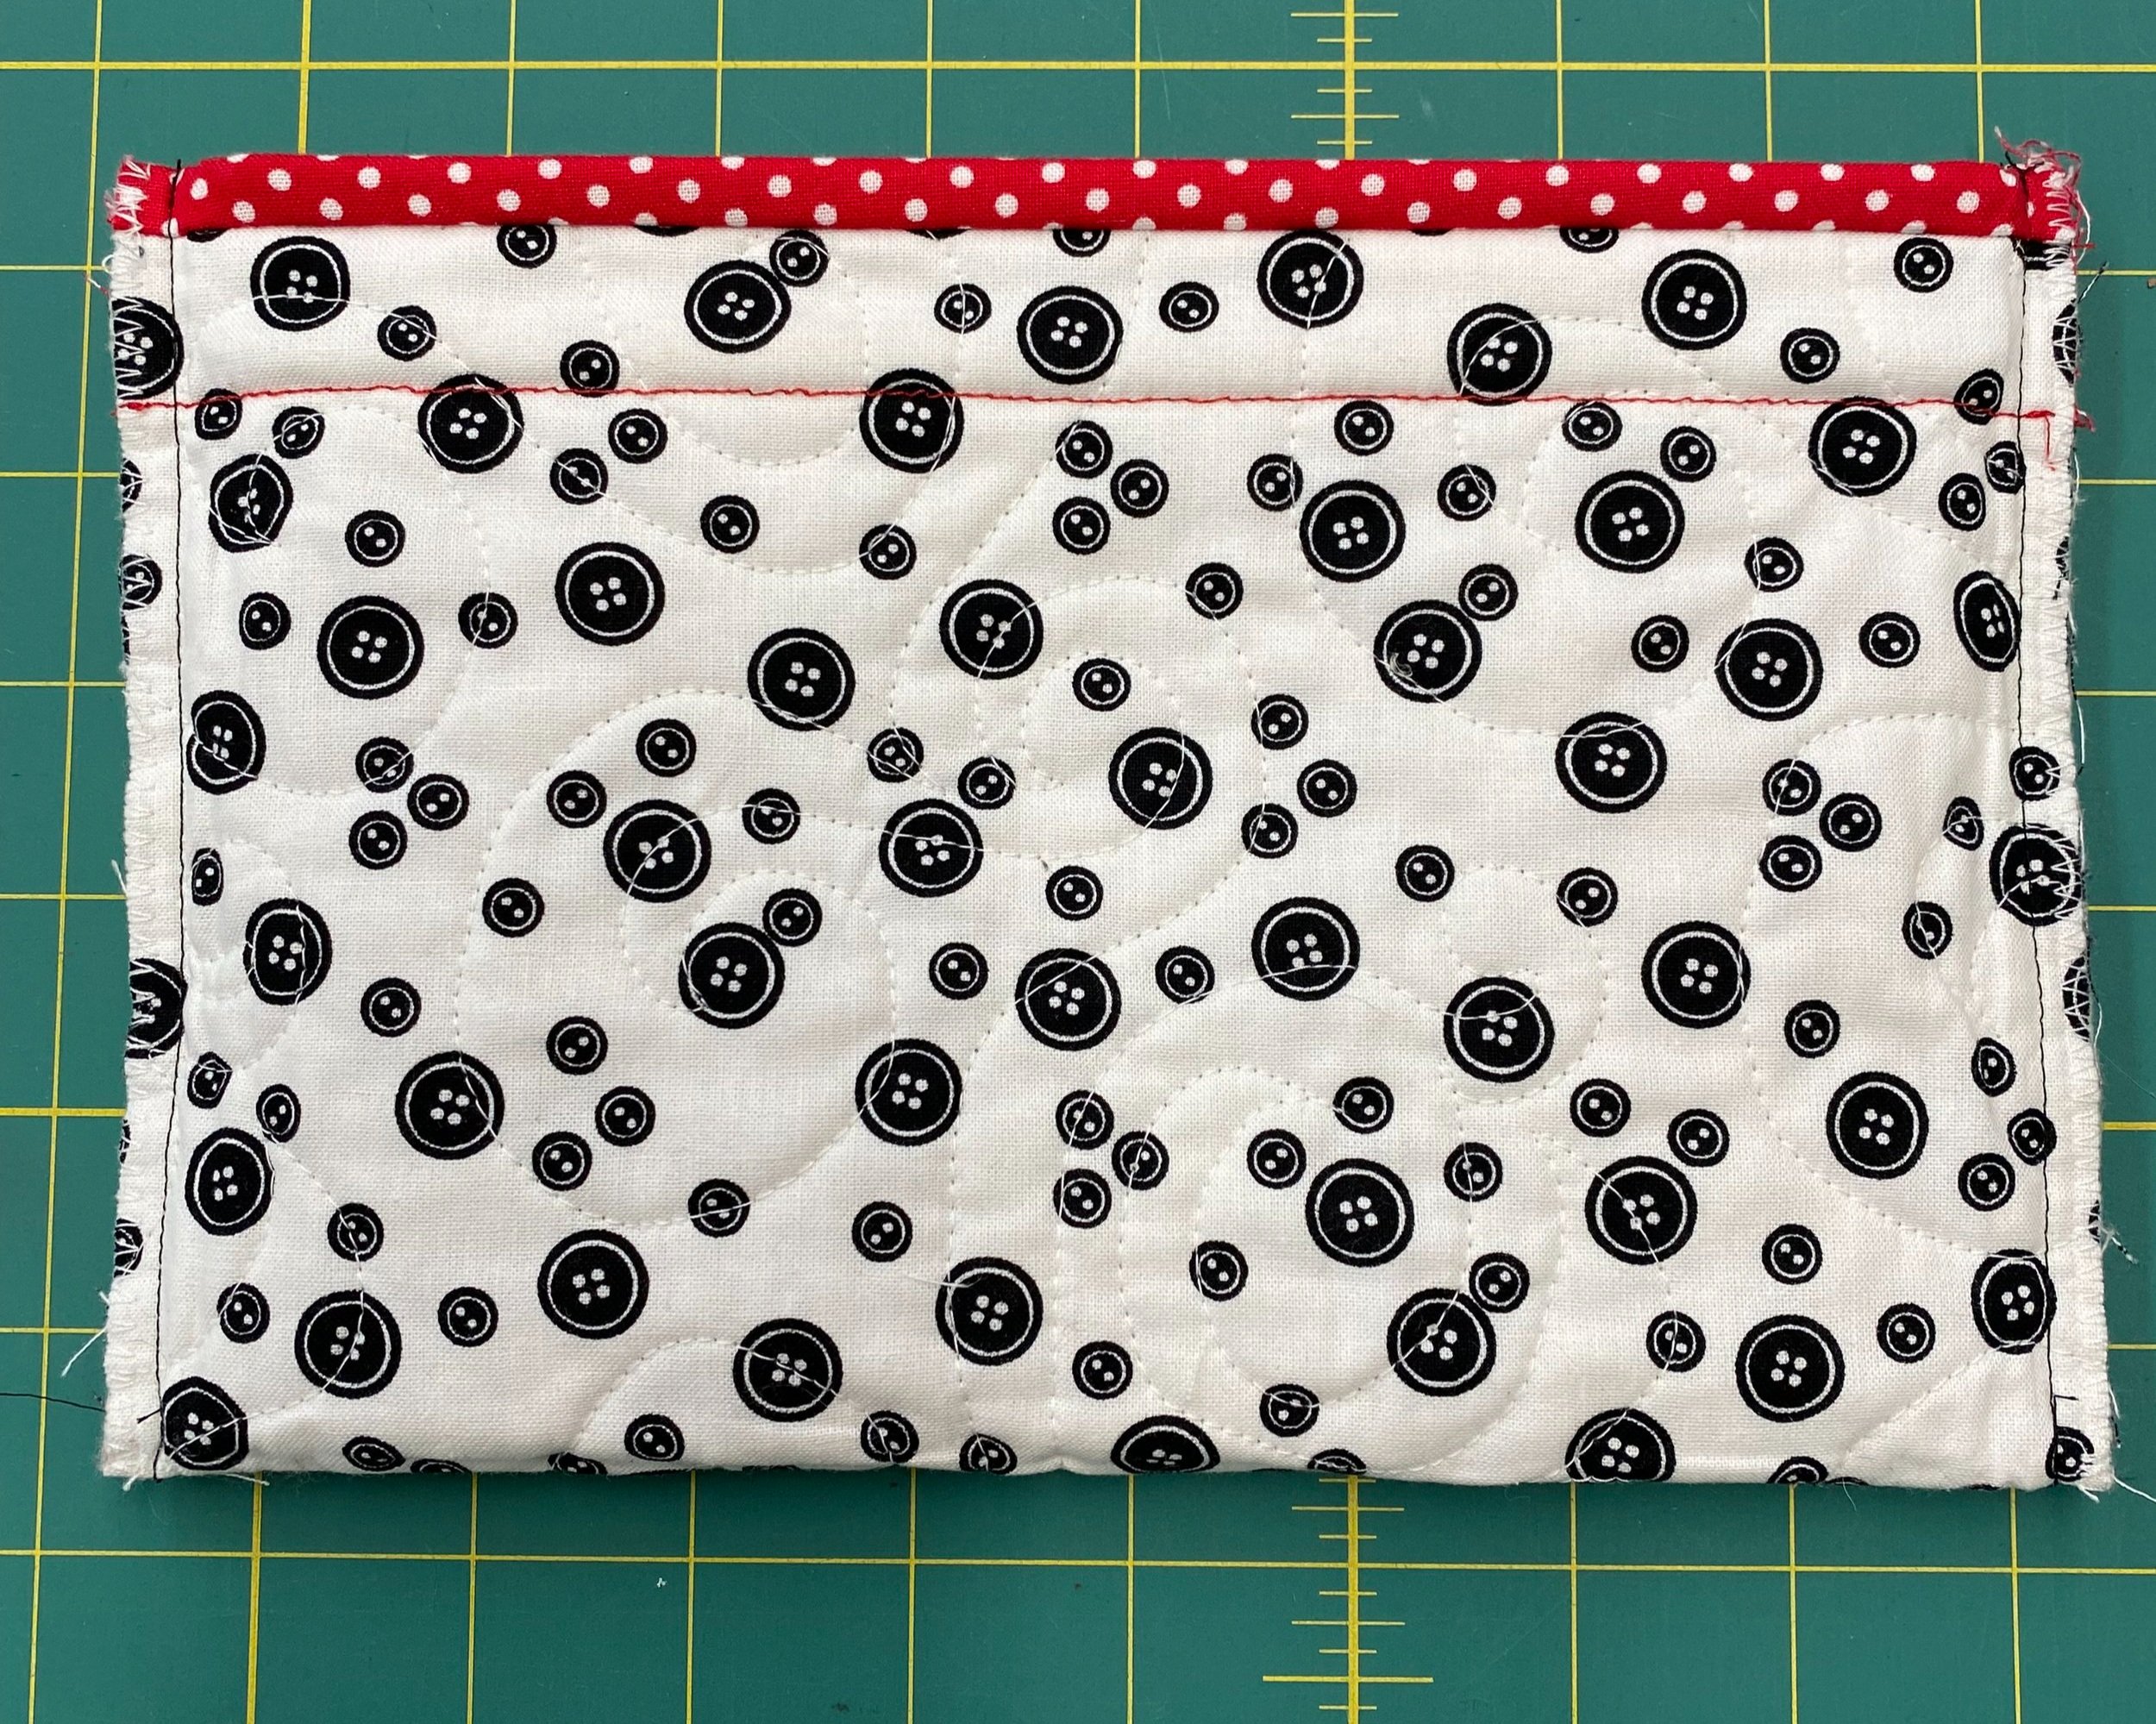
Photo of inside of bag, straight stitched sides with edges zig zag finished. Ready to turn right side out. Red stitch line shows the topstitching of the front binding edge approx. 1 1/8” down from the top edge.
These little bags are great on the go and make terrific gifts. I have one I use as my binding tote with scissors needles and binding clips. They make great make-up bags and travel bags. I’ve make them in the size of eyeglass cases and have one I use as a pencil case. You really can’t have too many. Enjoy!