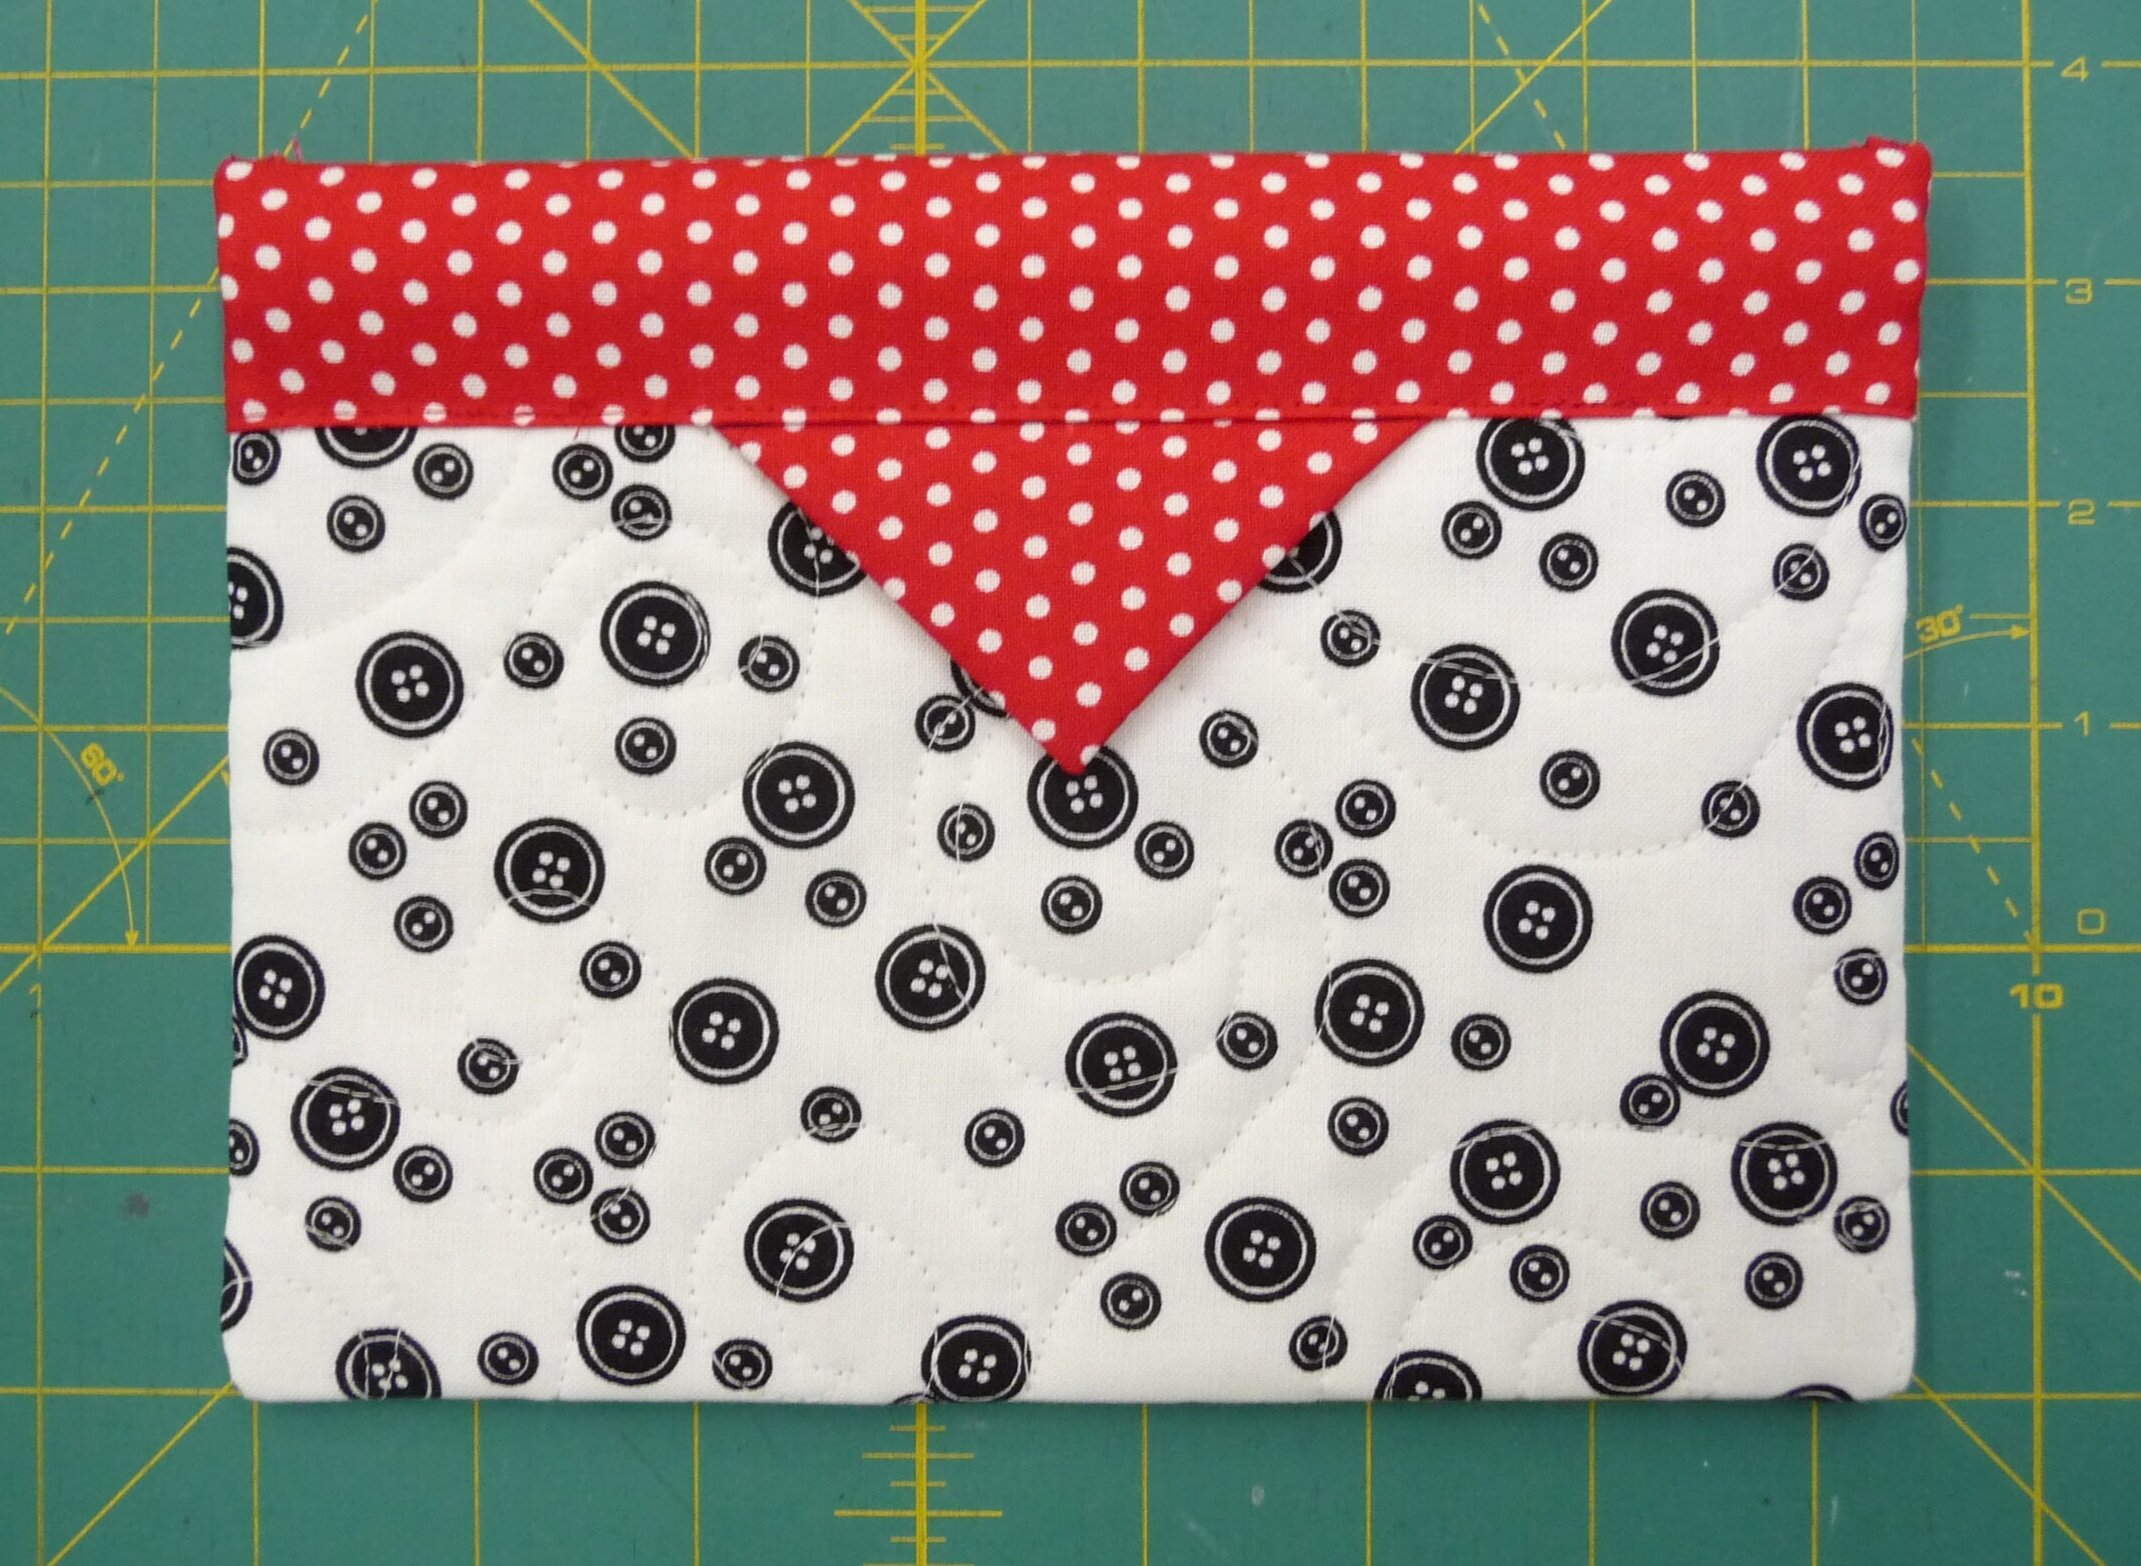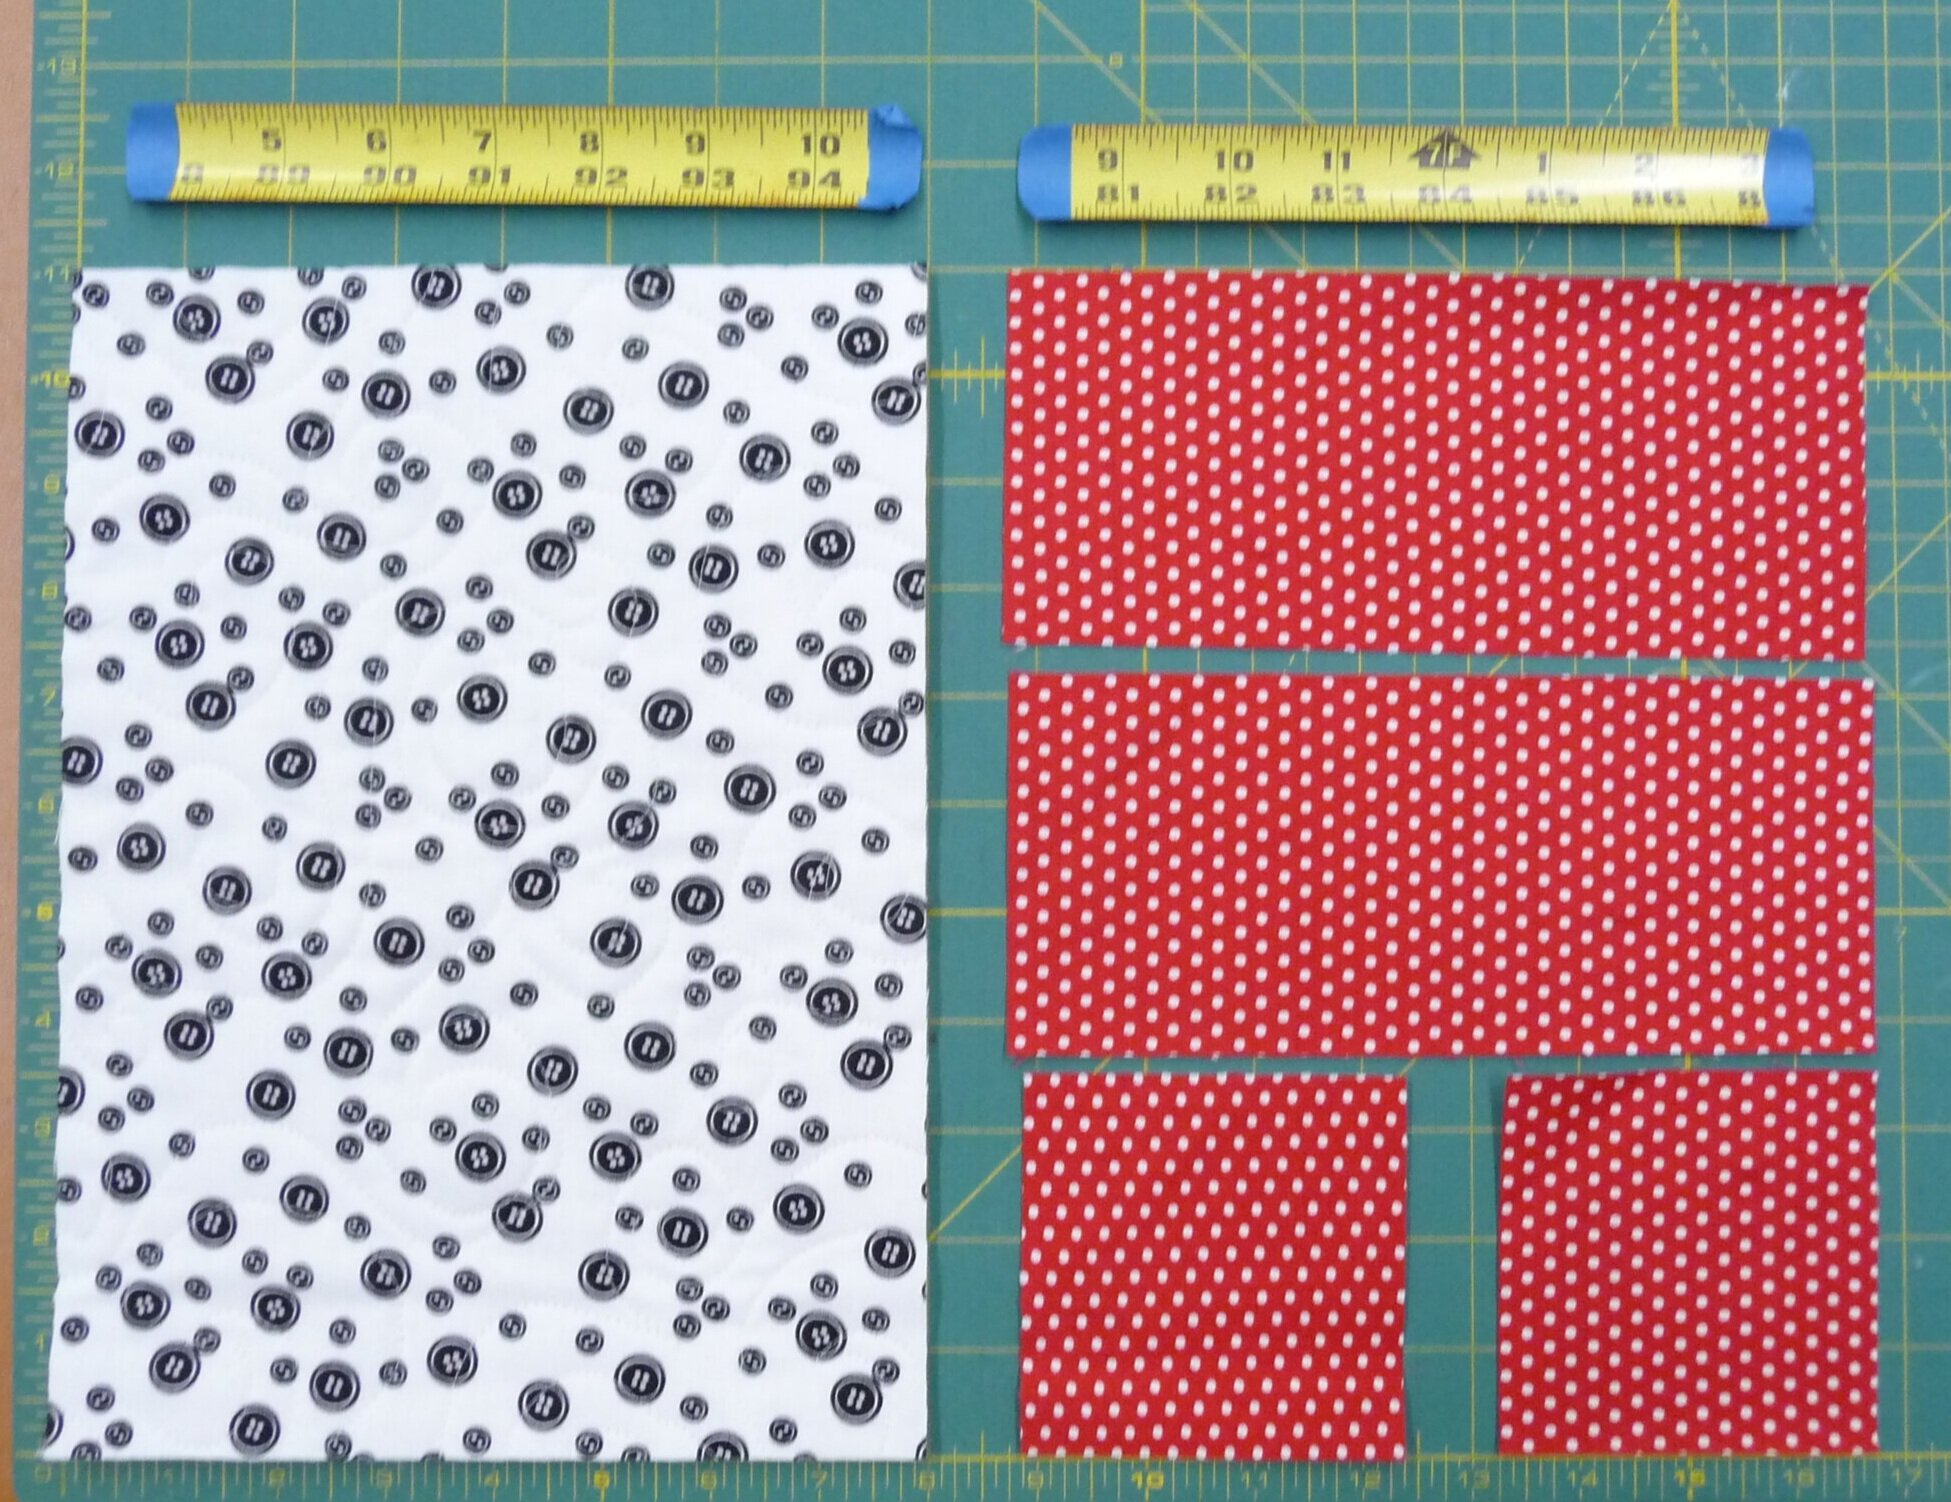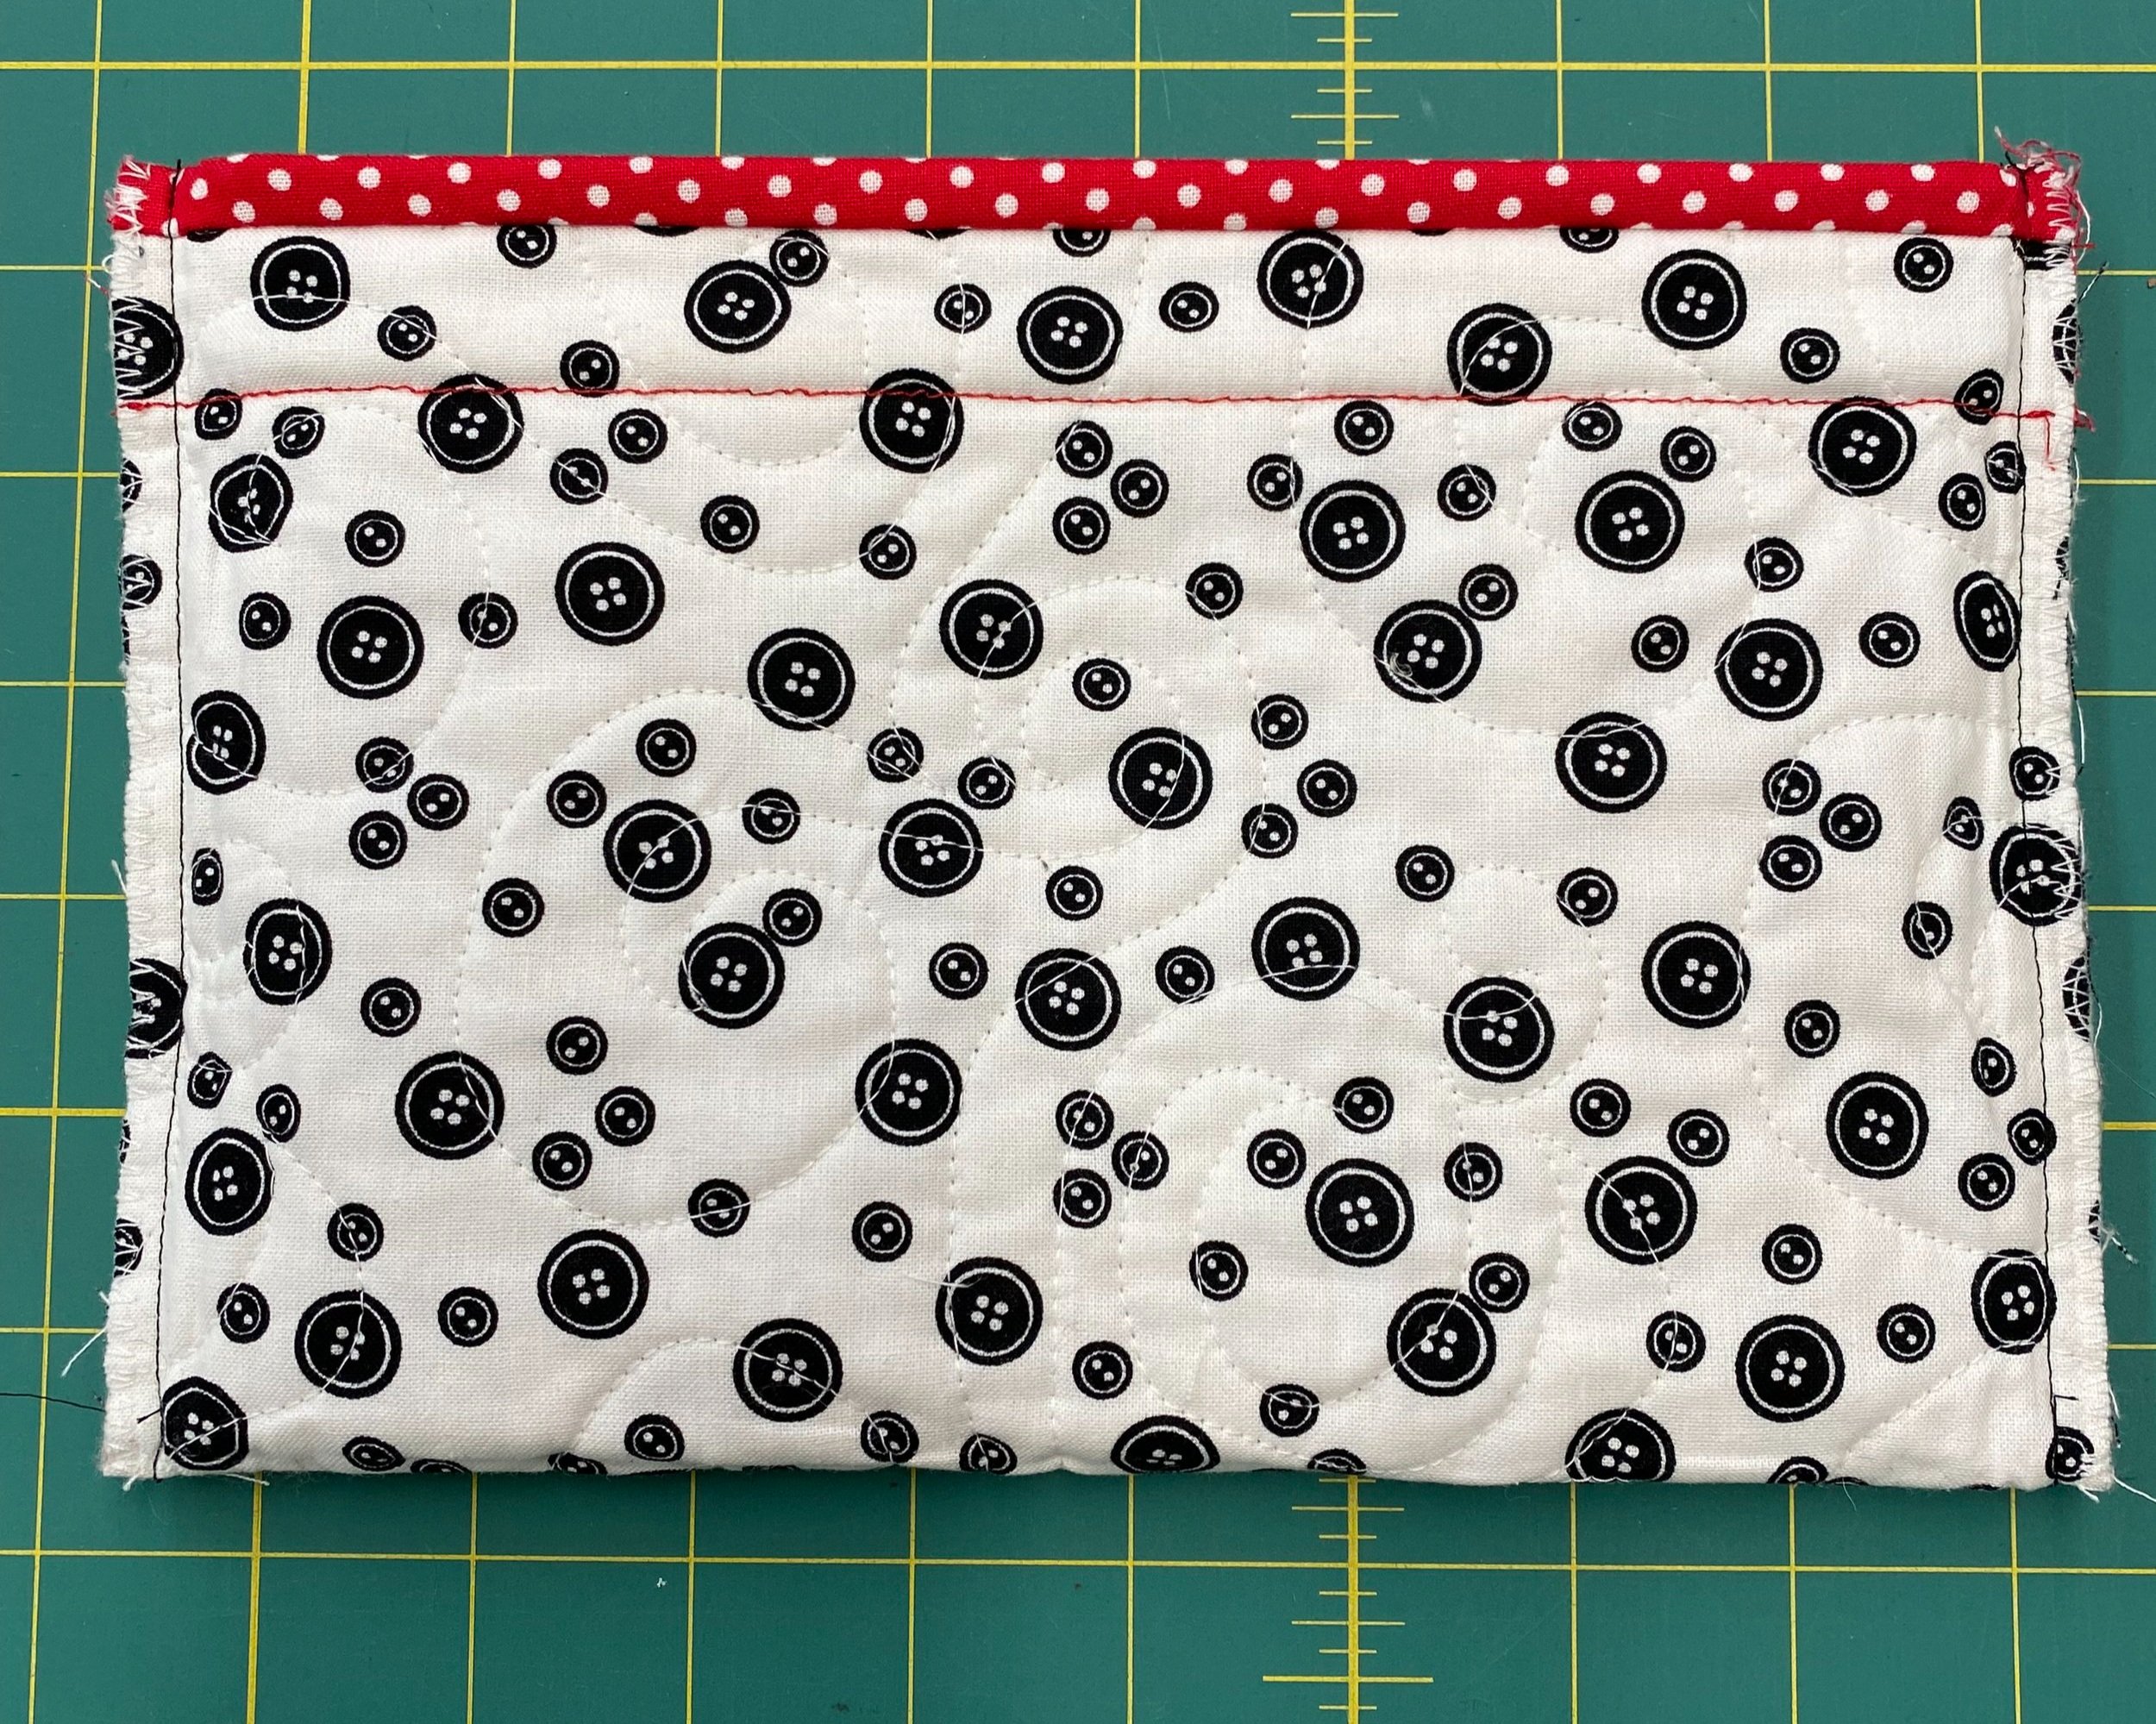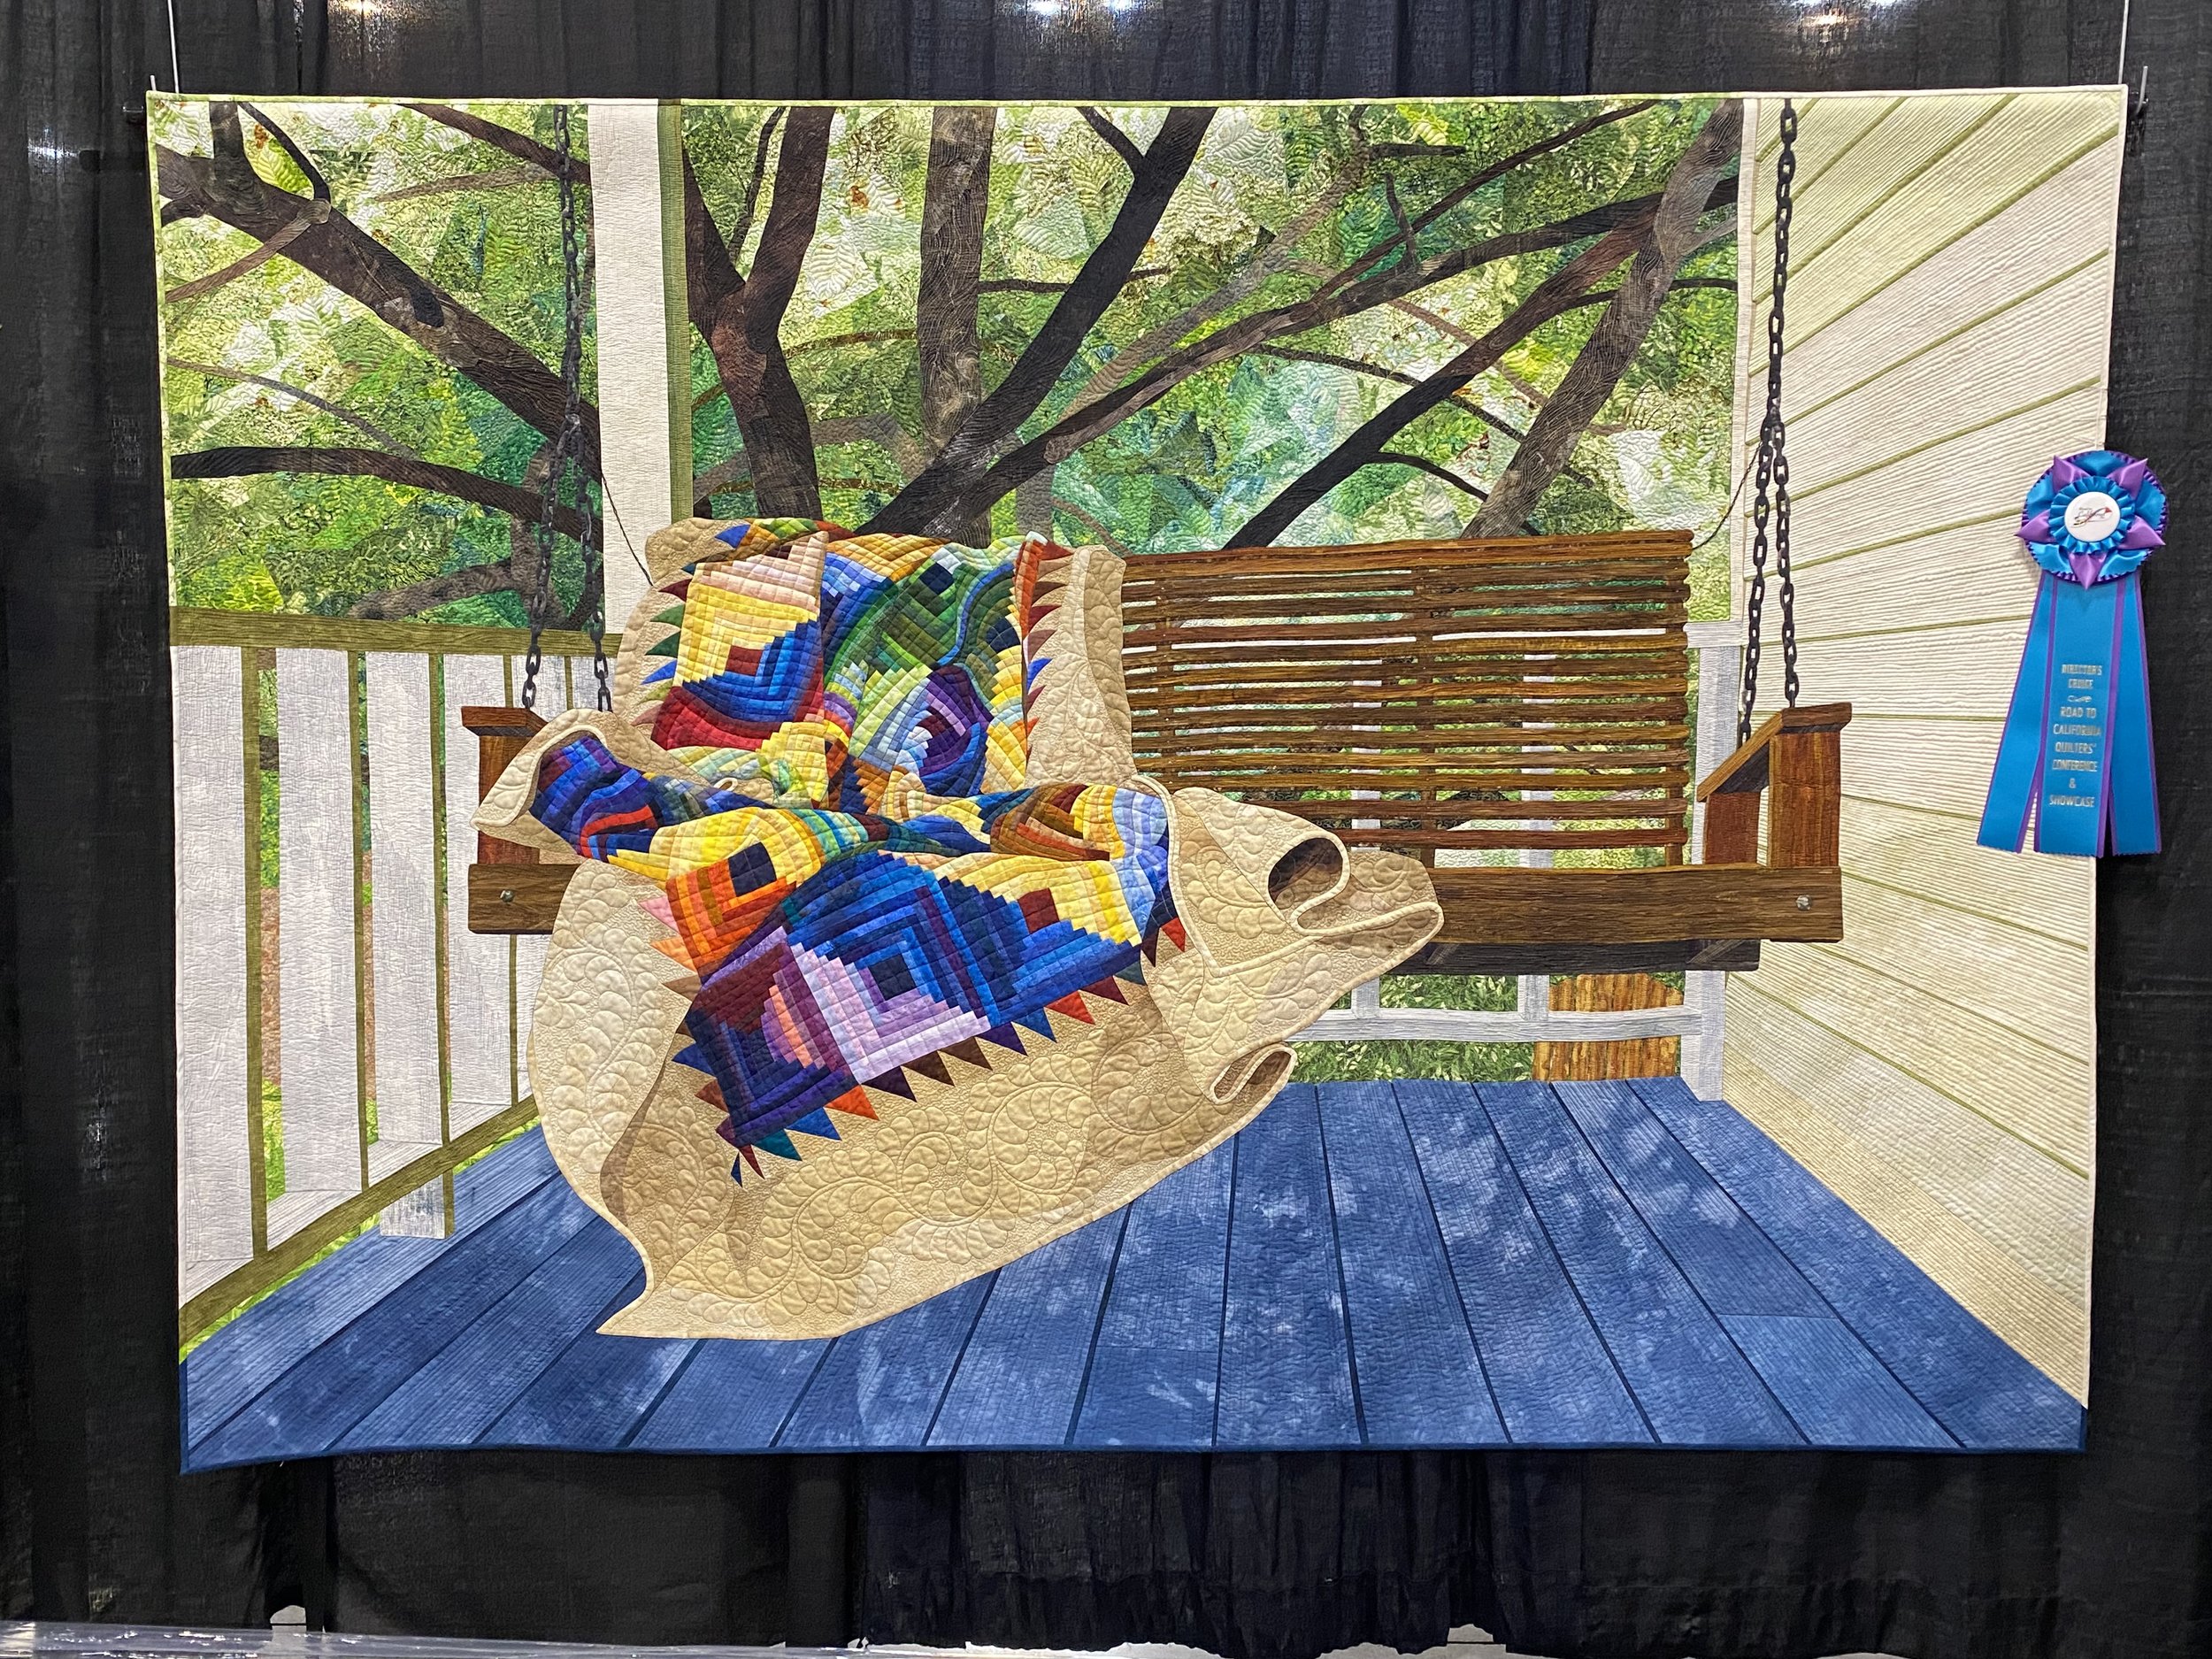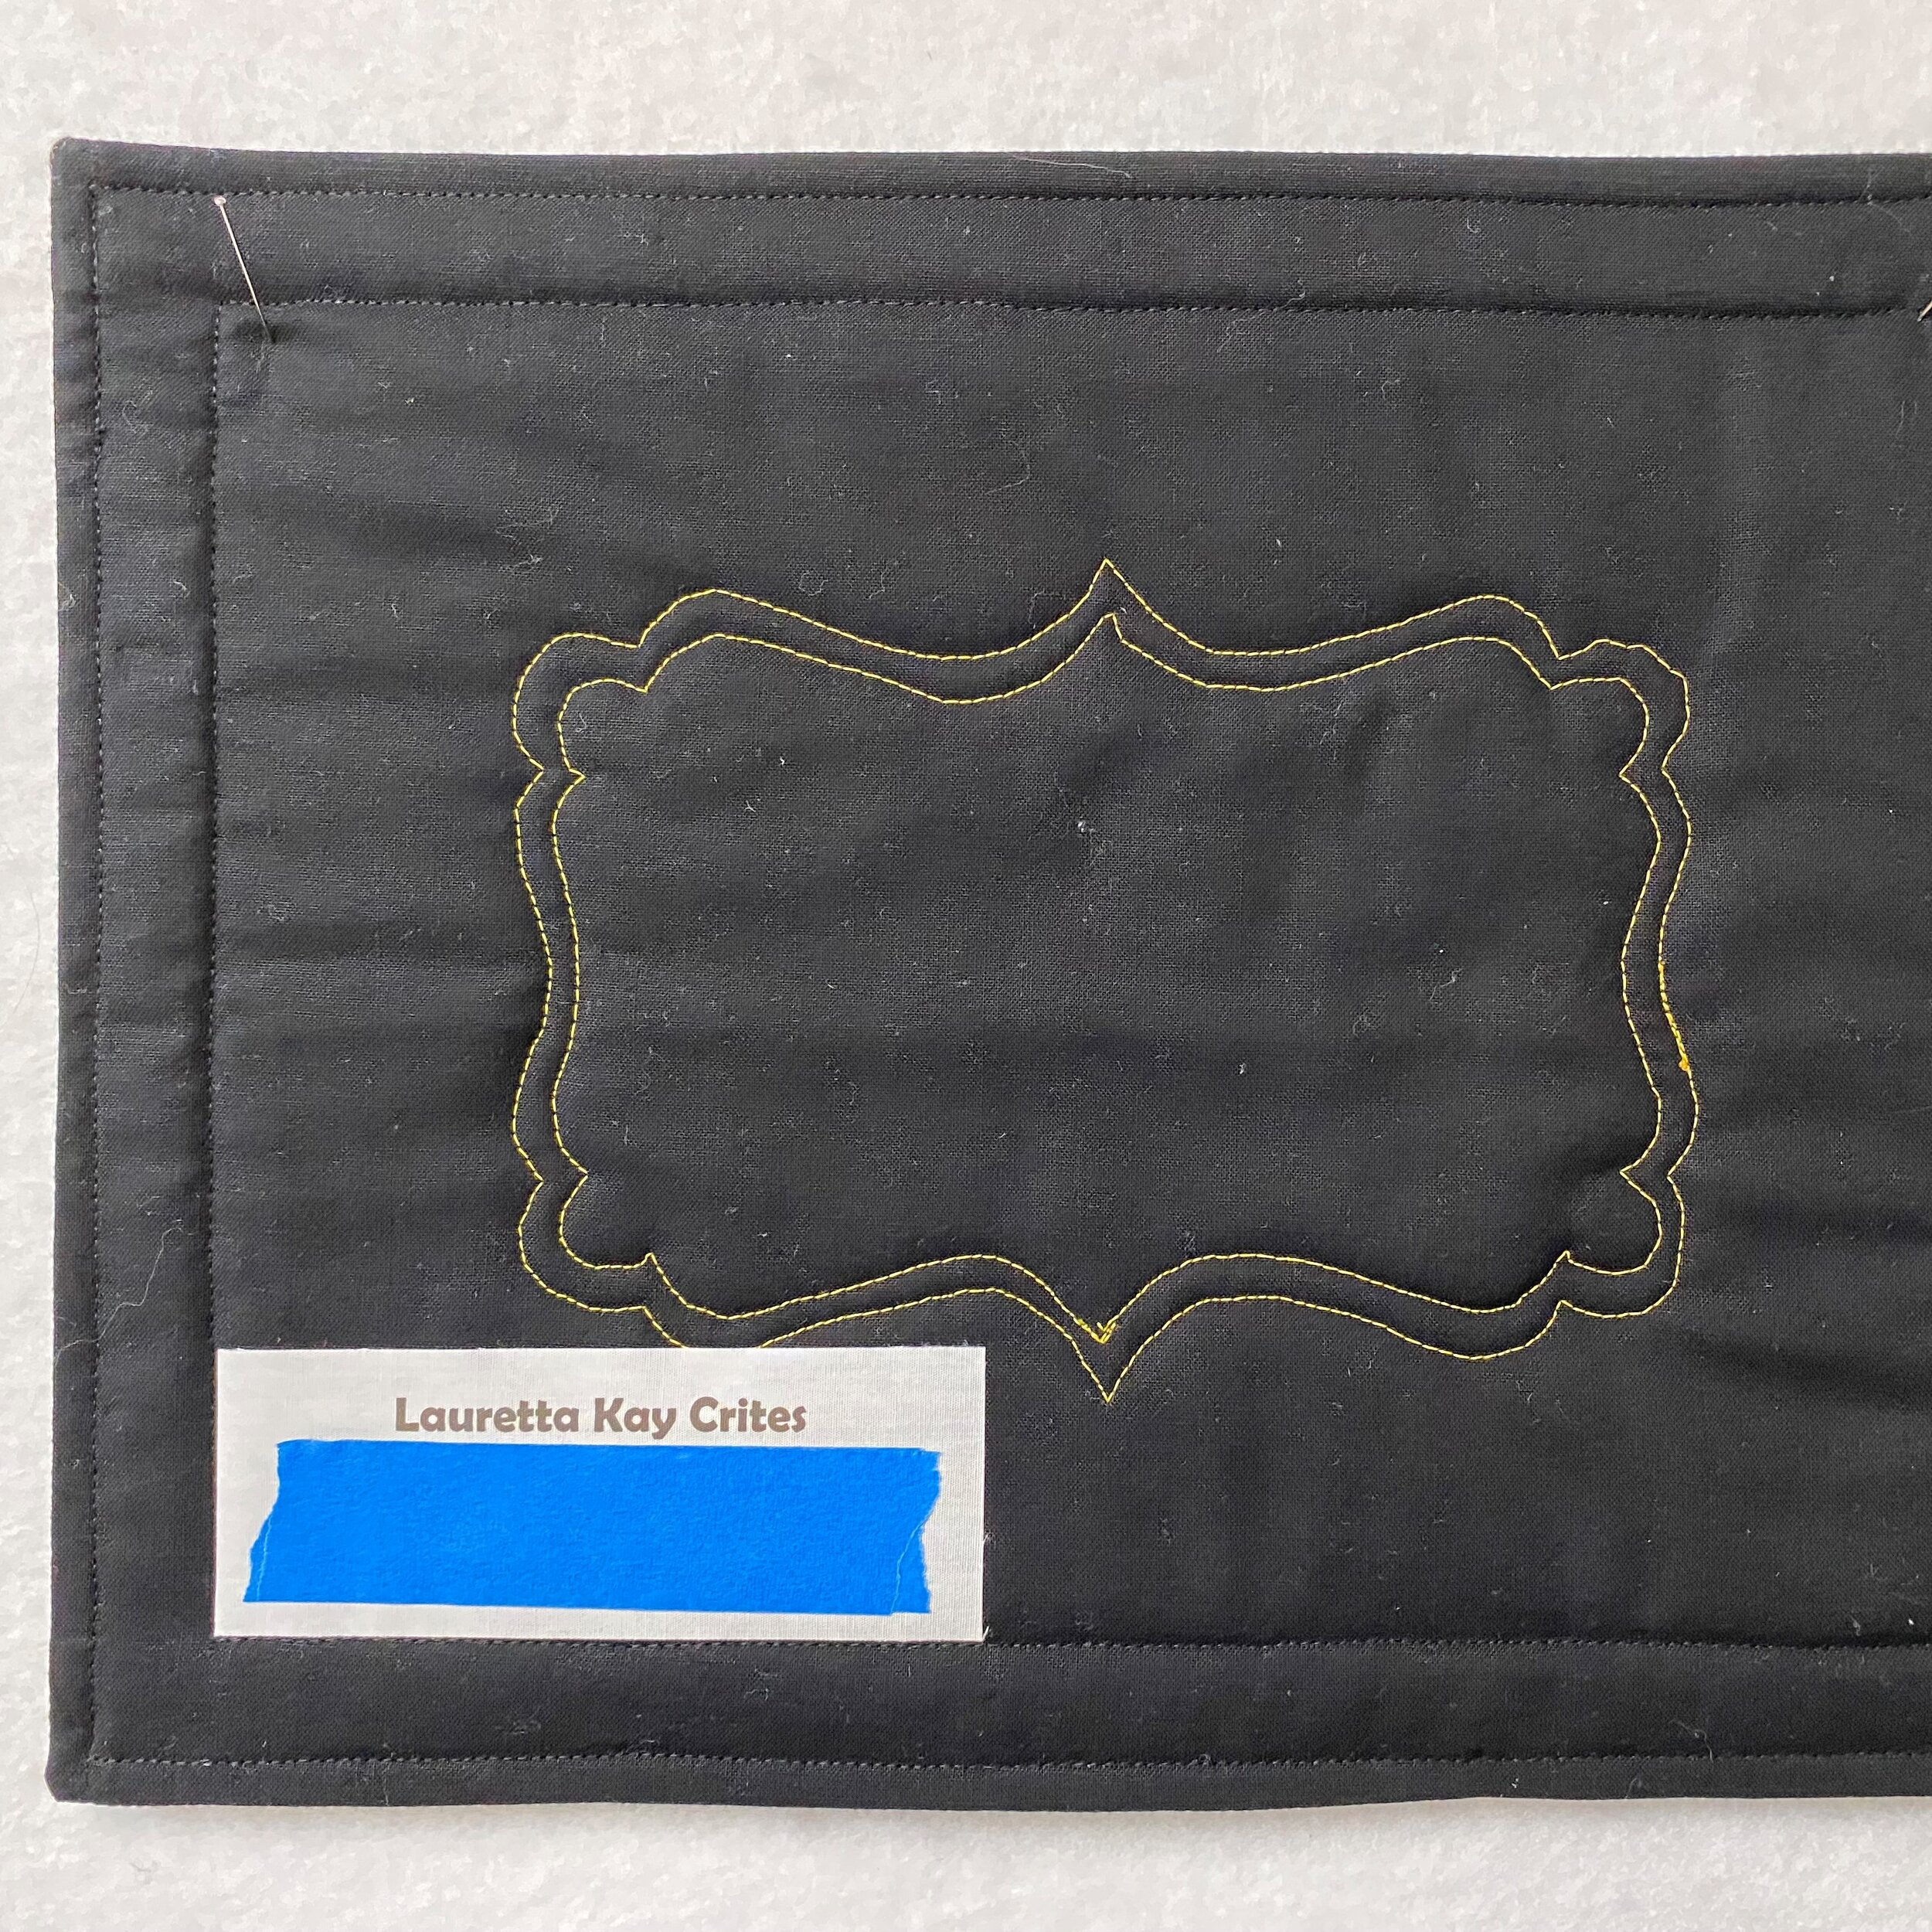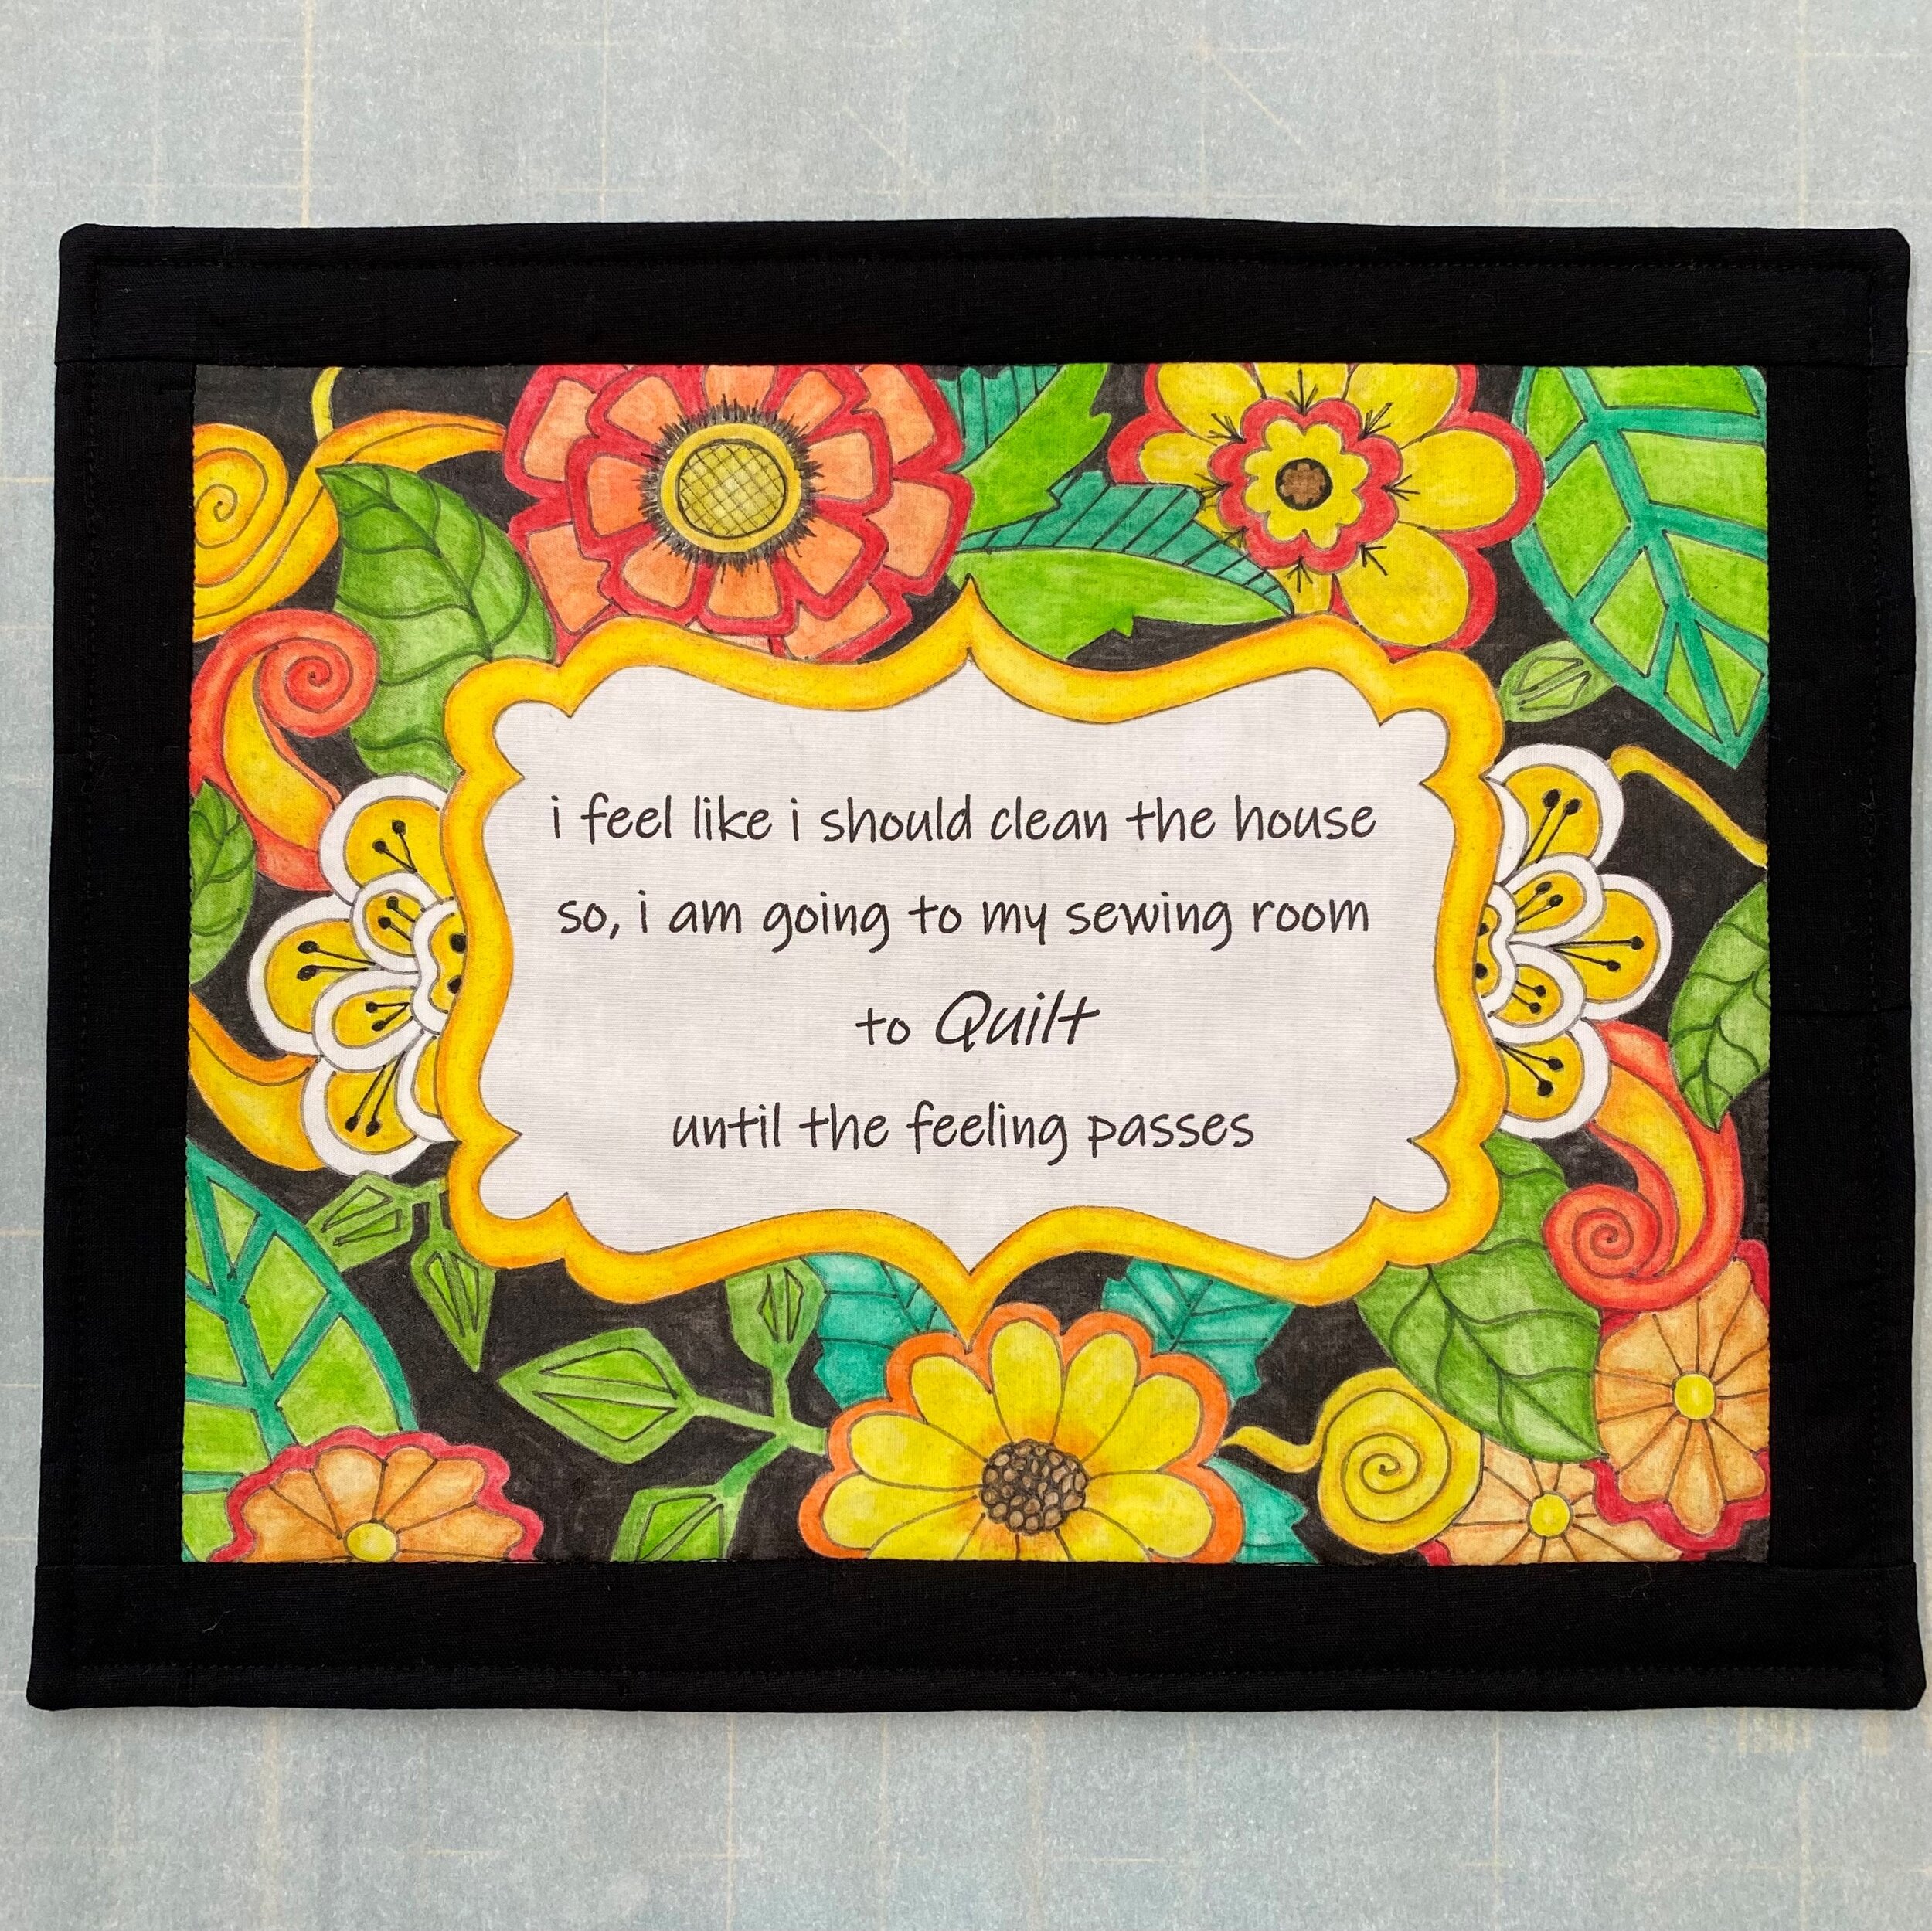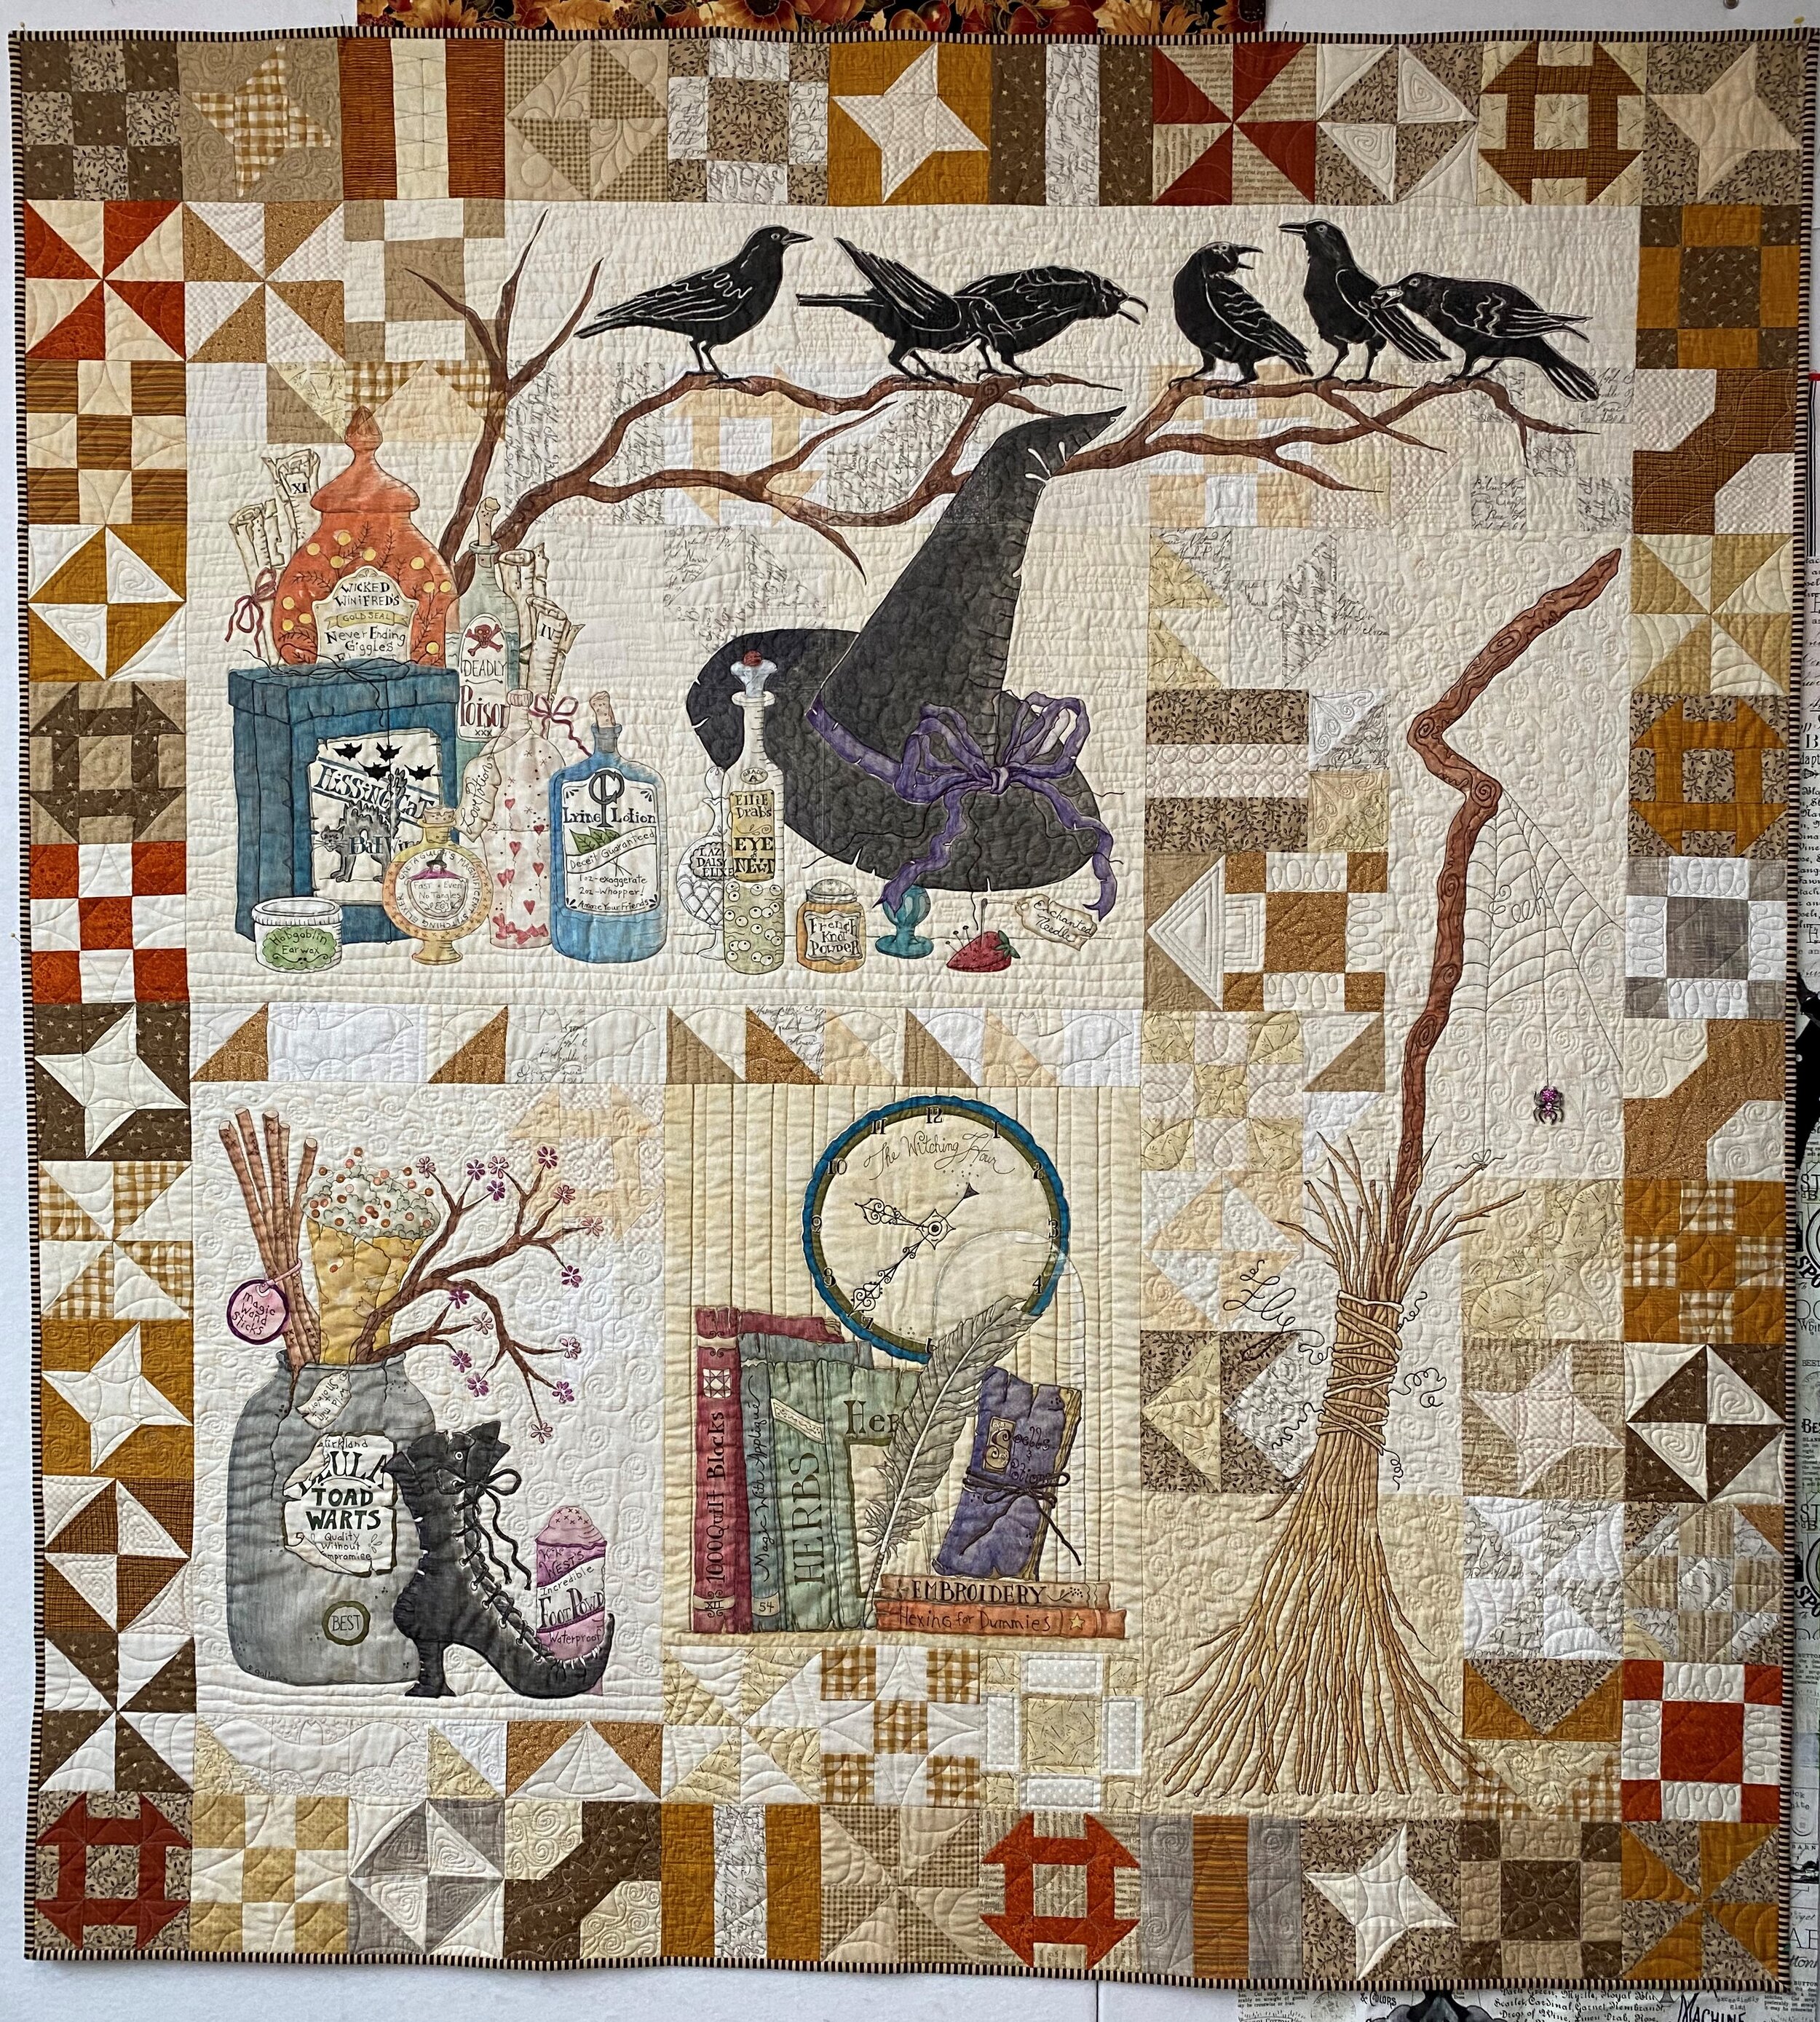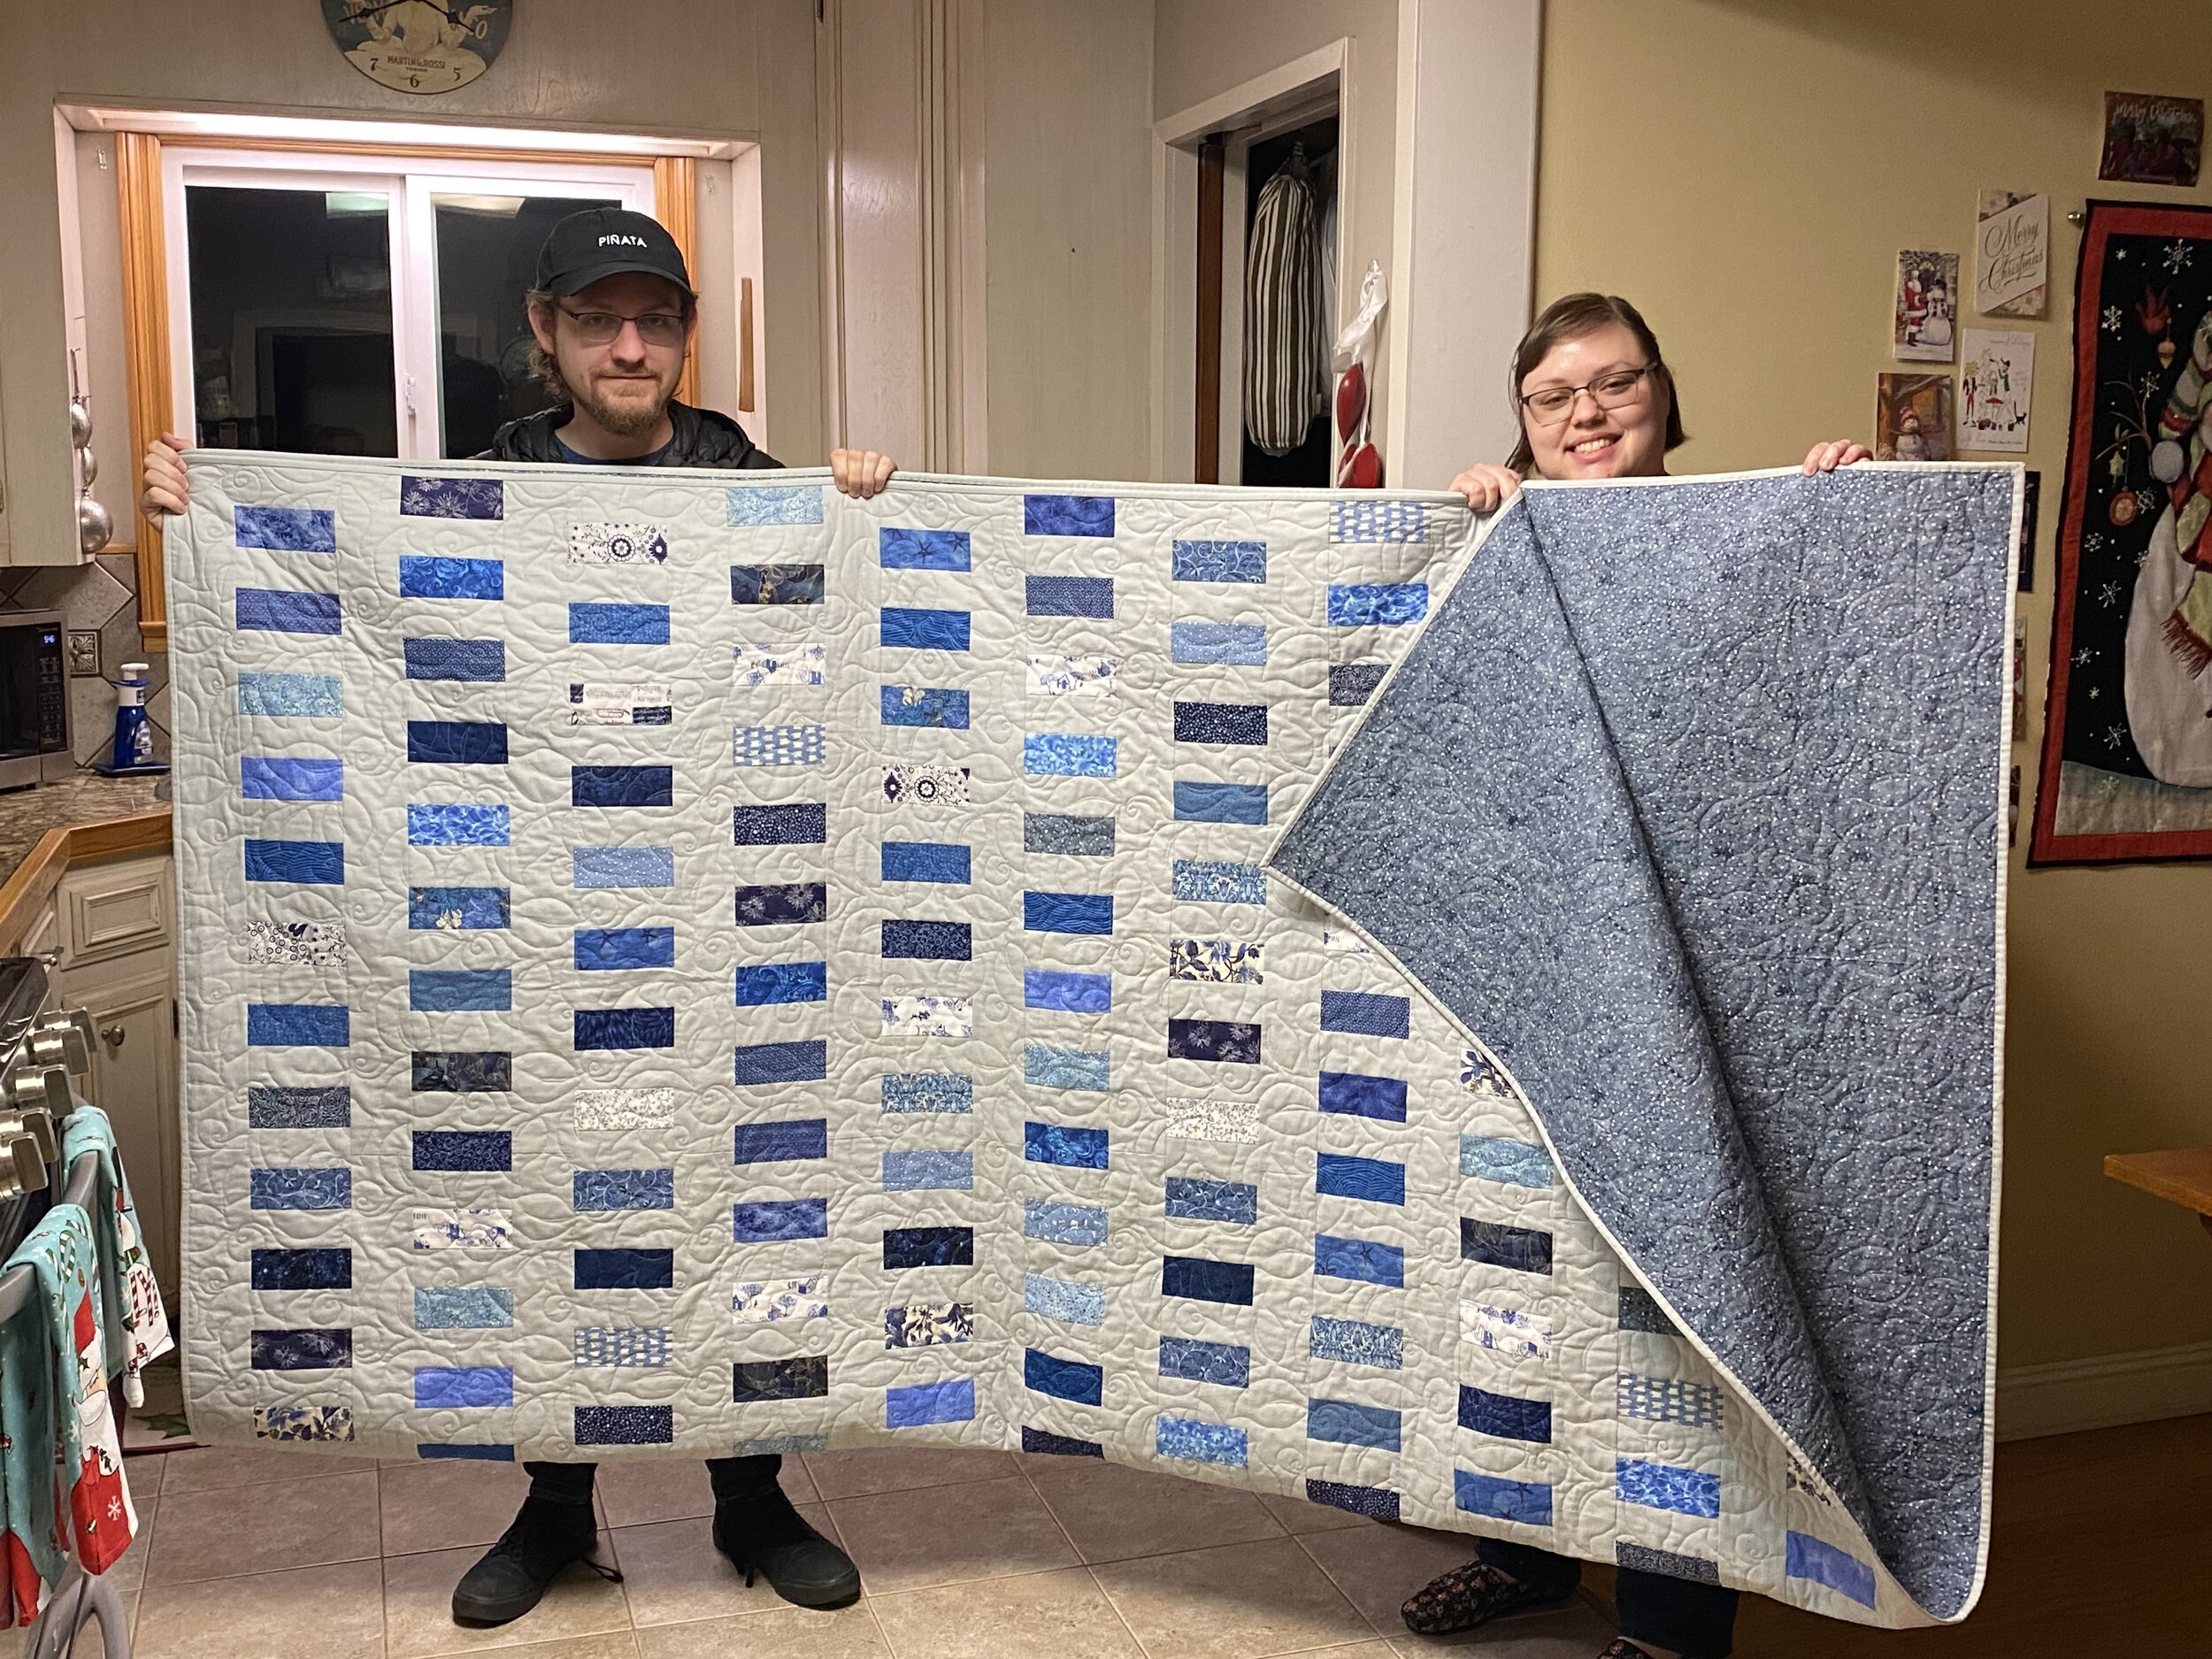
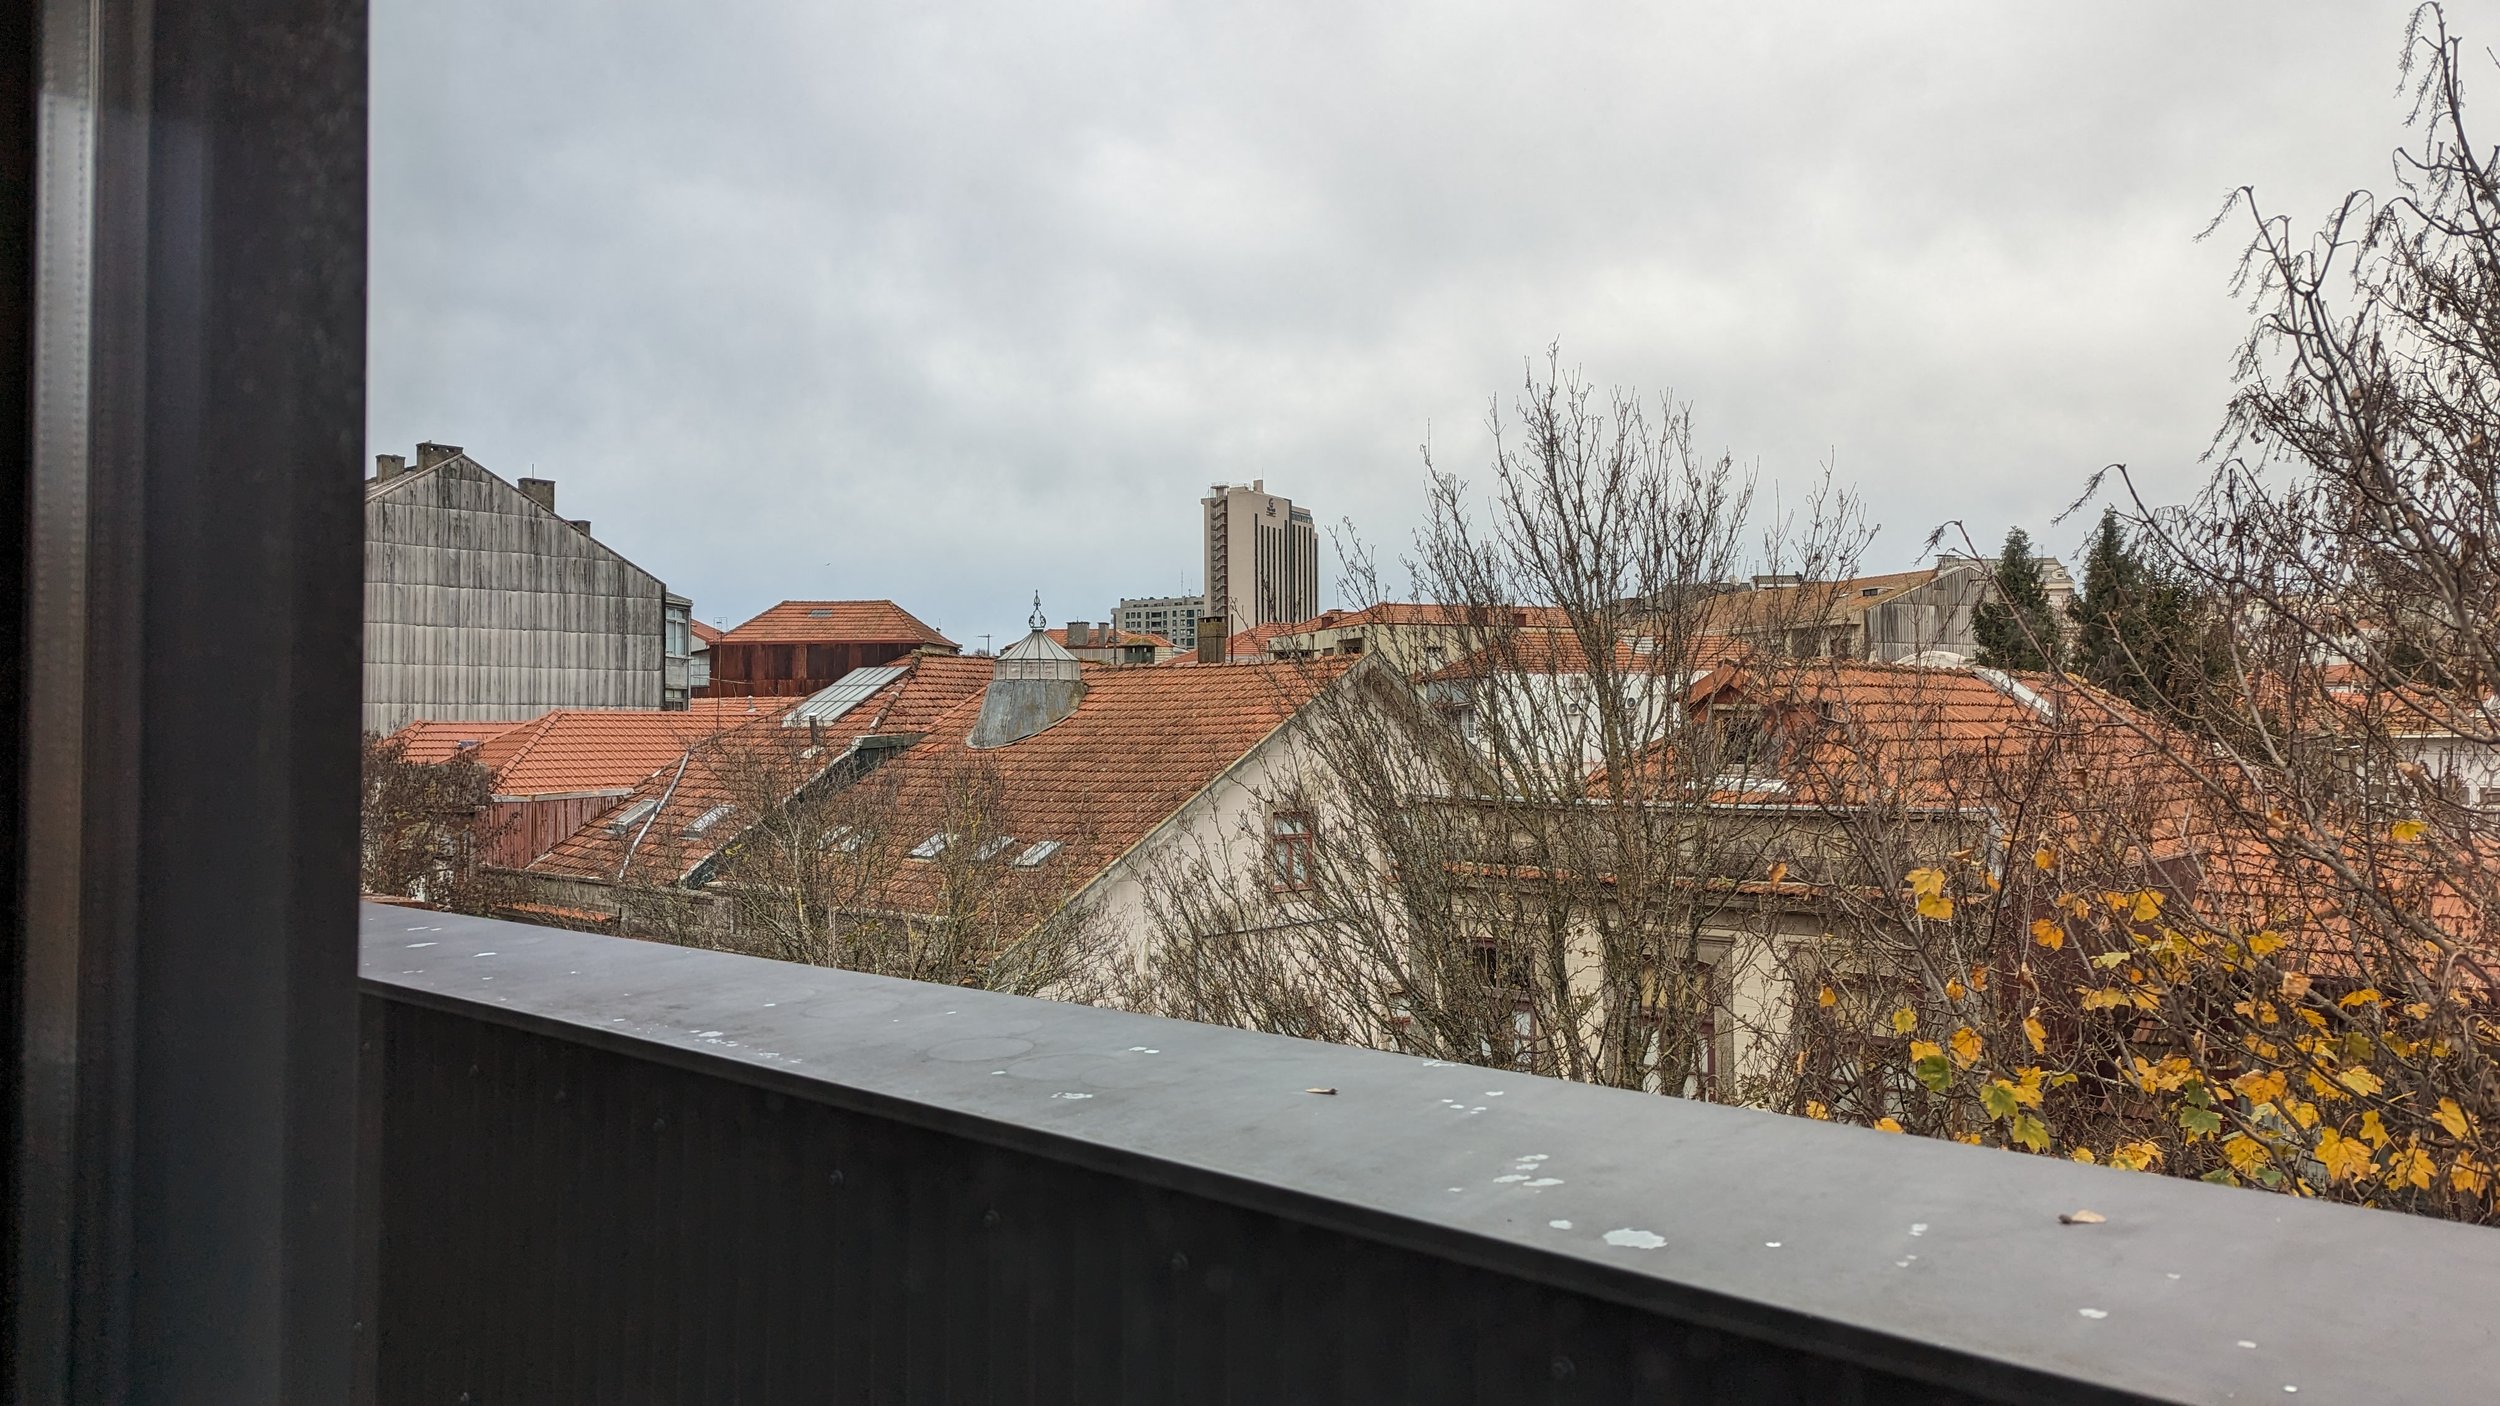
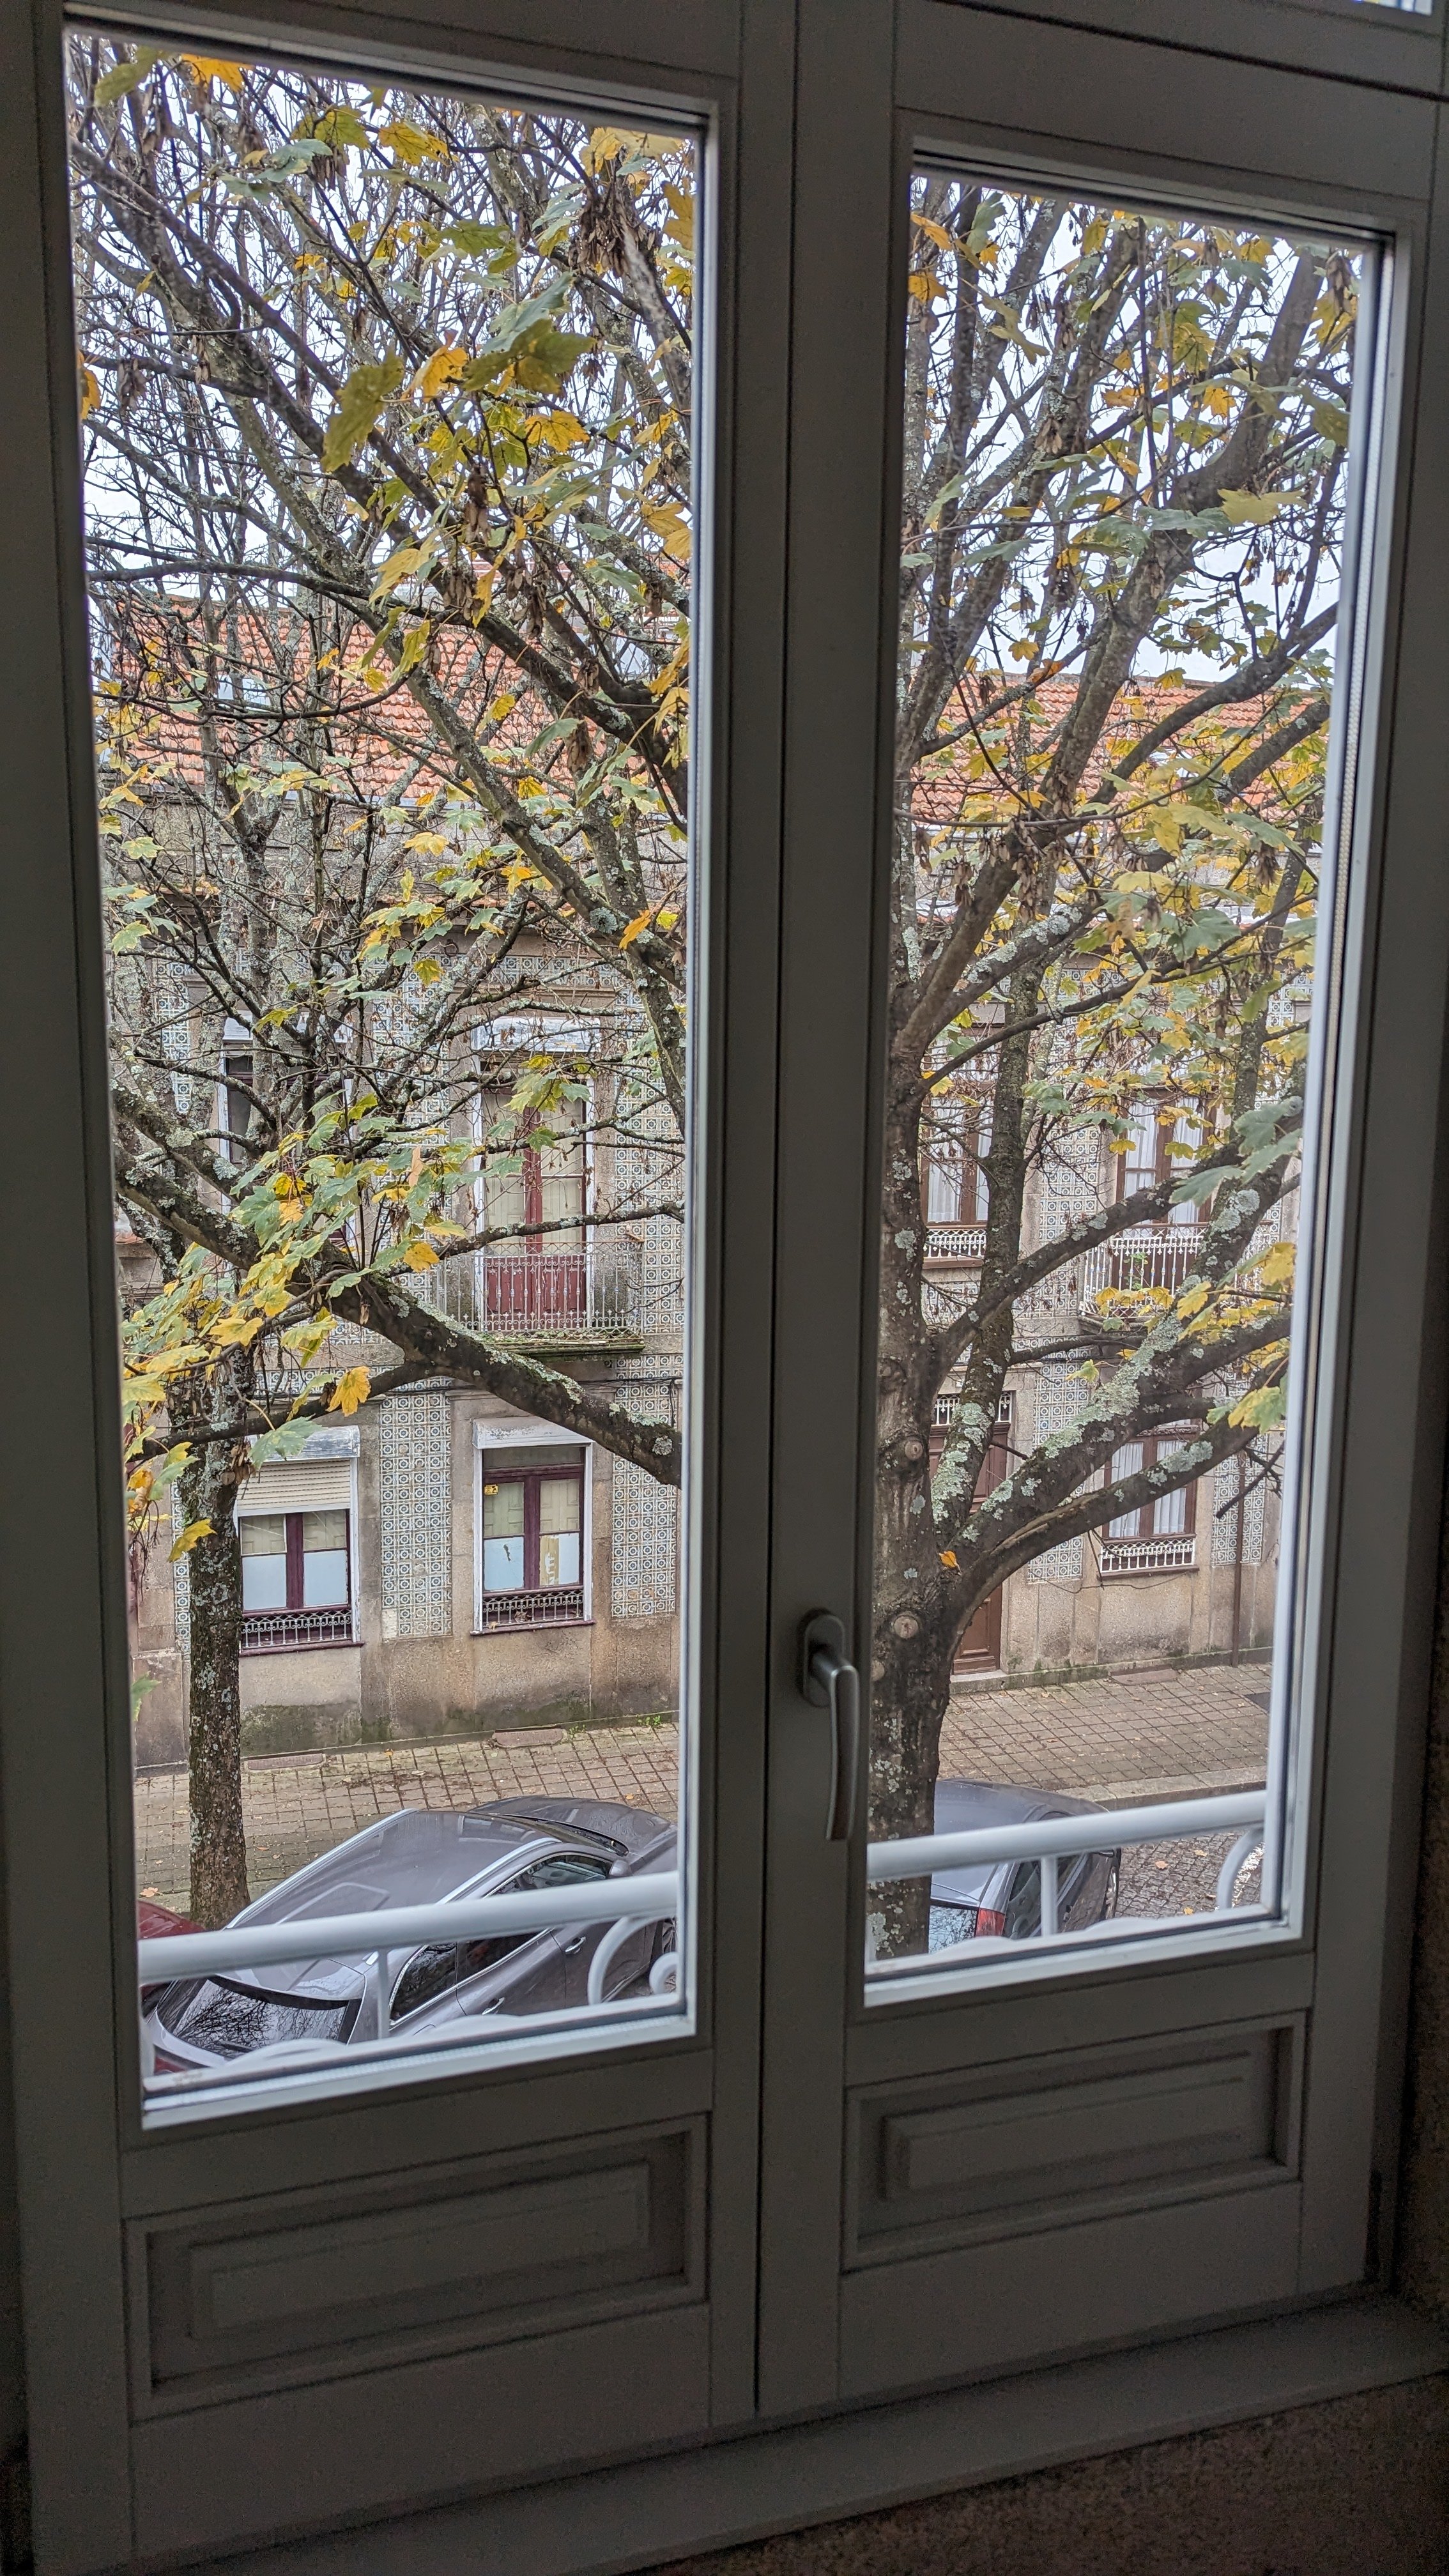
We have rented an apartment and established residency! In November David and I traveled back to Porto to apartment hunt. We had to kiss a lot of frogs, which took up most of our time there, before we found our lovely apartment. We had a wishlist and this one ticked nearly all the boxes and had the plus of being in a lovely 3 unit vintage building in an ideal neighborhood. Our unit is a duplex on the 1st floor (2nd floor in US vernacular) so we have the 3 windows that look out on the trees. Its like being in a treehouse. The bedrooms (2, one for sleeping, one for sewing!) are on the top floor, which is set back a bit so you can’t see it from the street, it has a very small balcony and a view of the rooftops. The apartment itself was fully renovated 2 years ago.
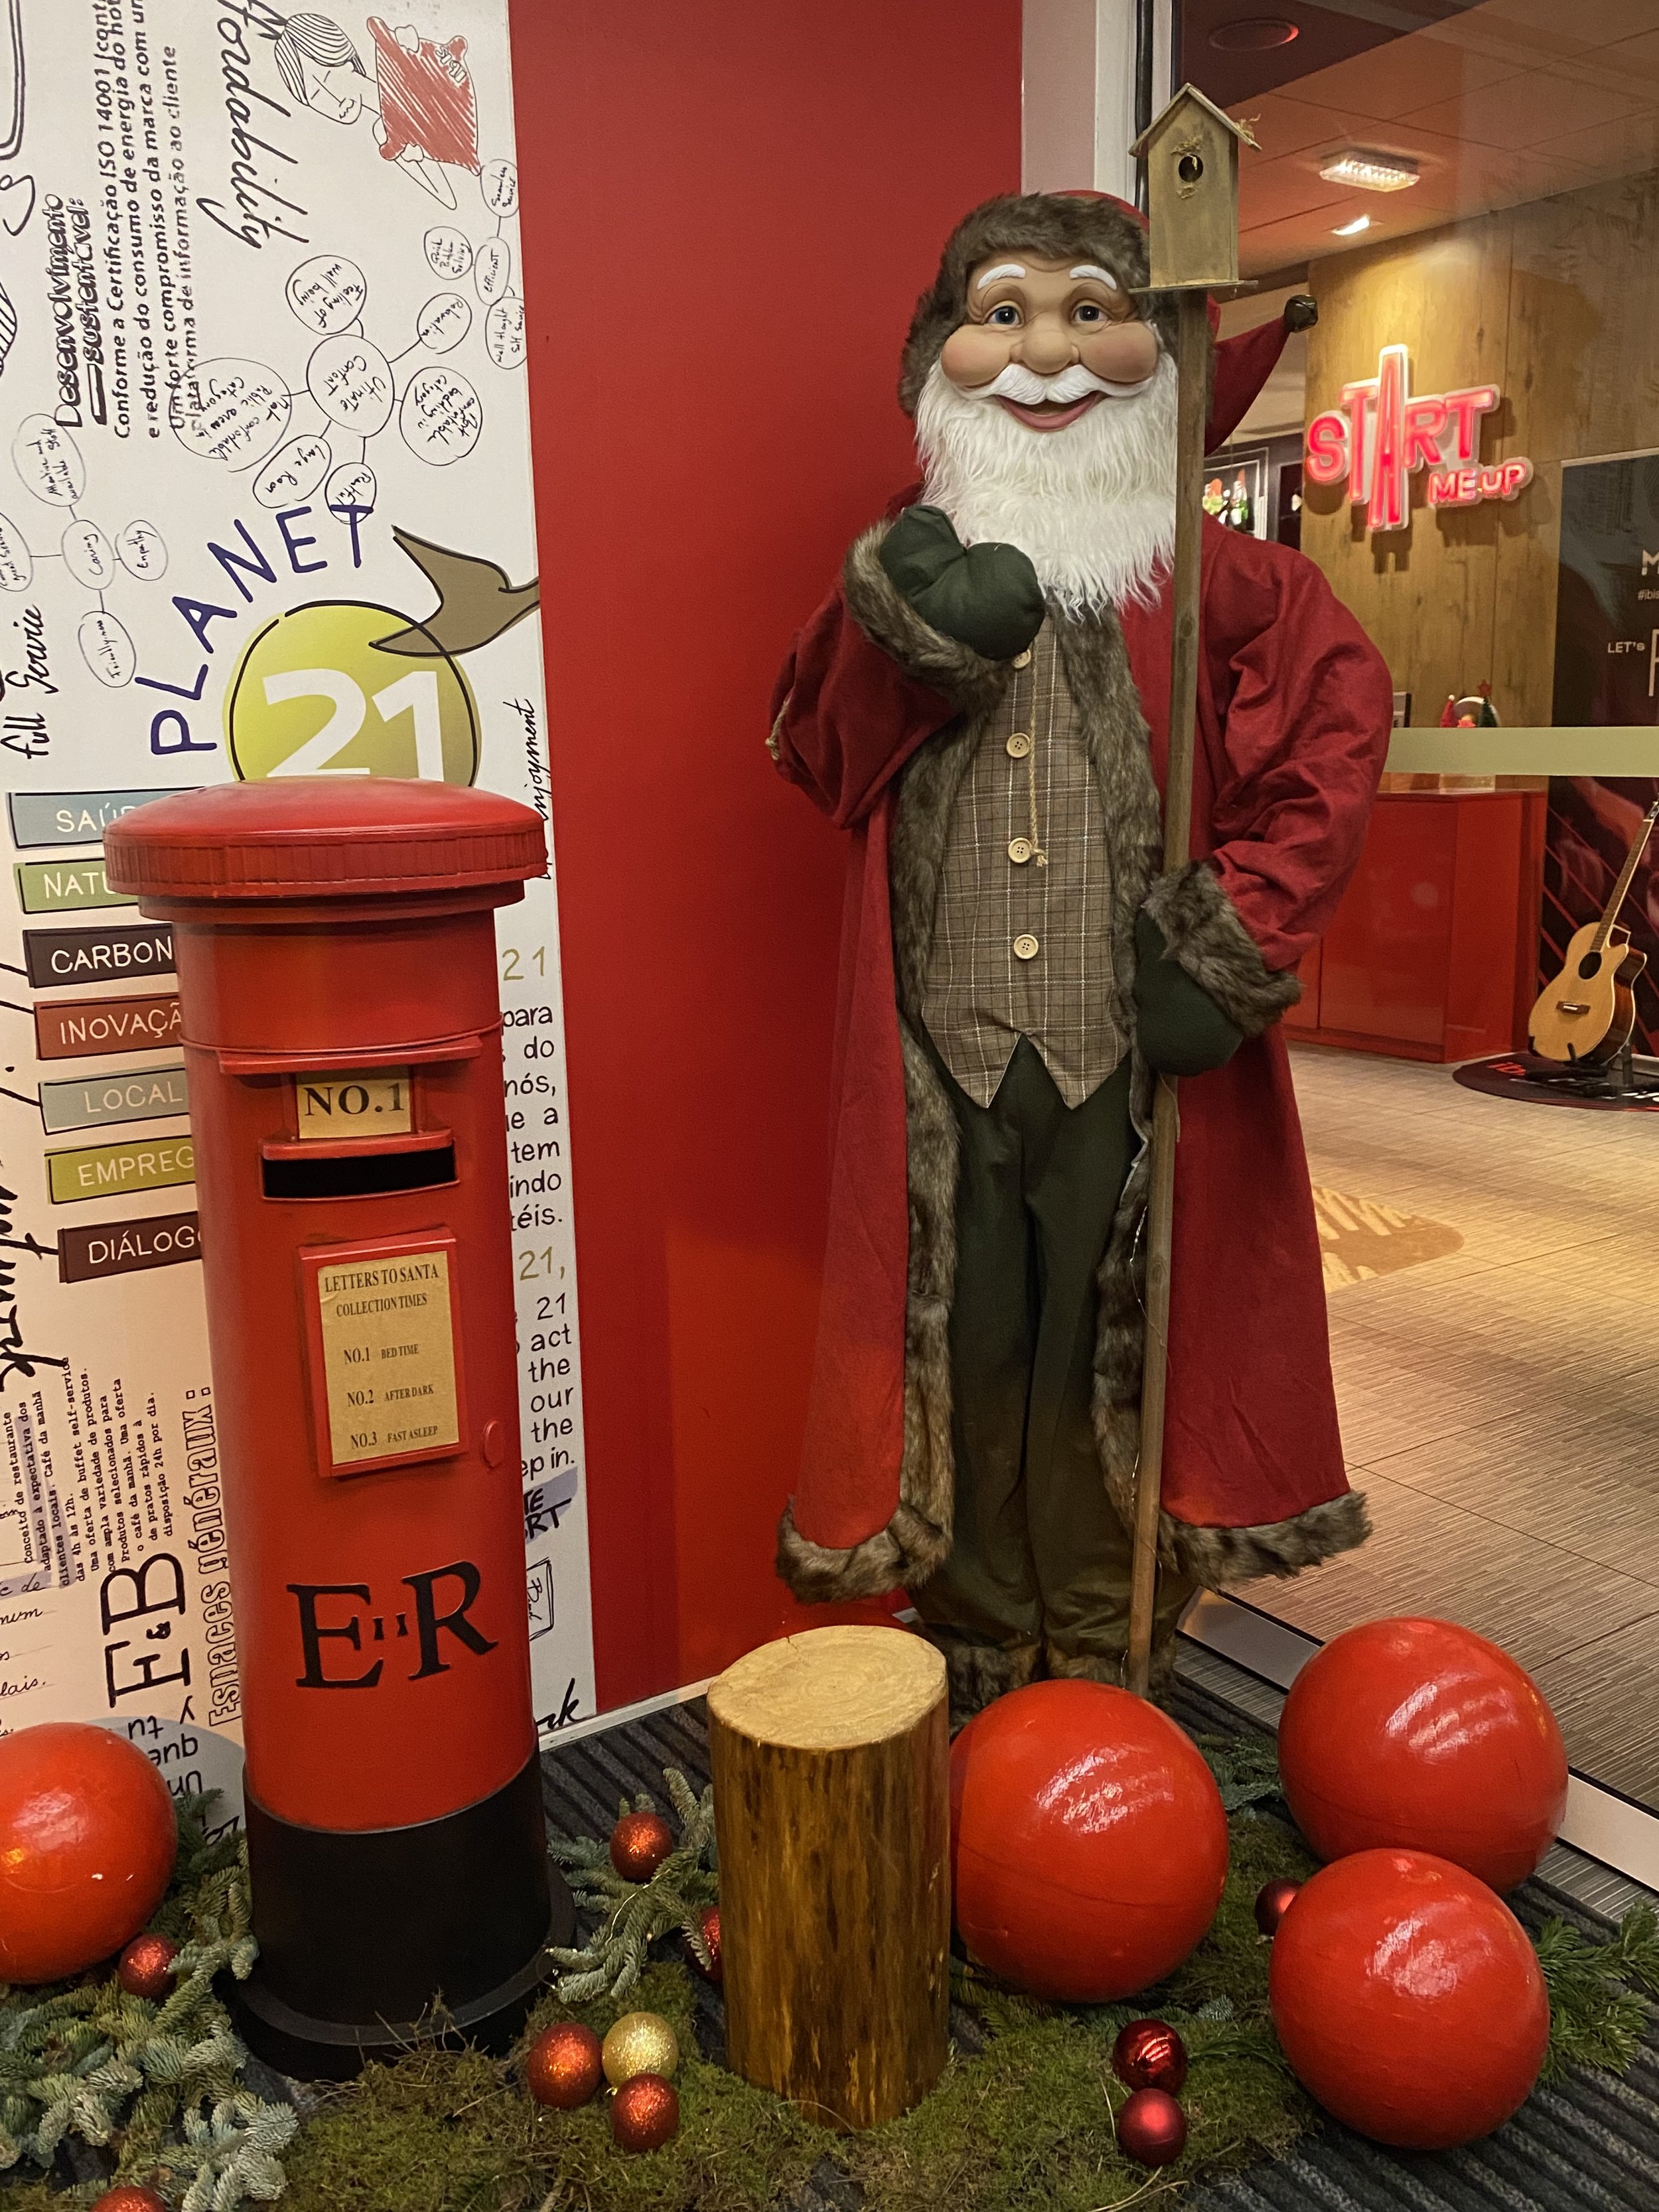


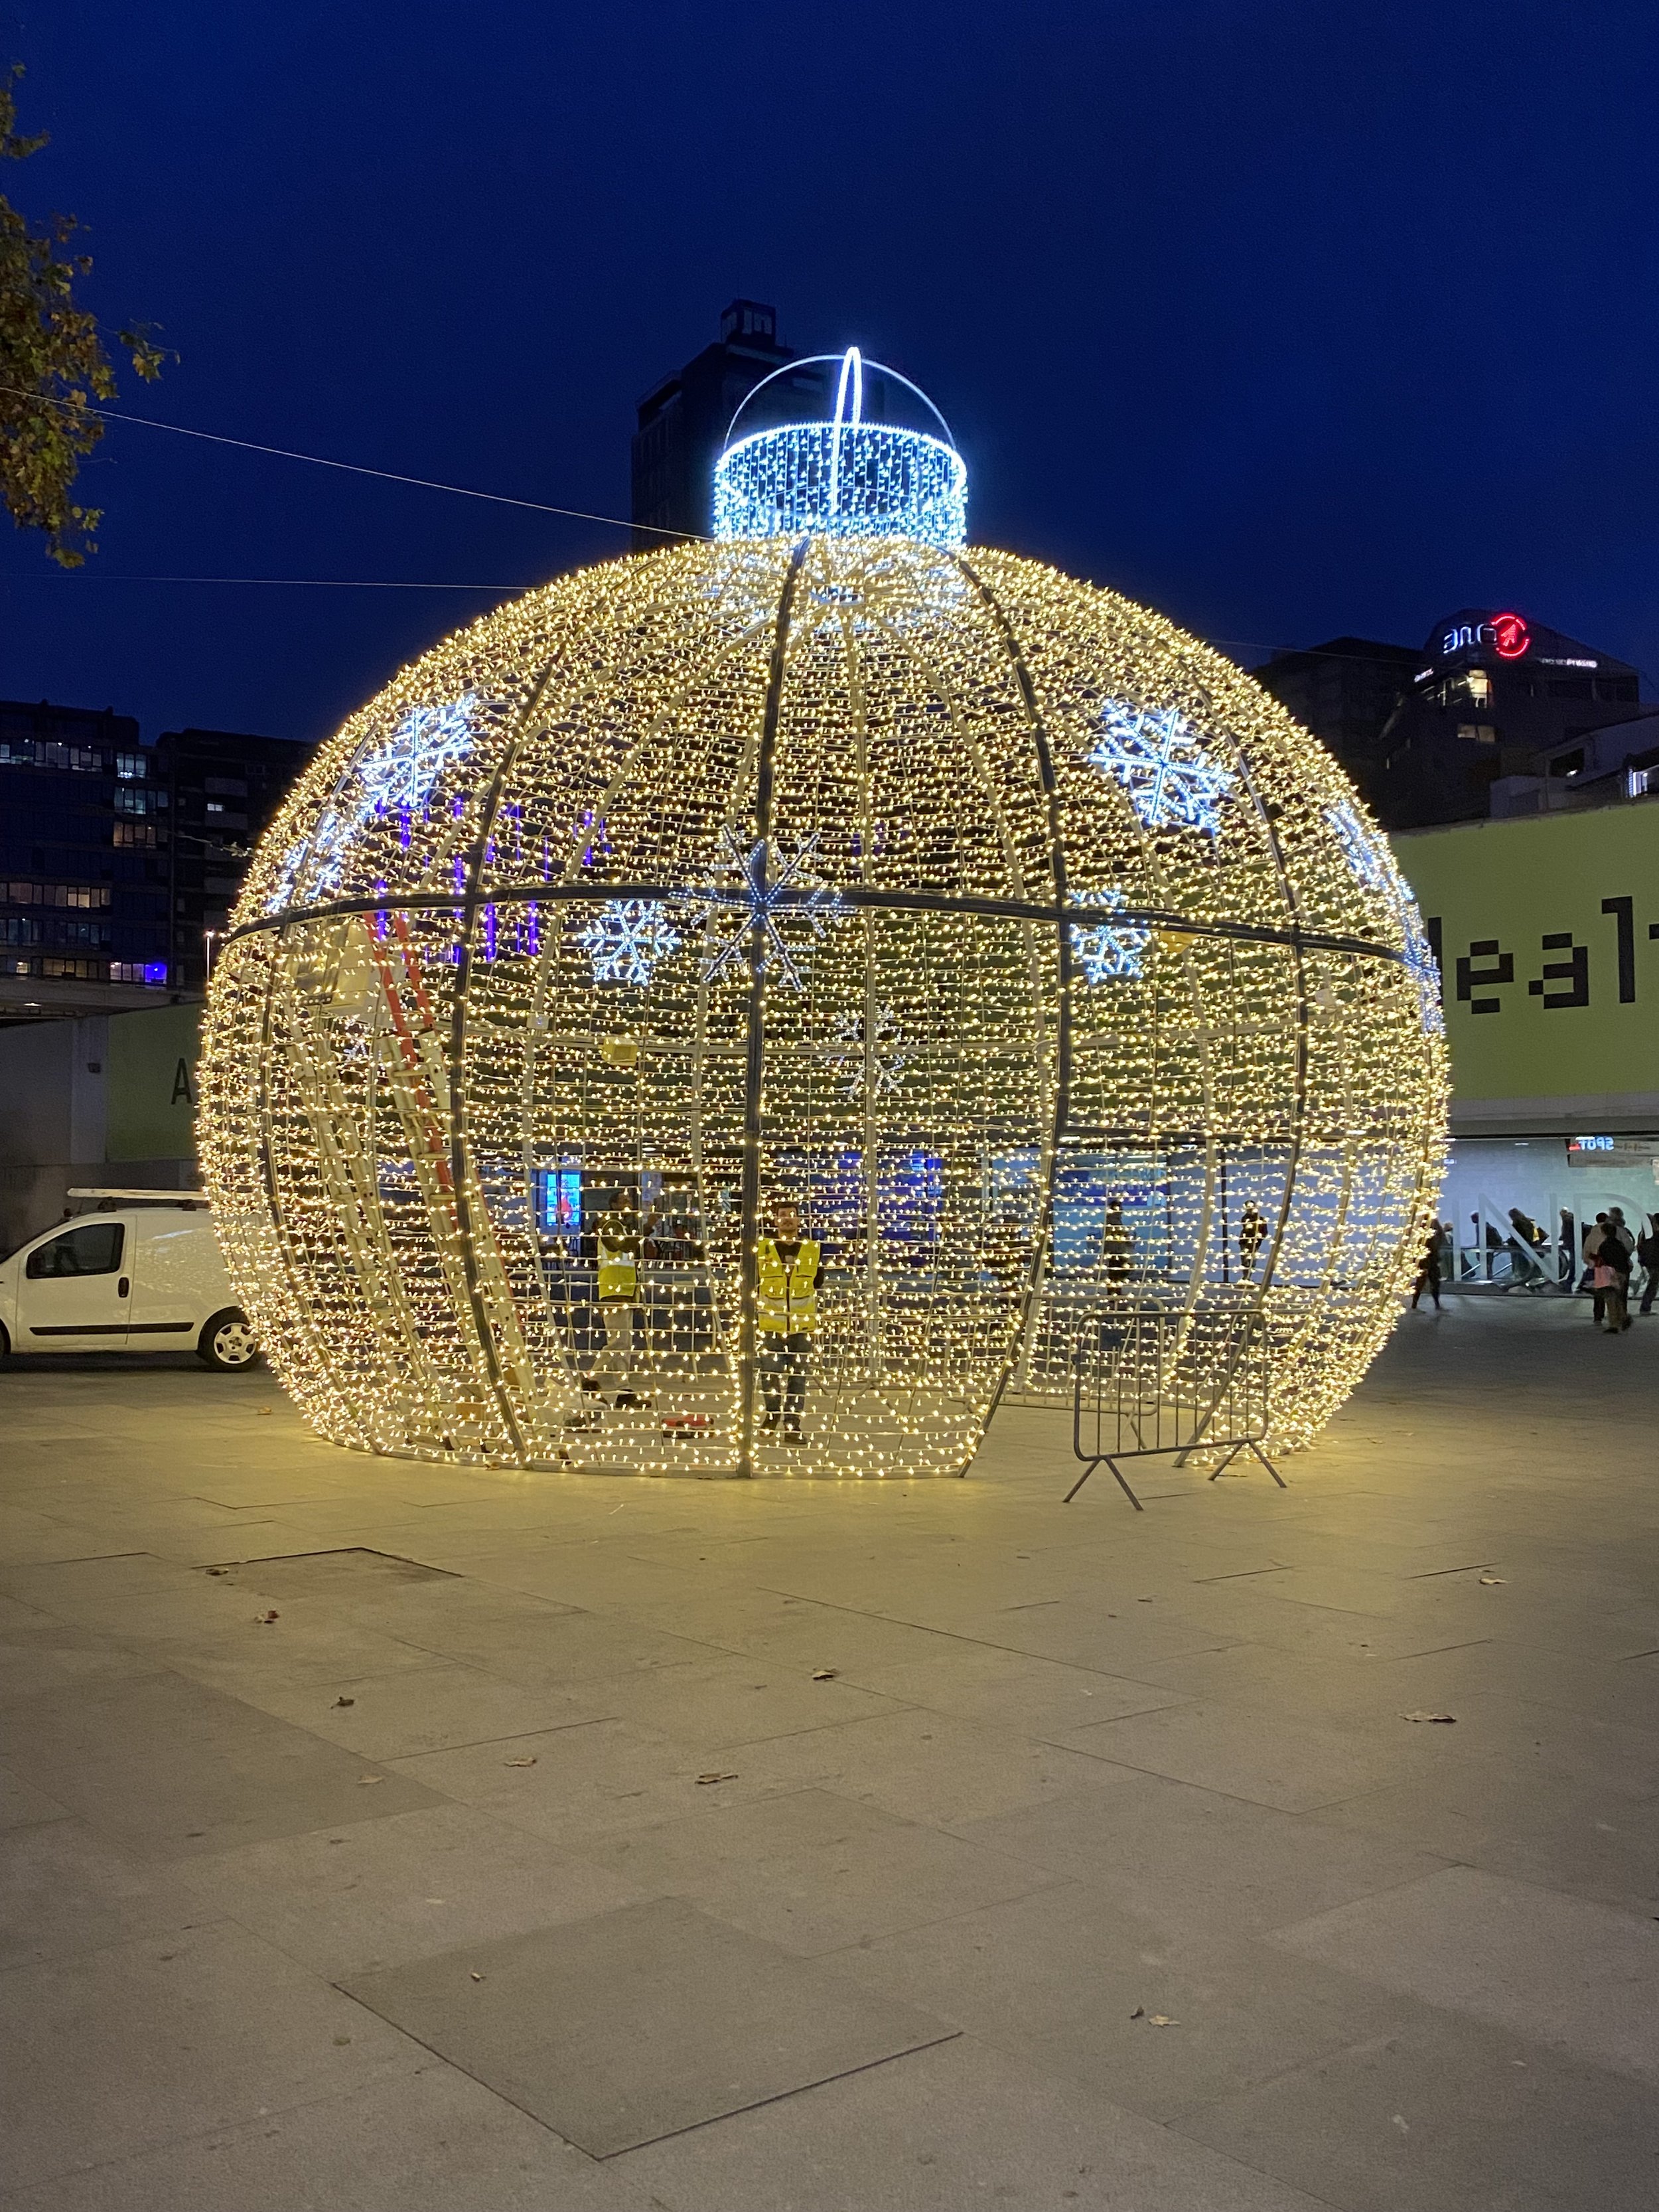

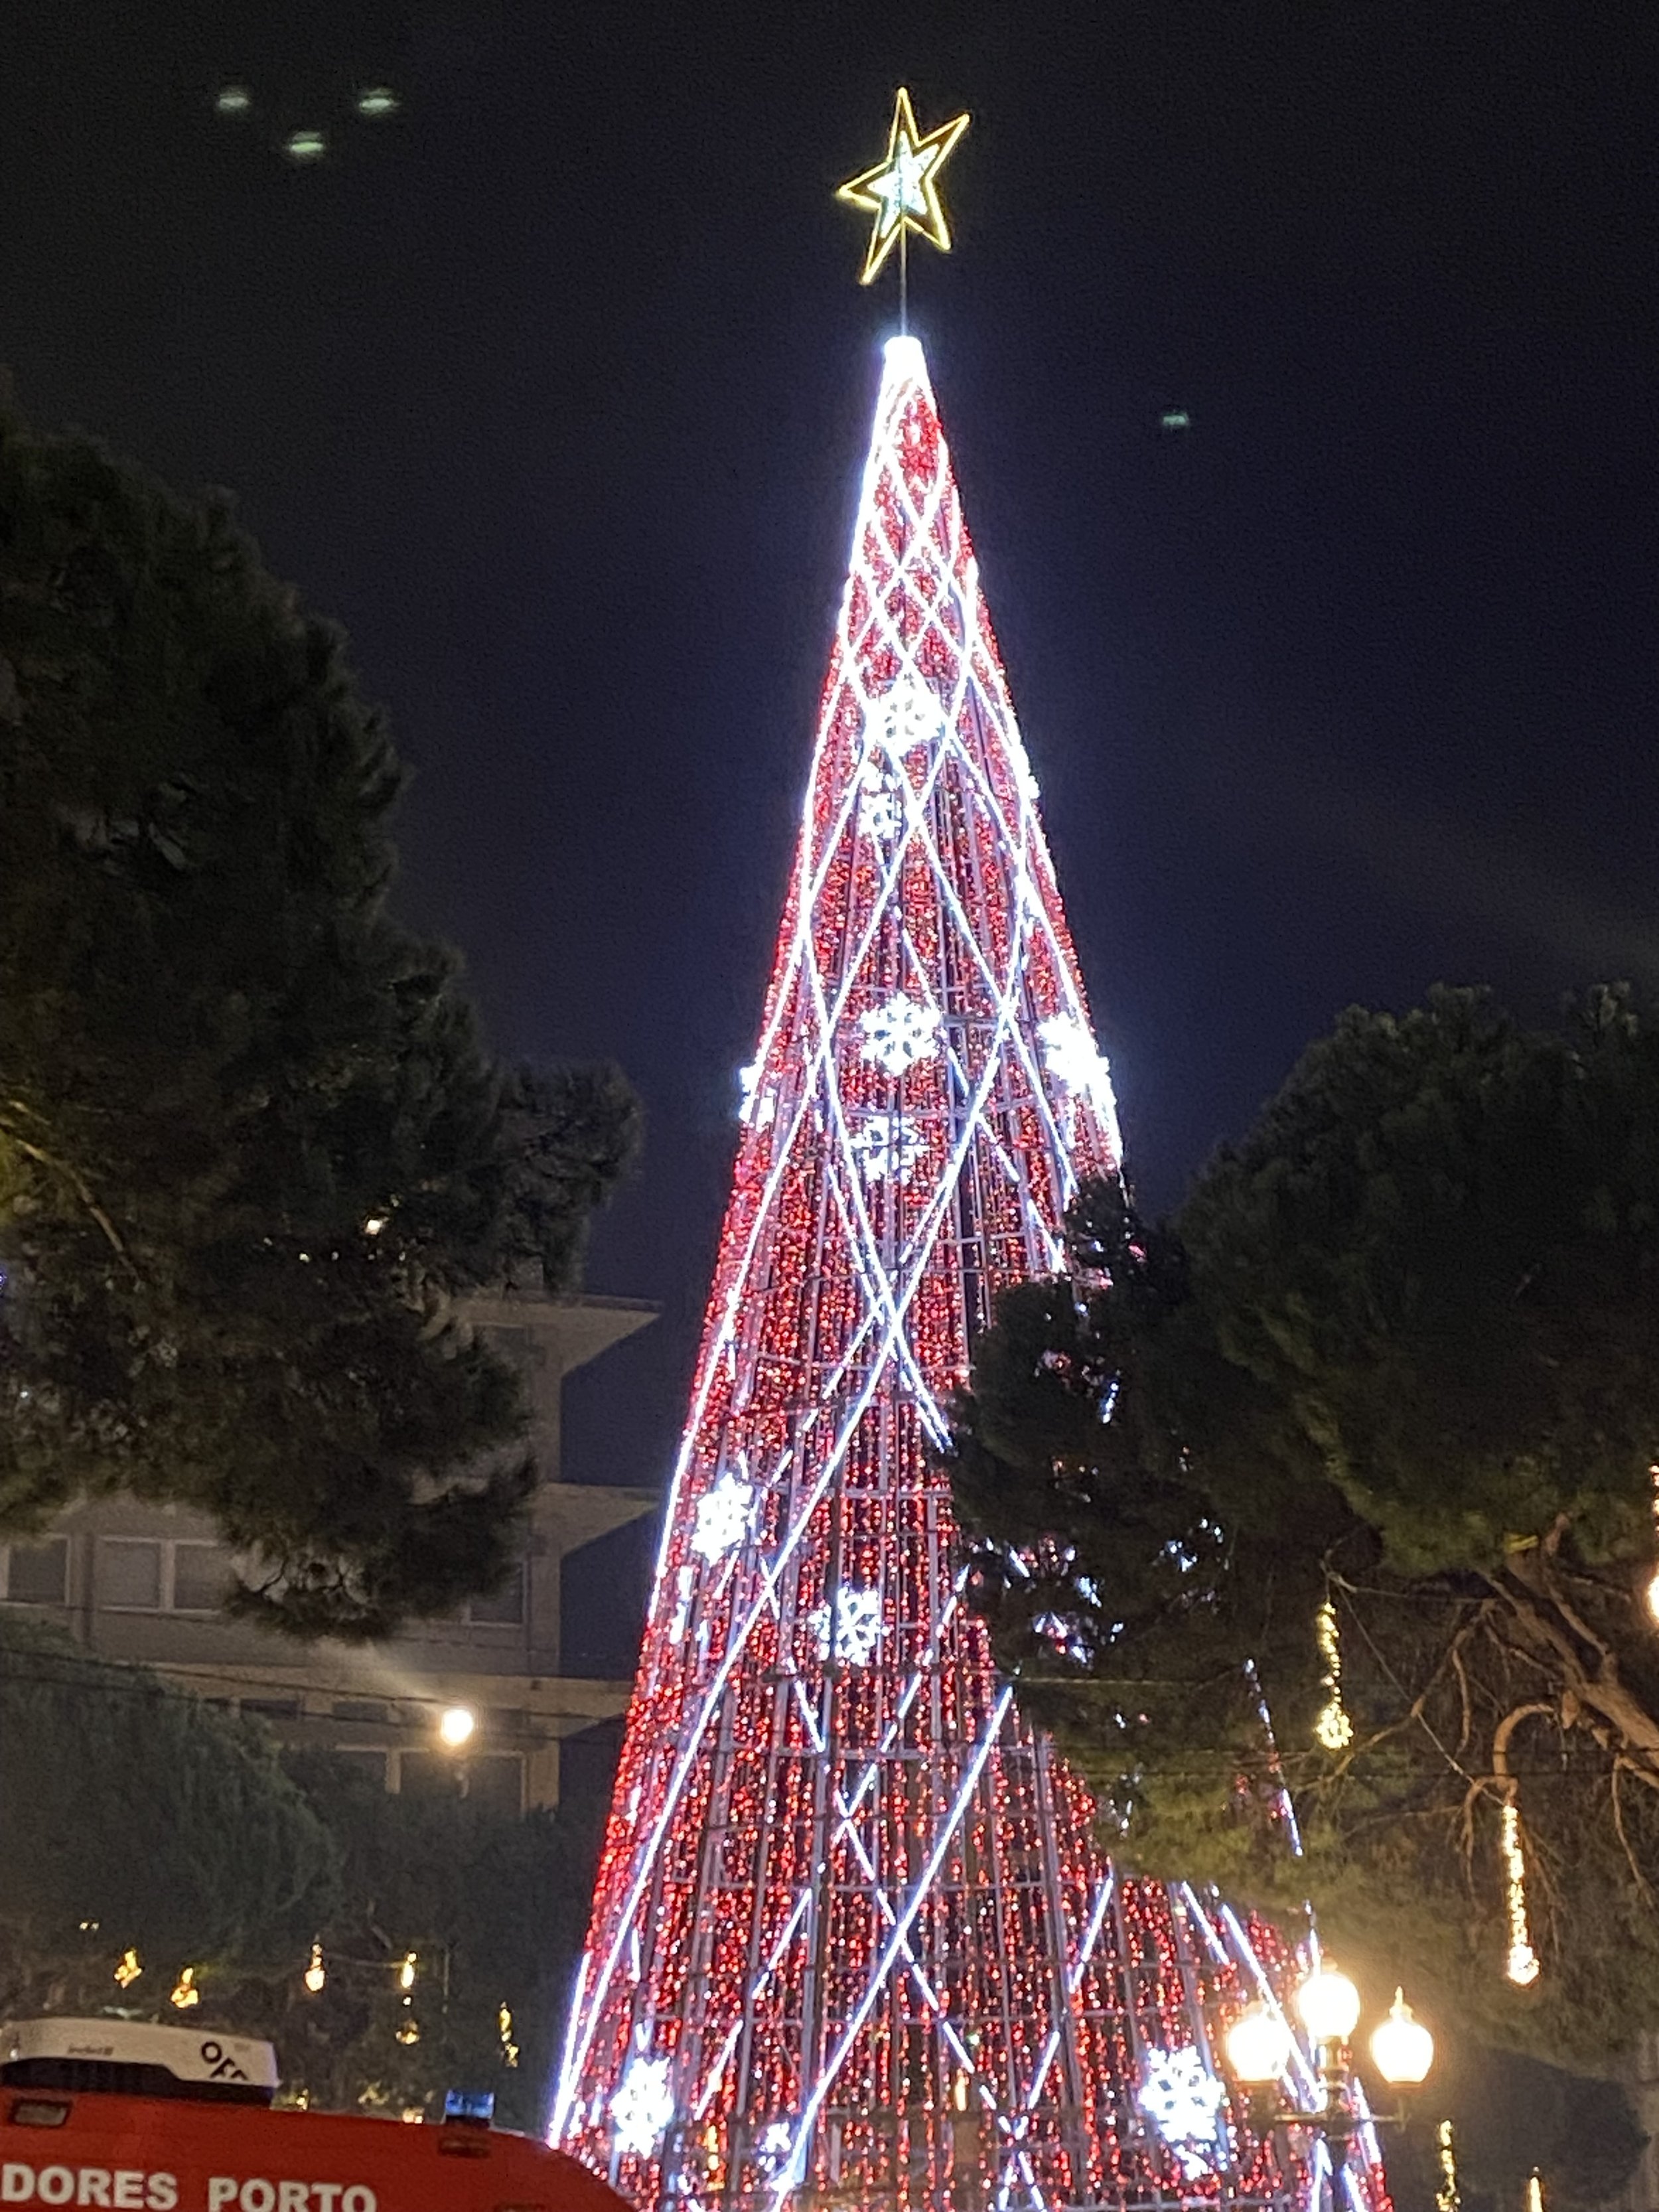
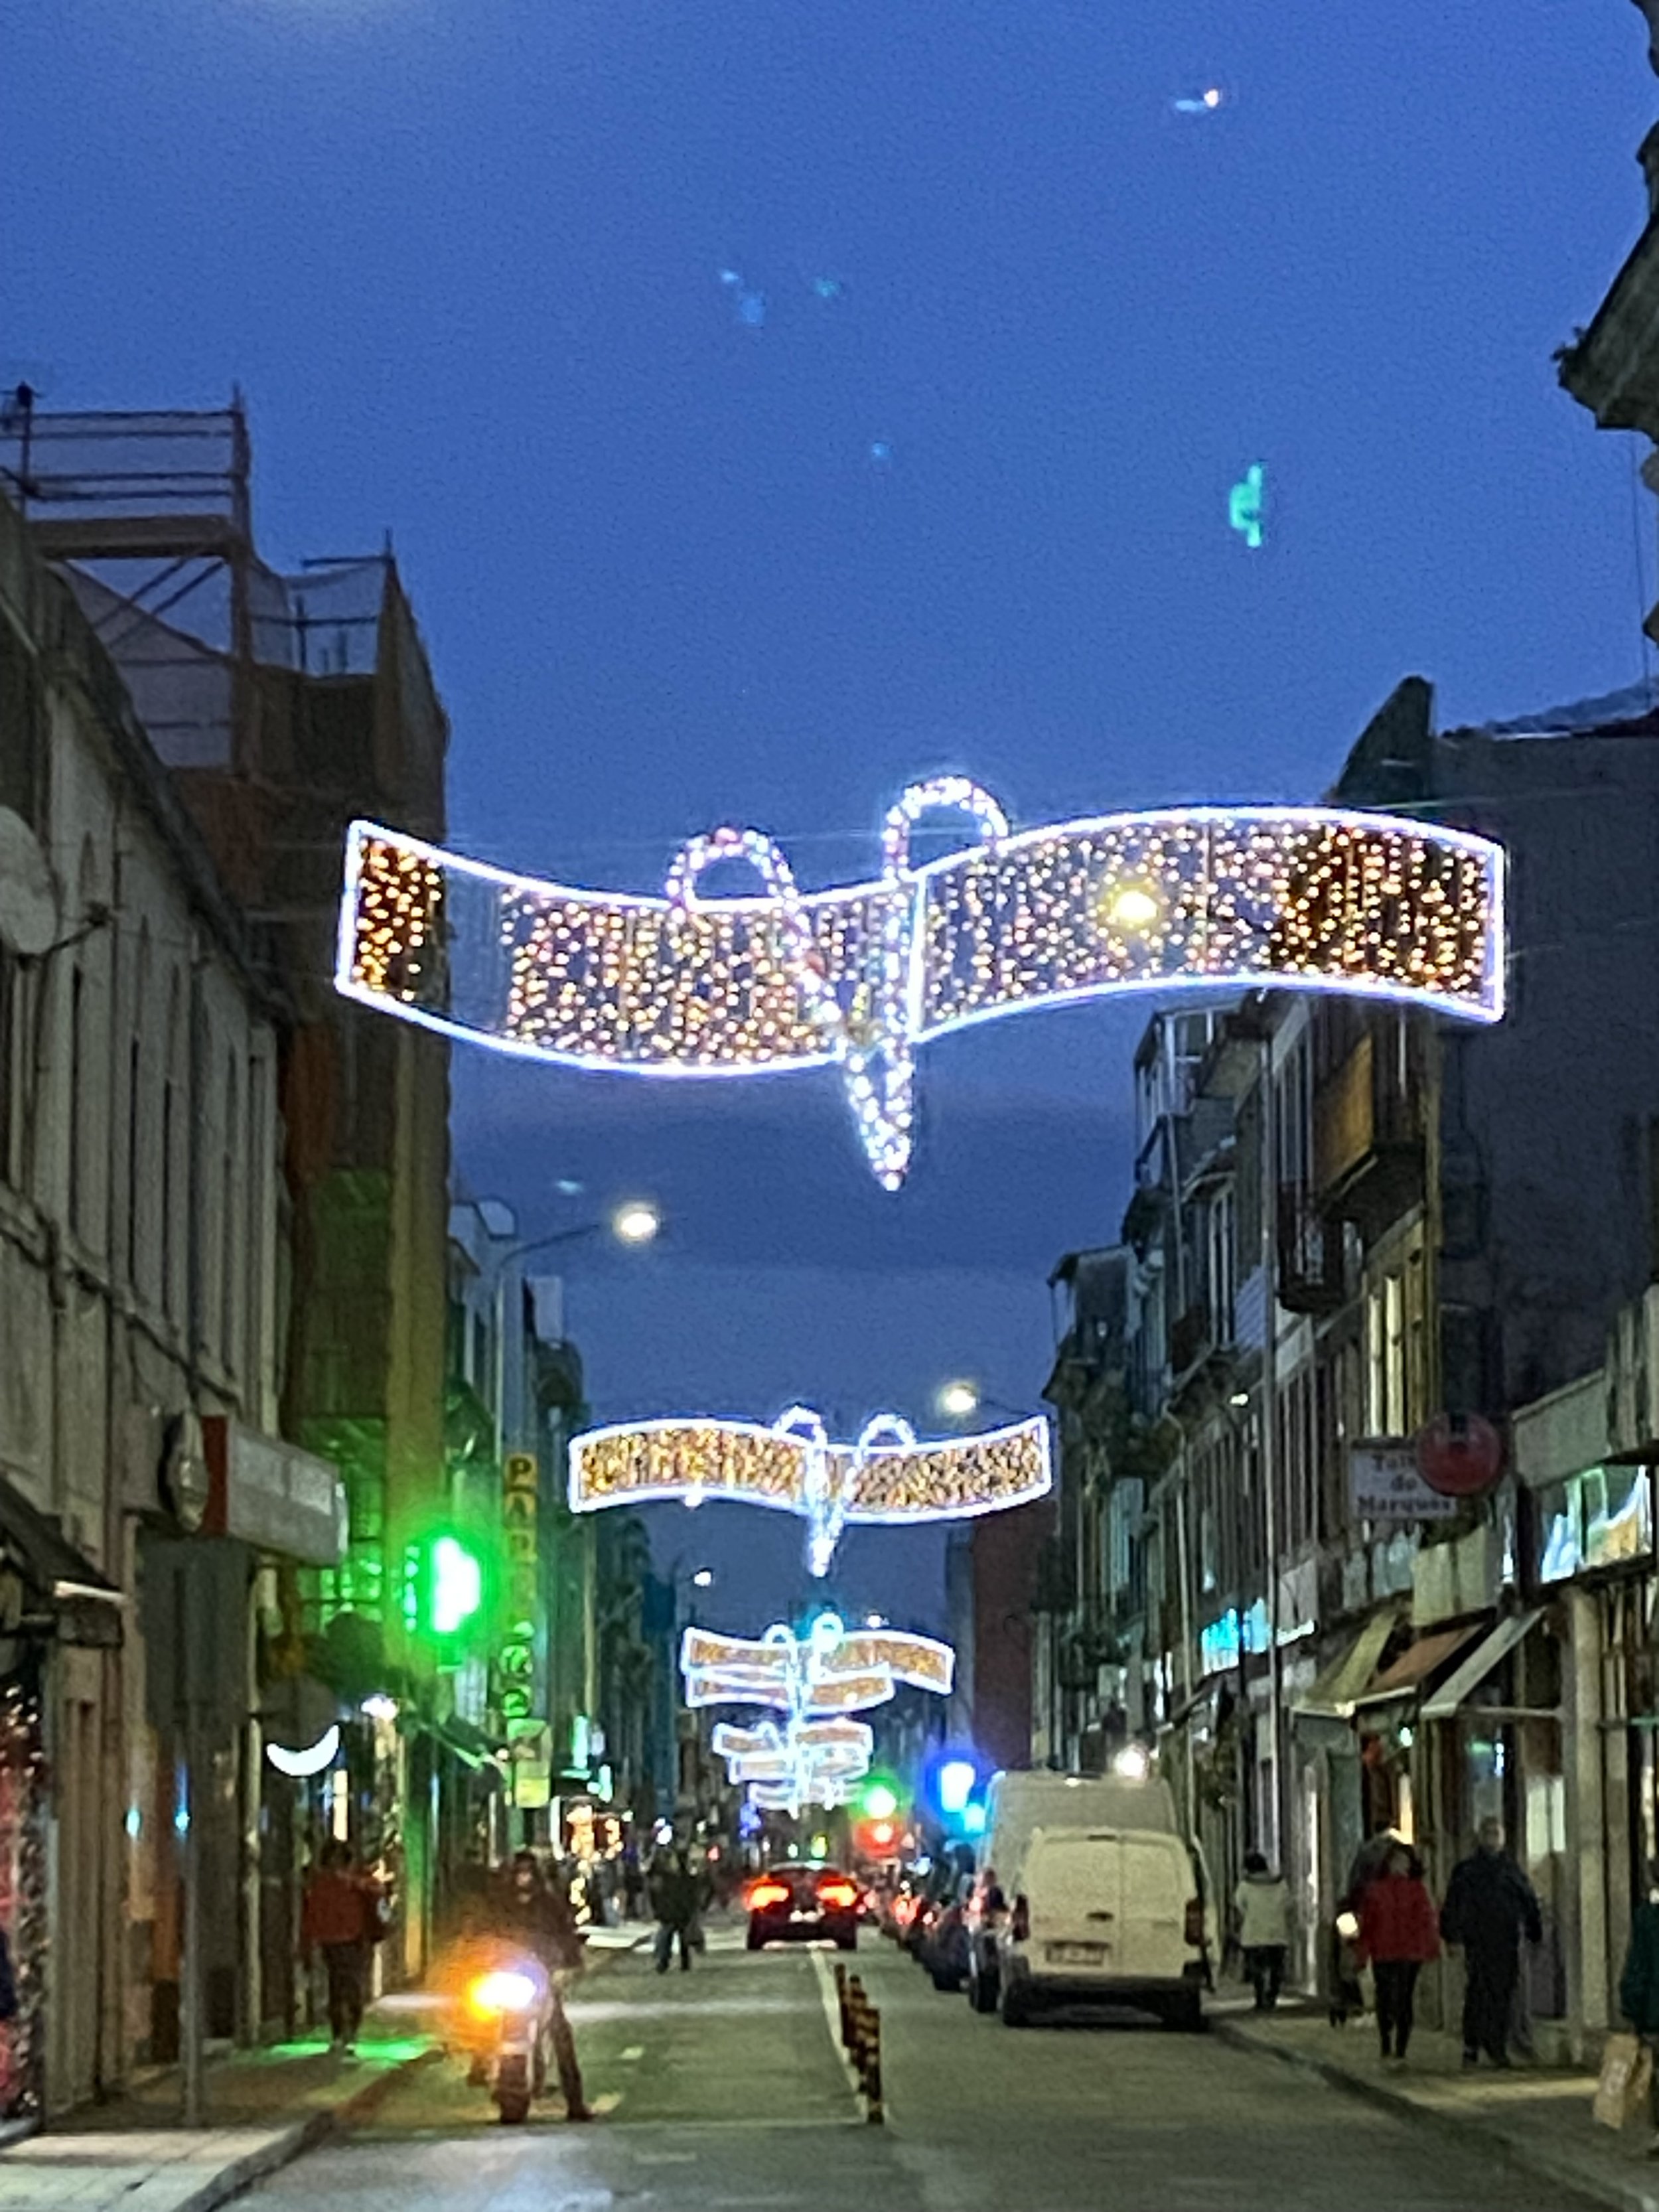
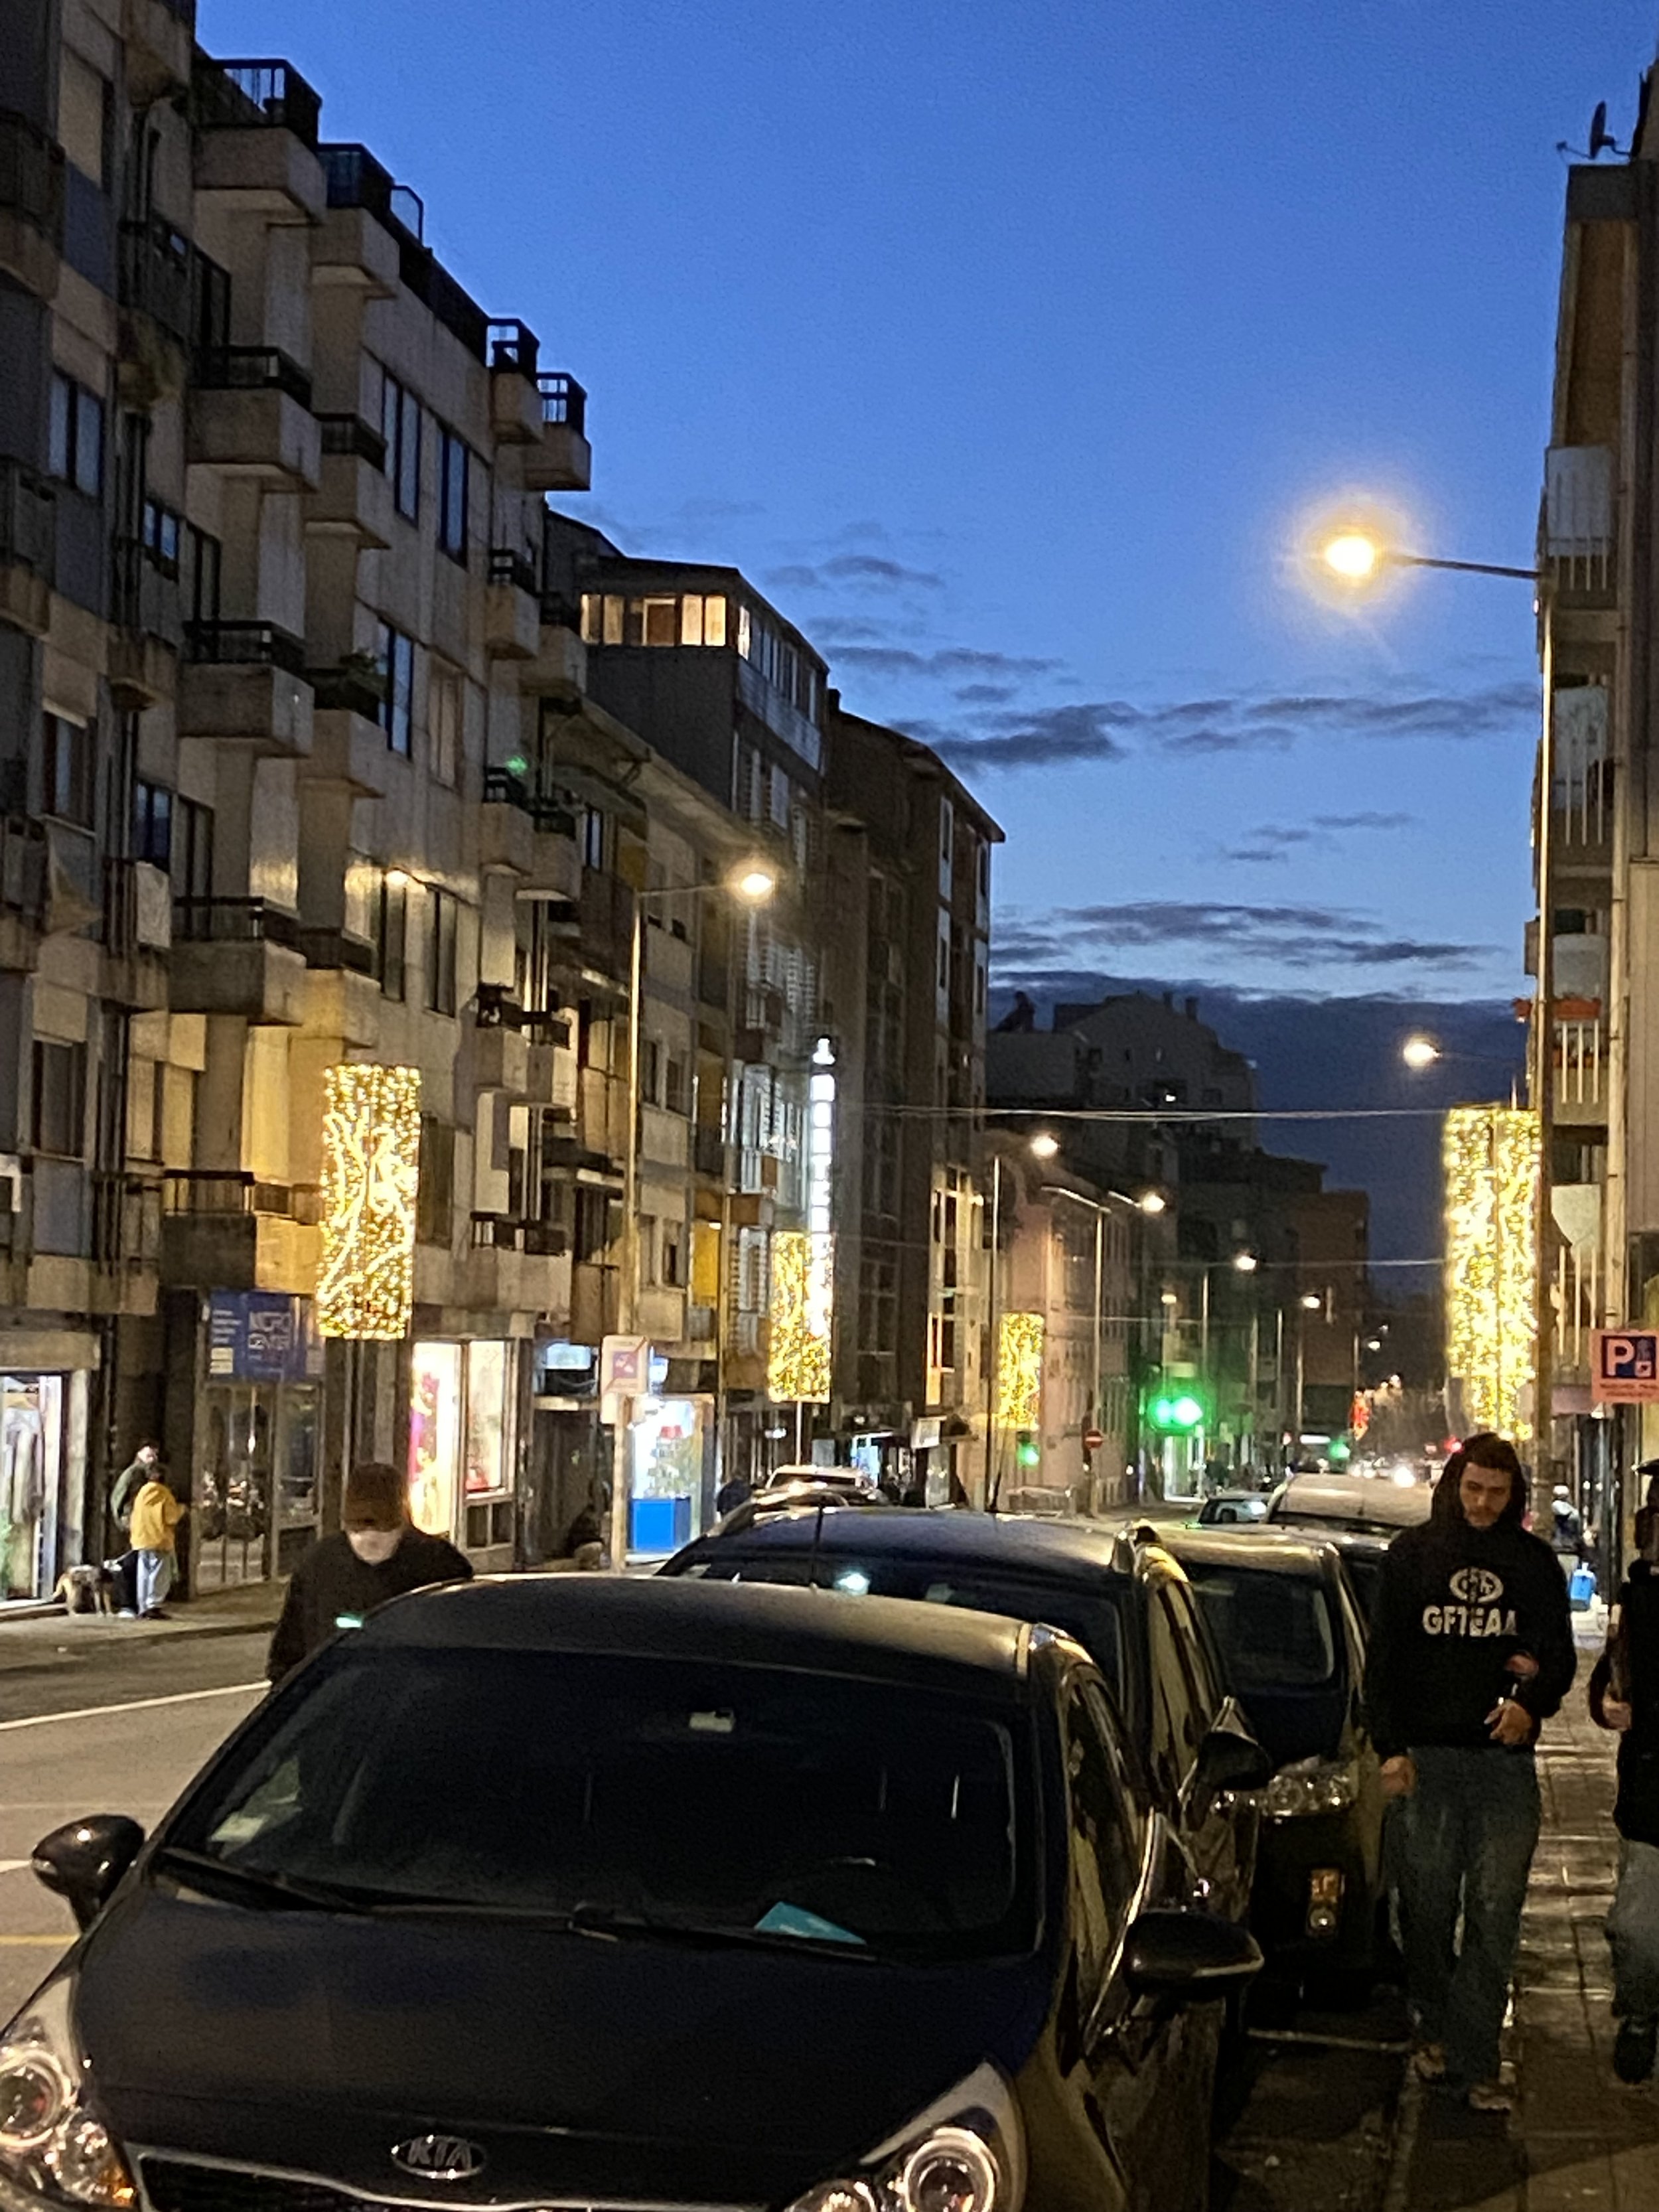
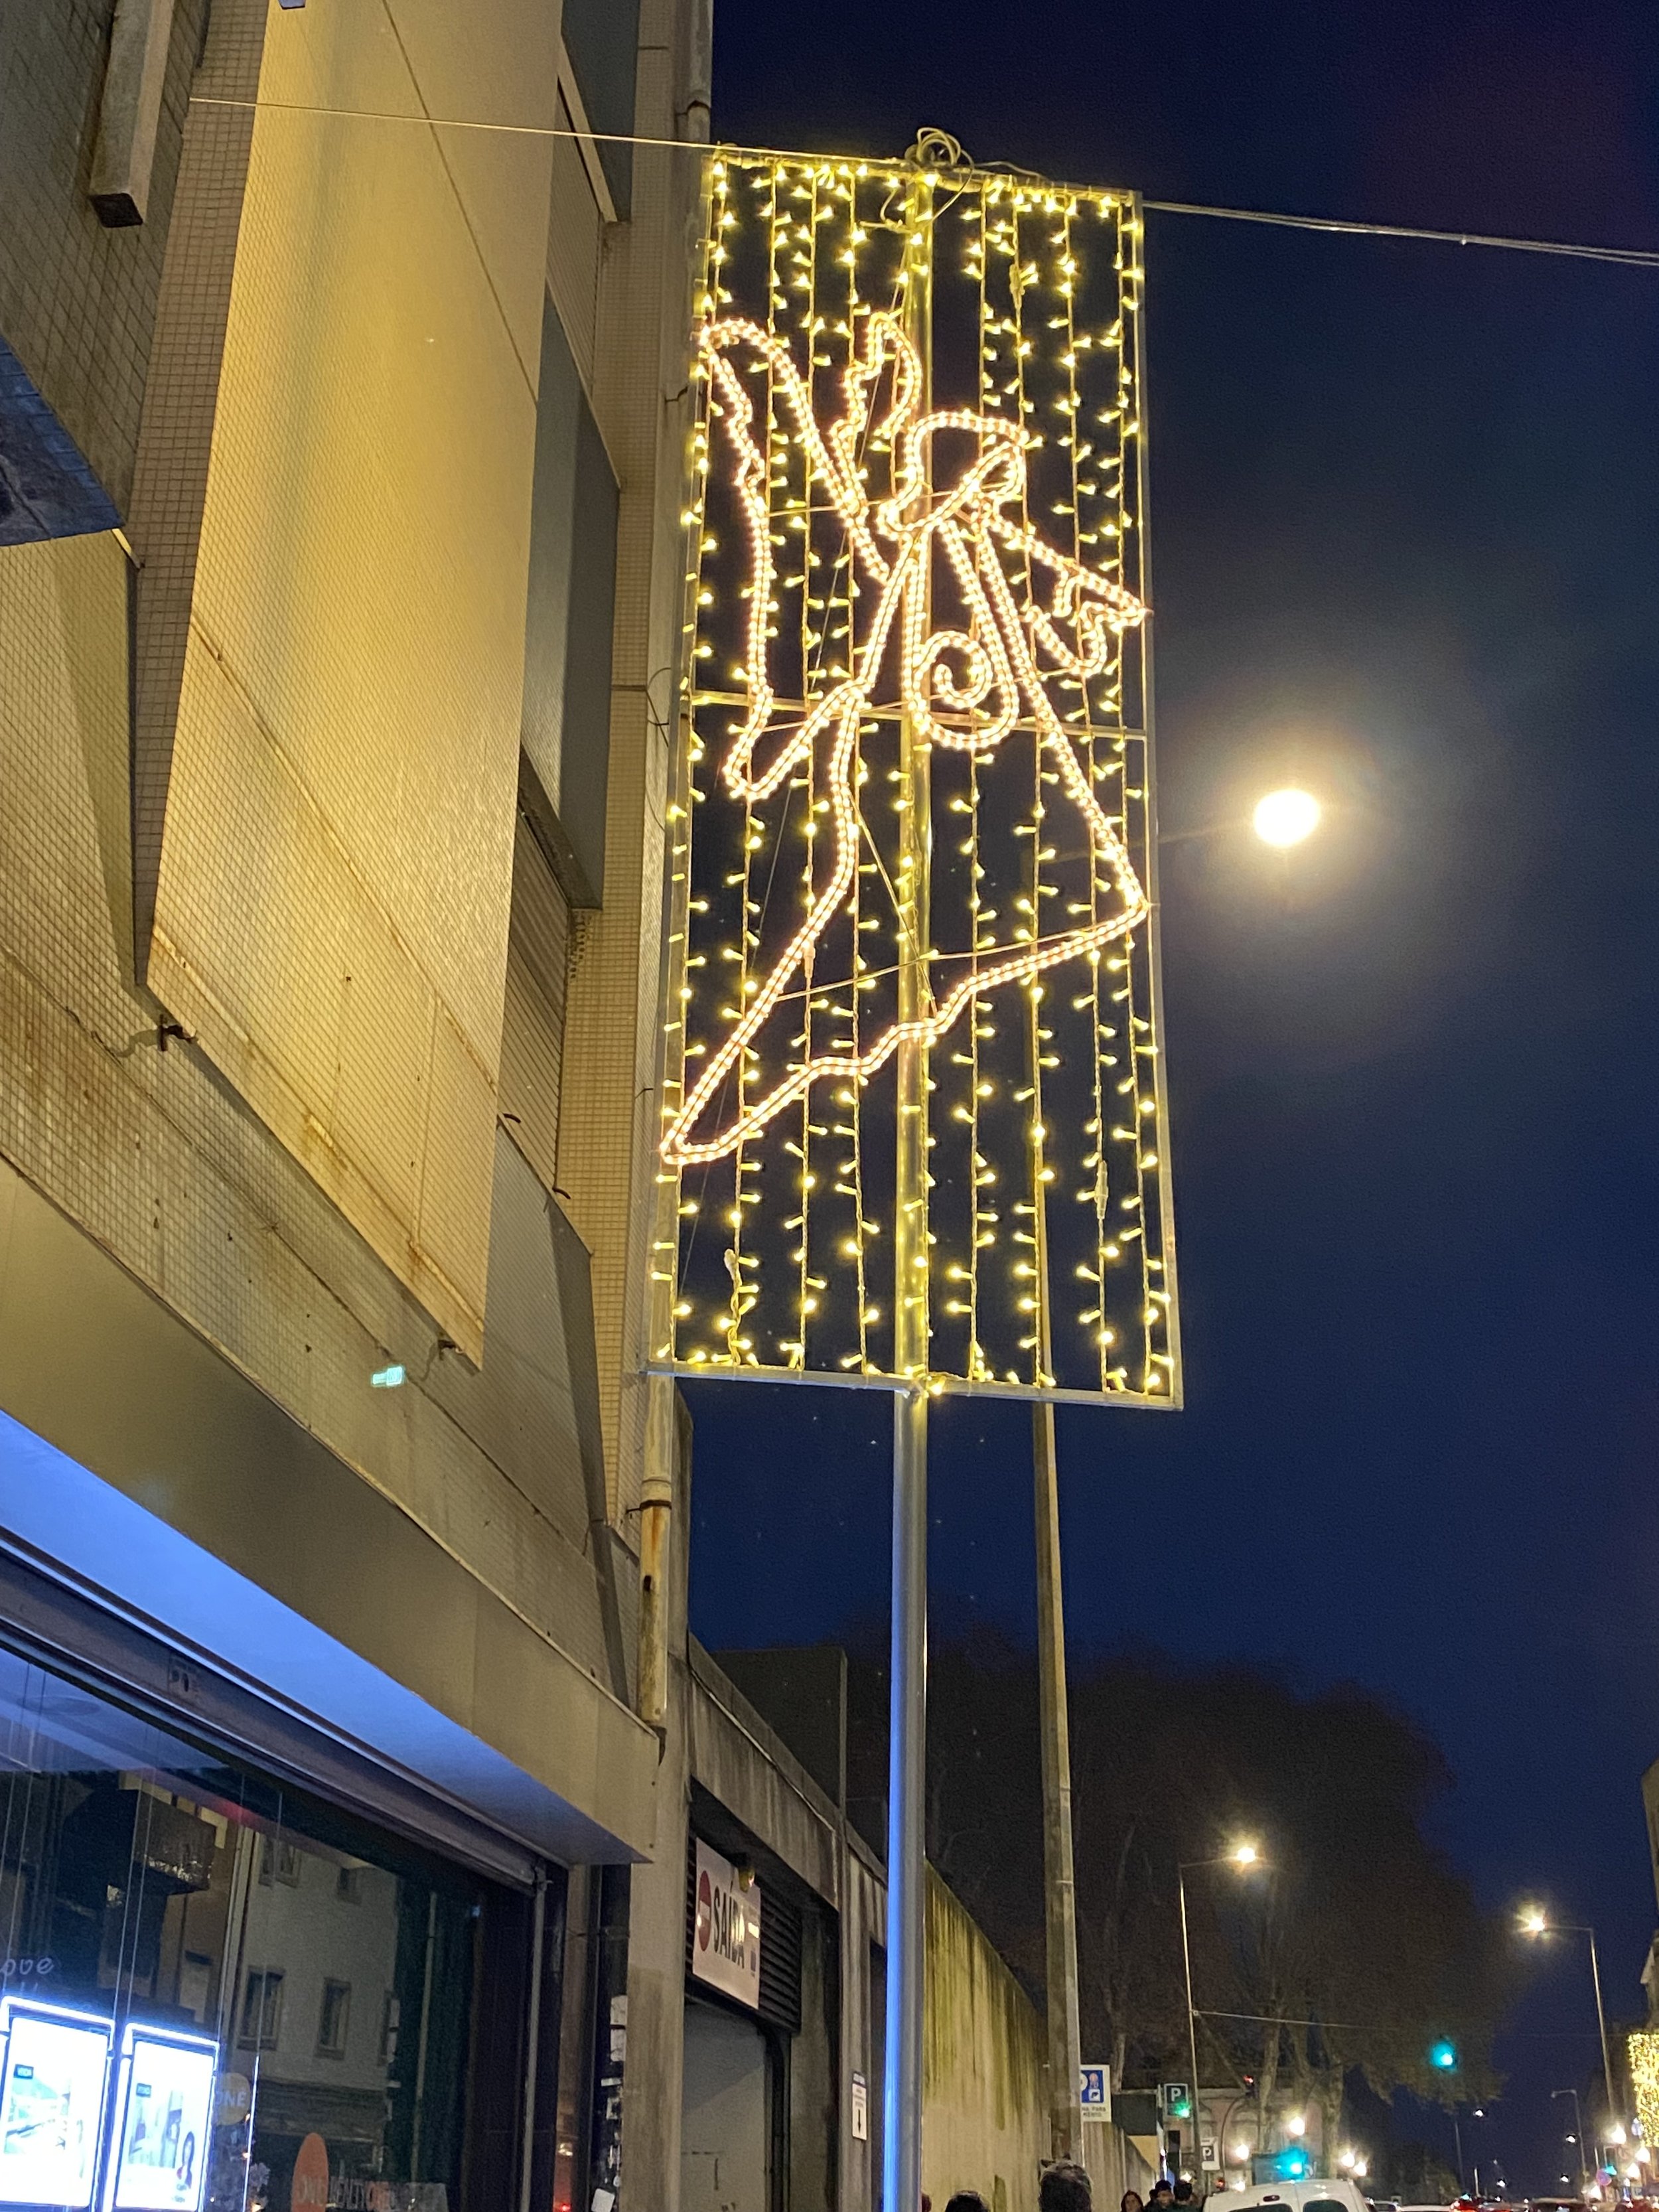
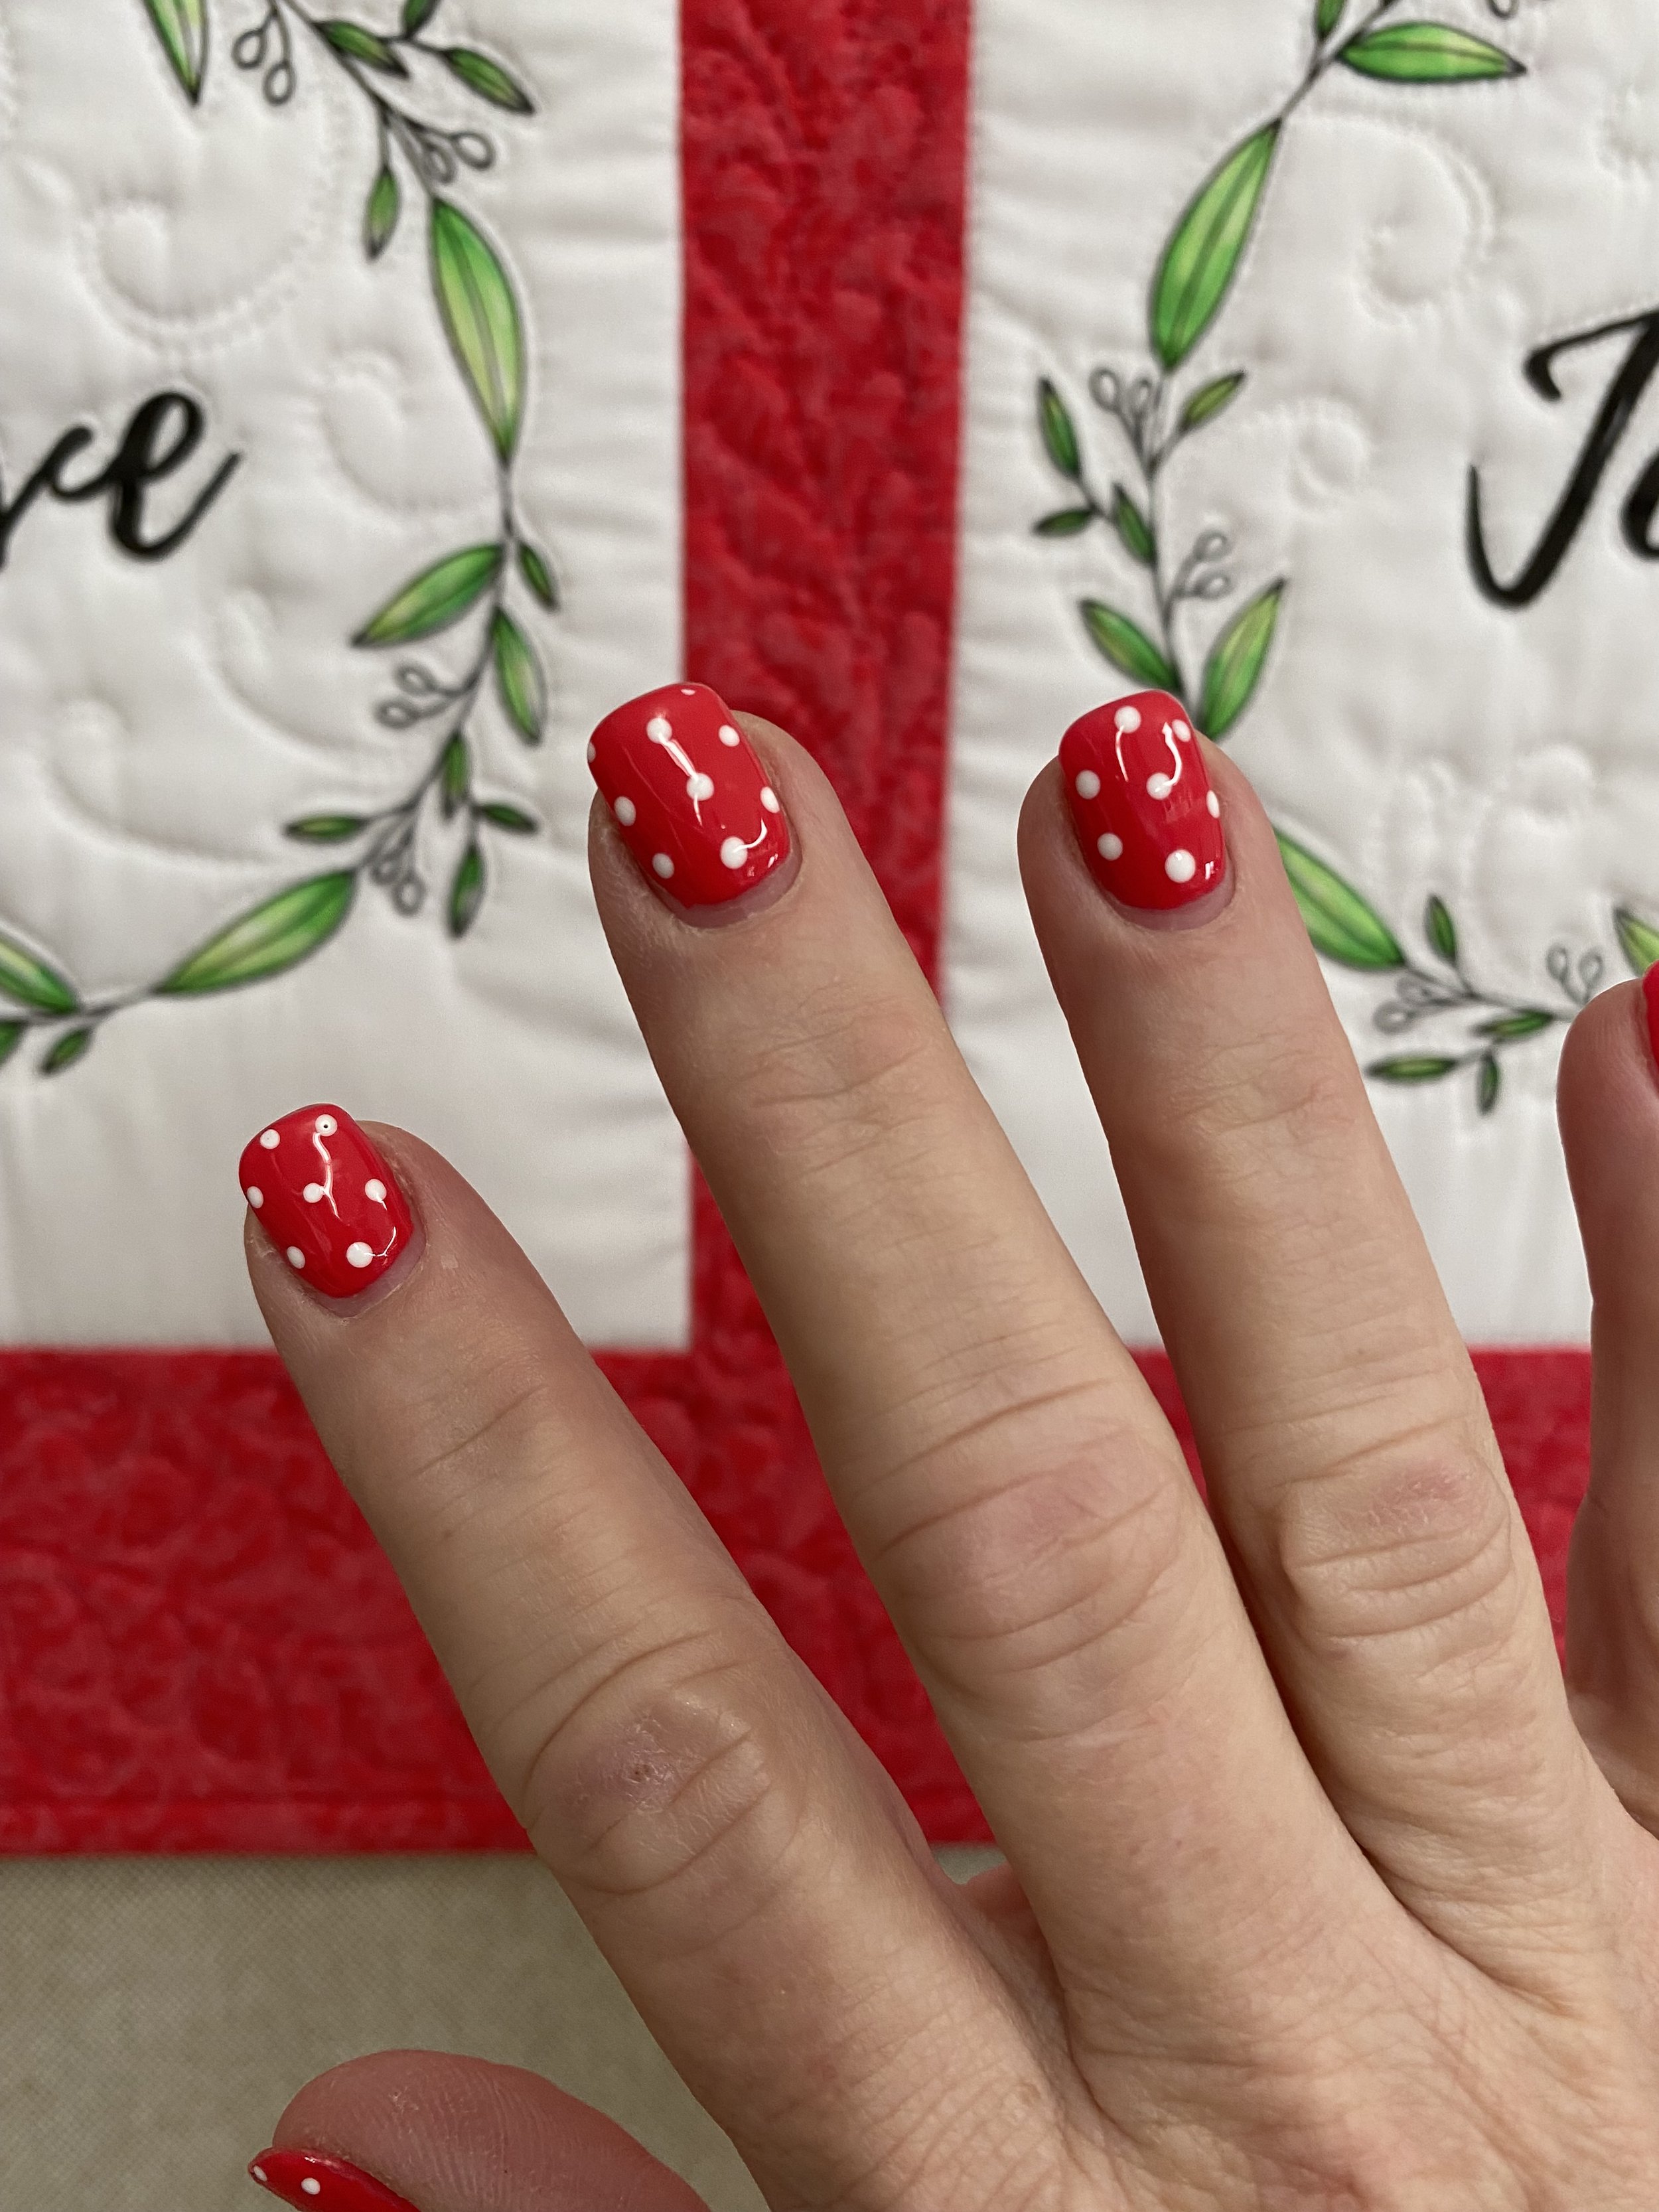
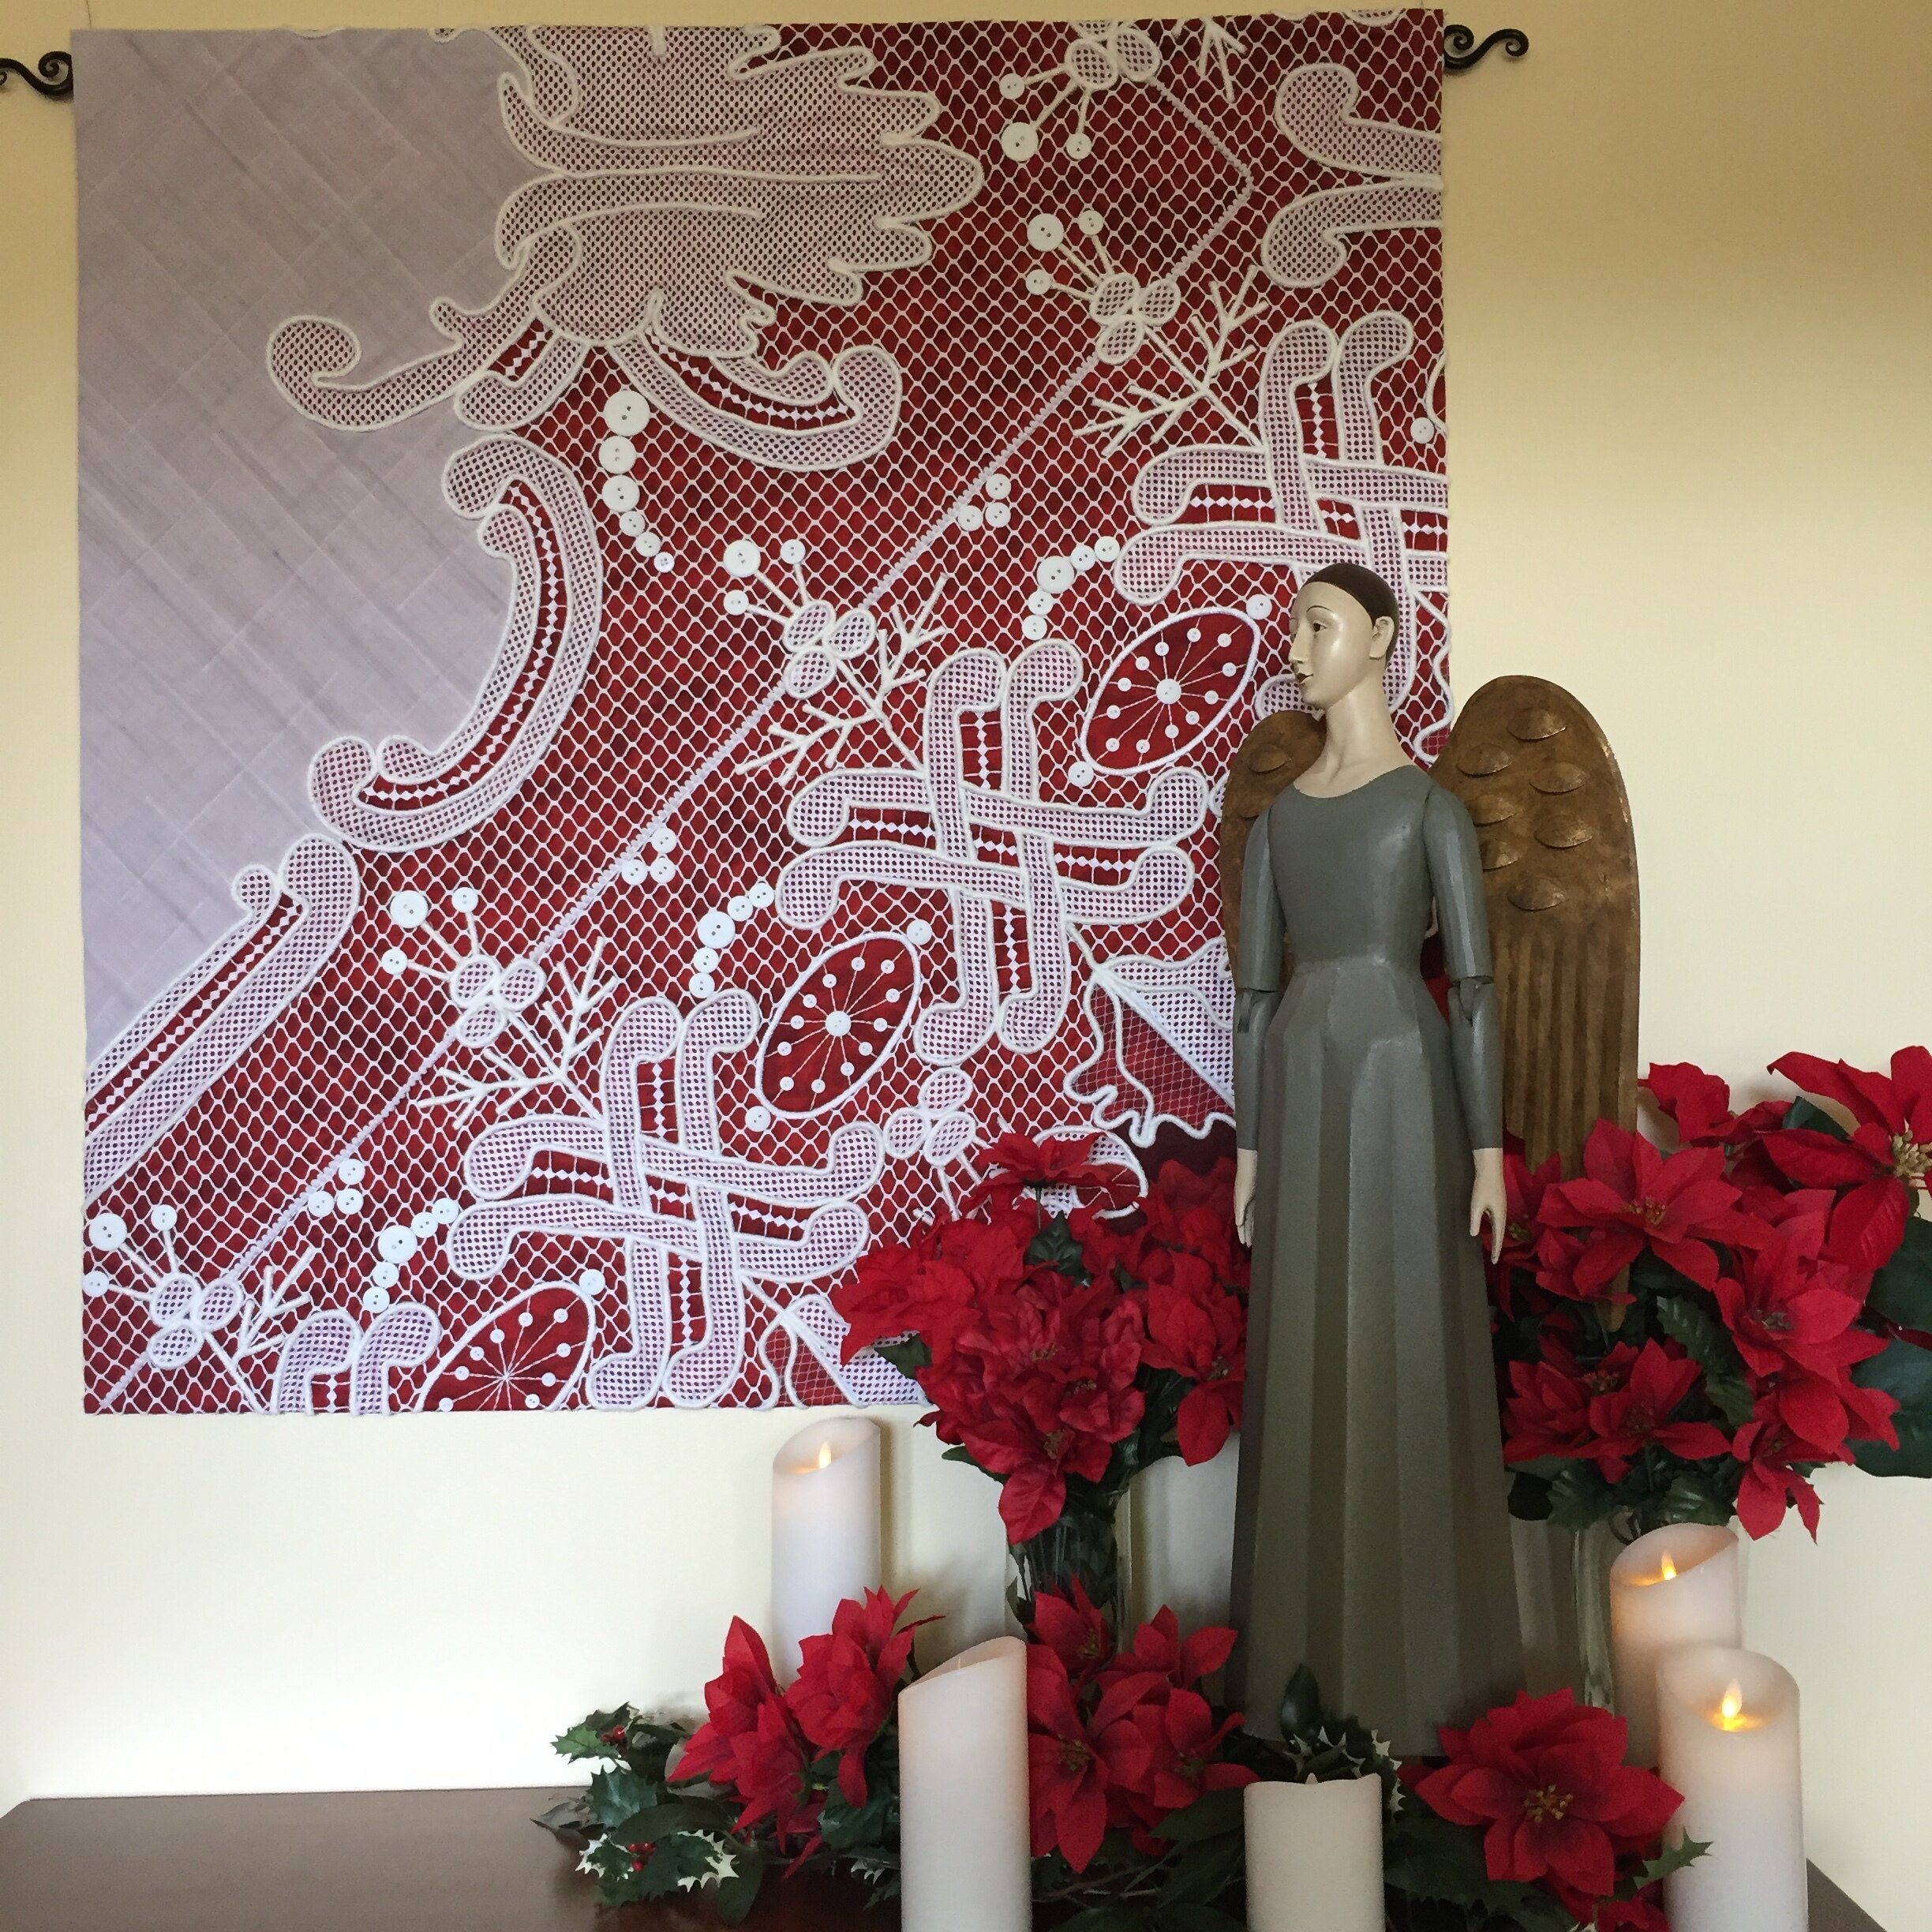
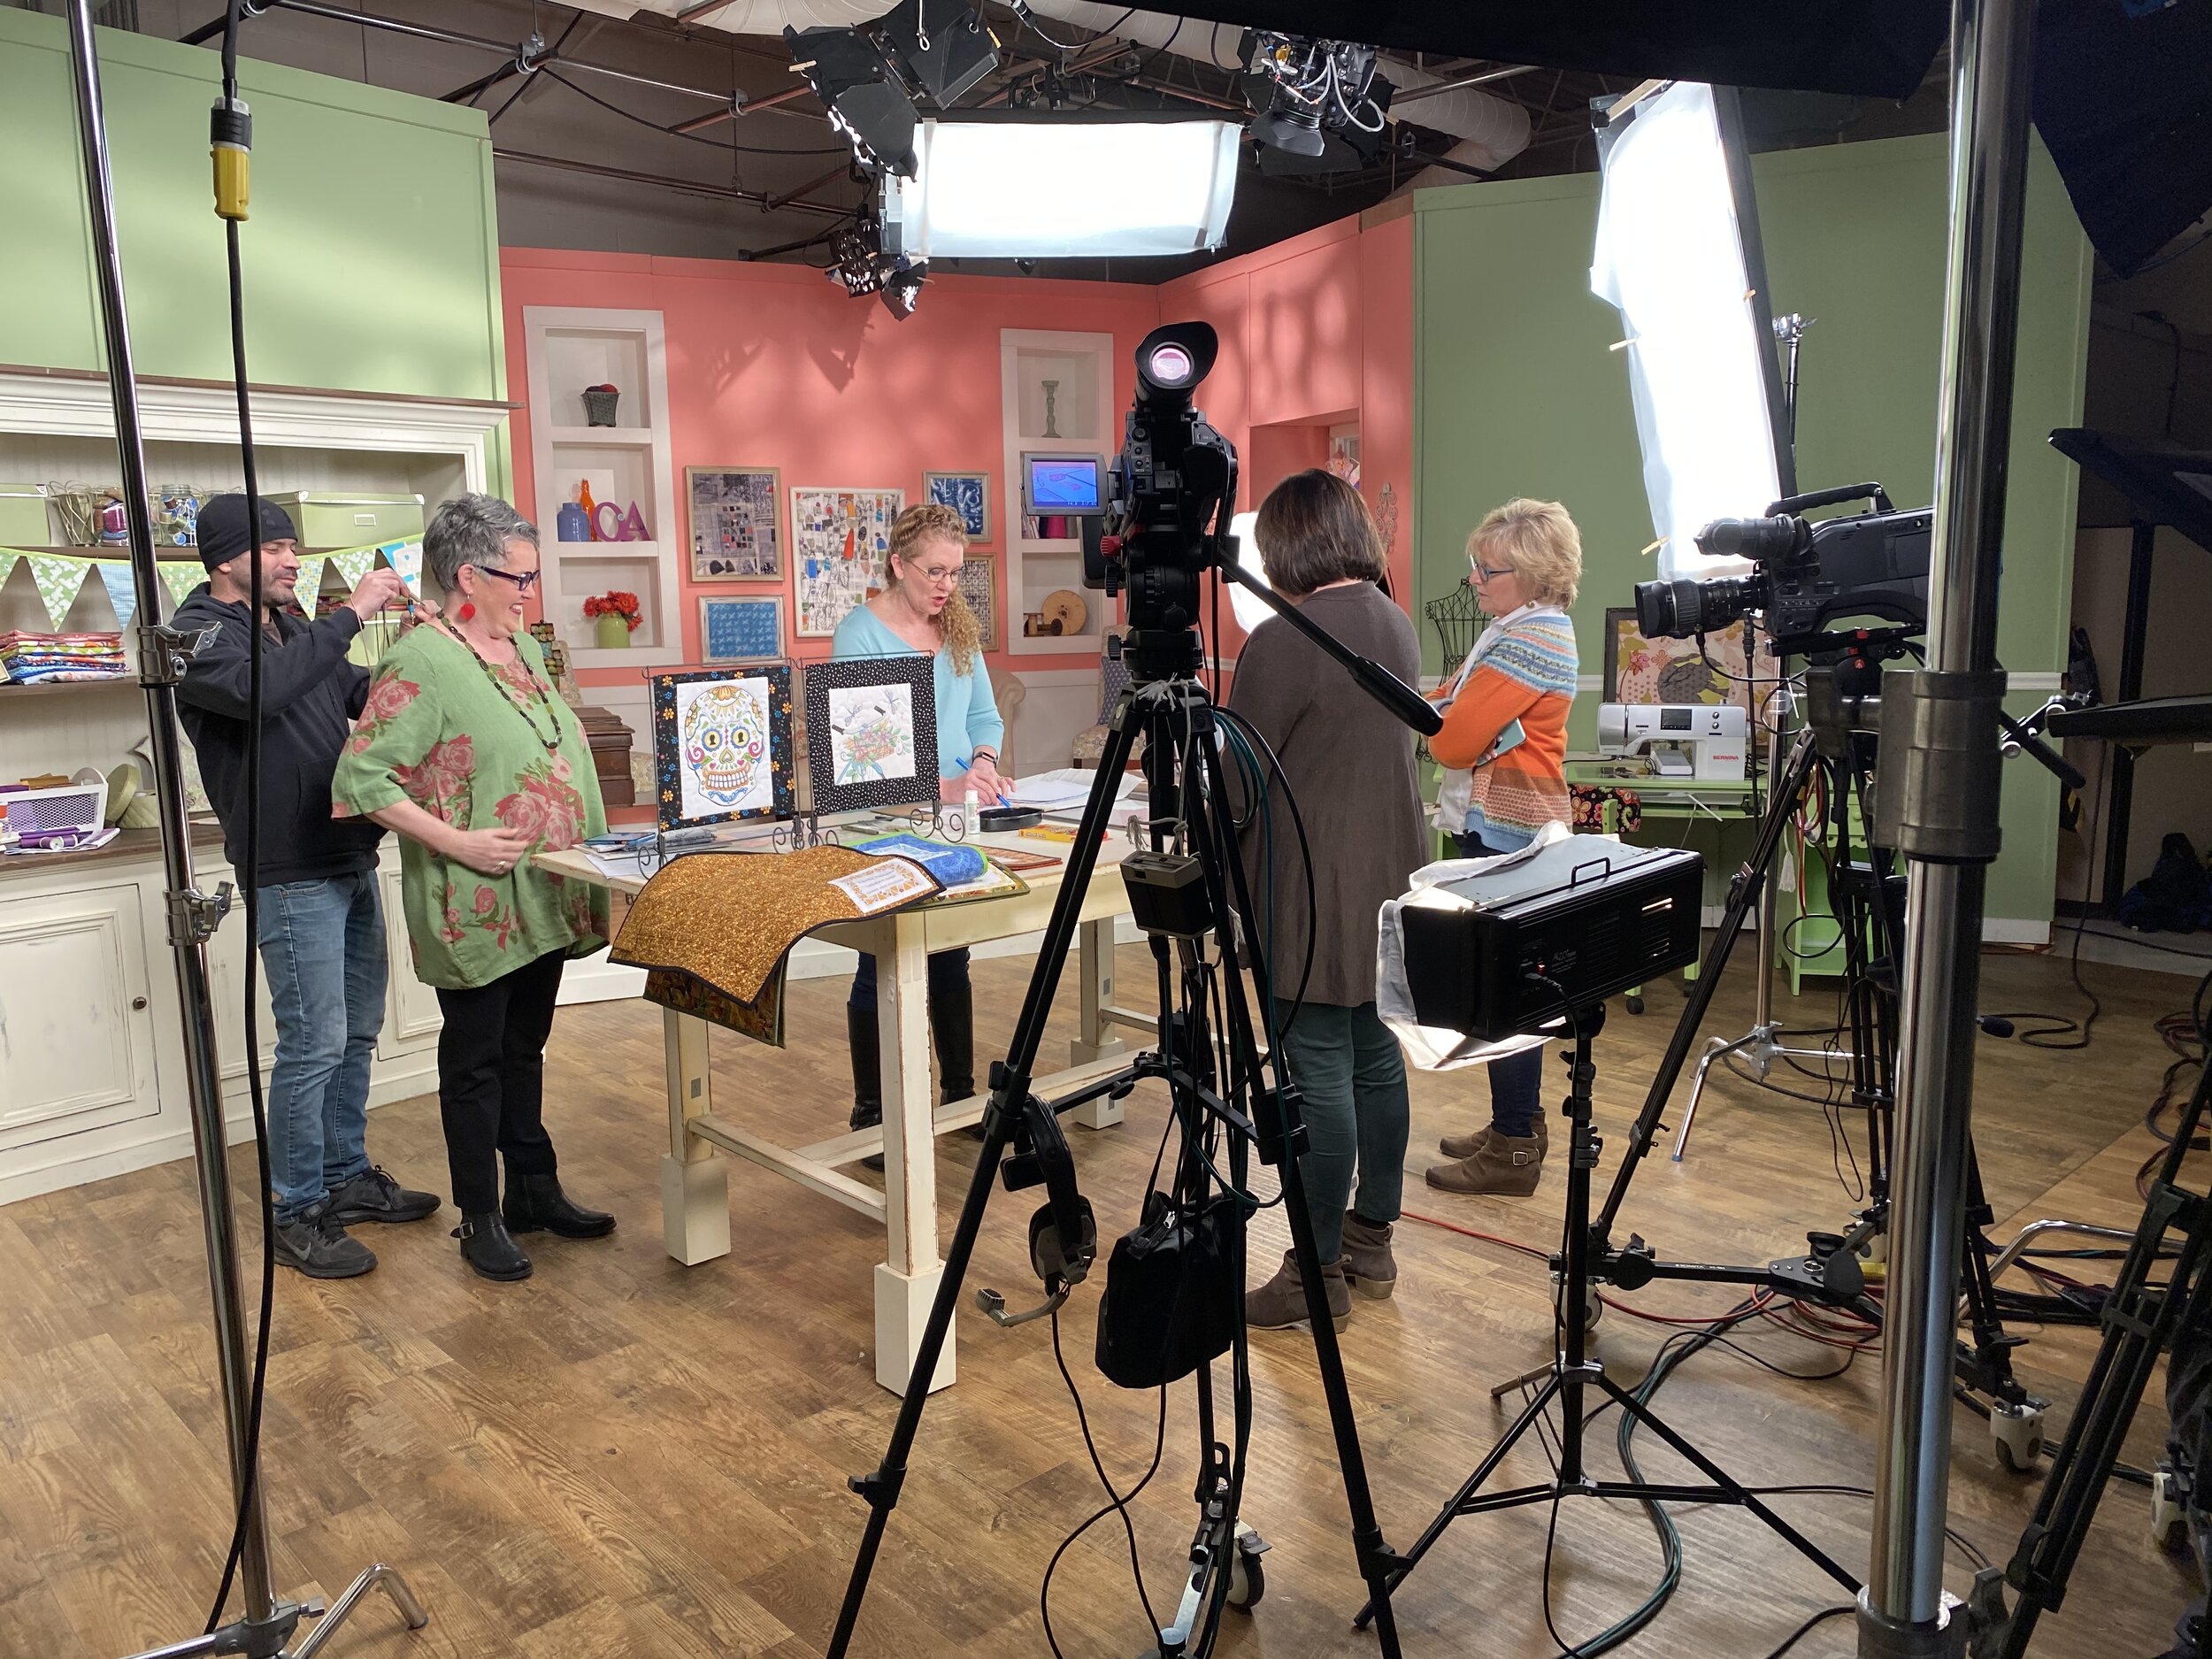
We did manage a bit of time to visit with friends and see more of the city. The Portuguese take the Christmas holiday seriously! We arrived a few days before Thanksgiving and the trees and decorations were in full swing (which I feel fine about since they don’t celebrate Thanksgiving) then on December 1, the city’s light displays are turned on. The square in front of city hall comes alive with a huge tree that has a changing light show and white lights wound through the trees lining the square. Throughout the neighborhoods there are white lights that swag over the streets, lighted images attached to streetlight posts and oversized light up trees and ornaments everywhere you look. The weather is crisp - but it doesn’t snow. We did get some rain but just enough for me to get to use my beautiful umbrella with the Tiffany glass, poppy design that I bought at a museum store in Cleveland, Ohio when I traveled there to tape my Quilting Arts episodes.
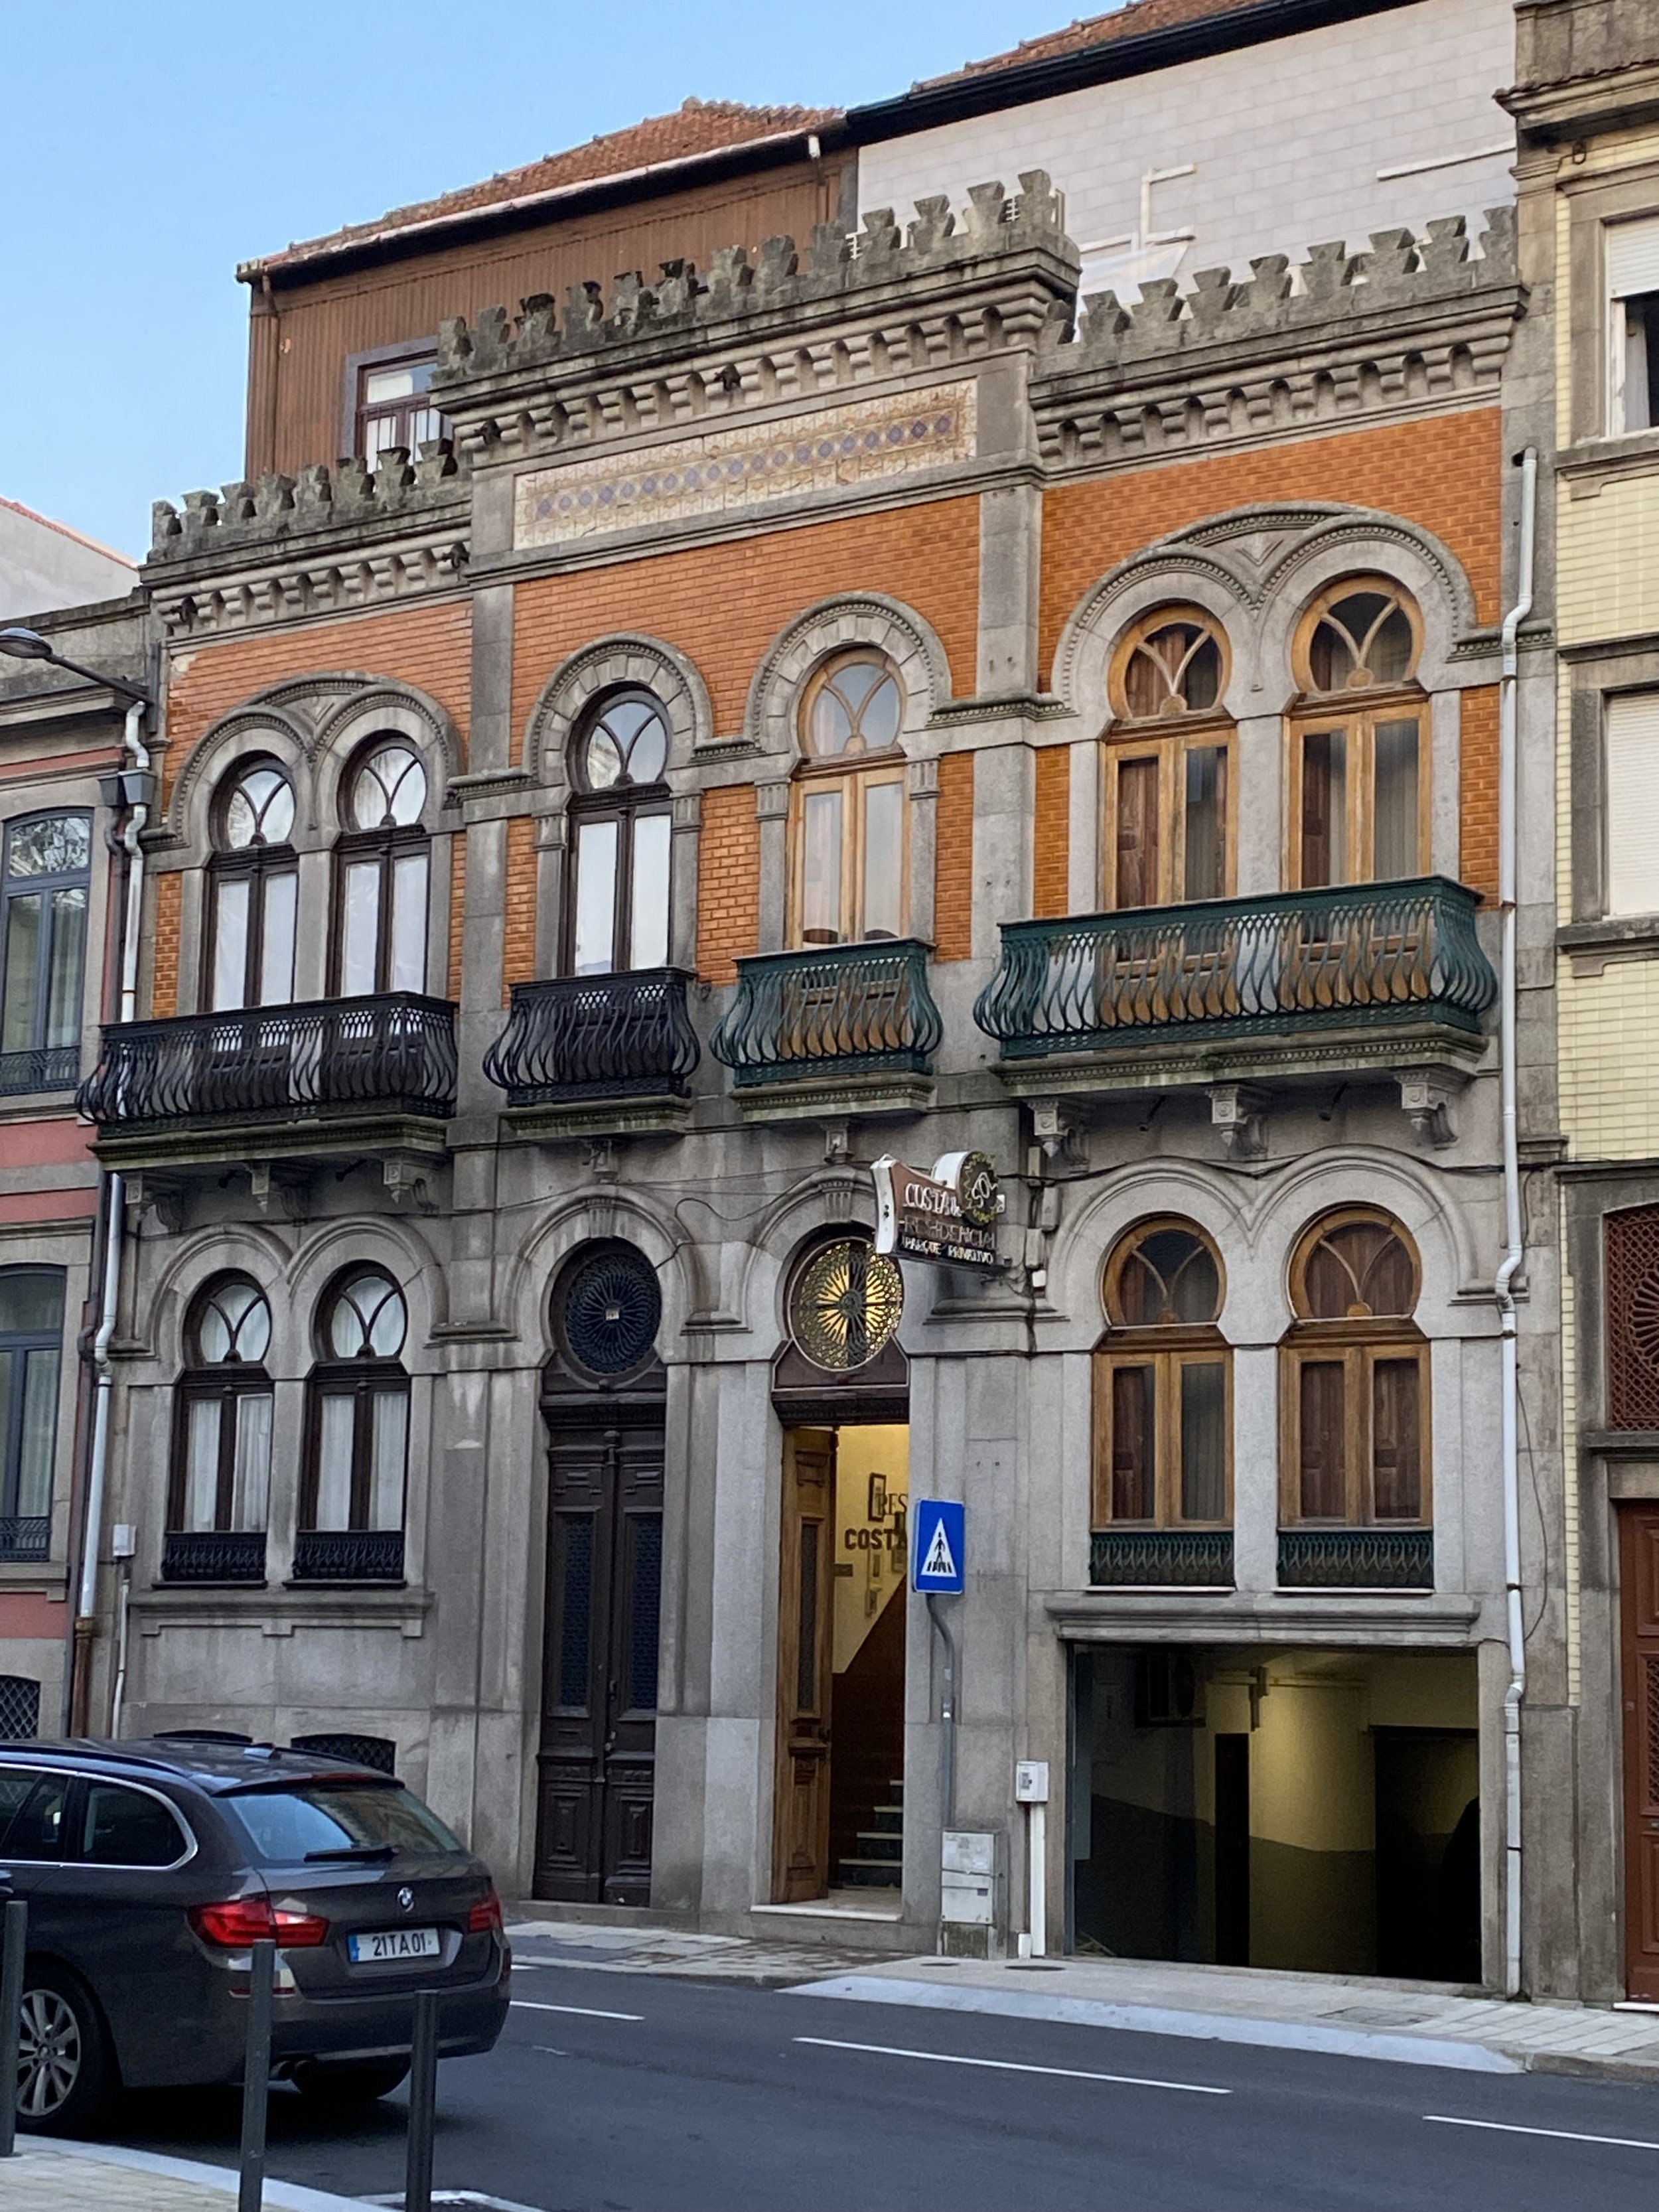
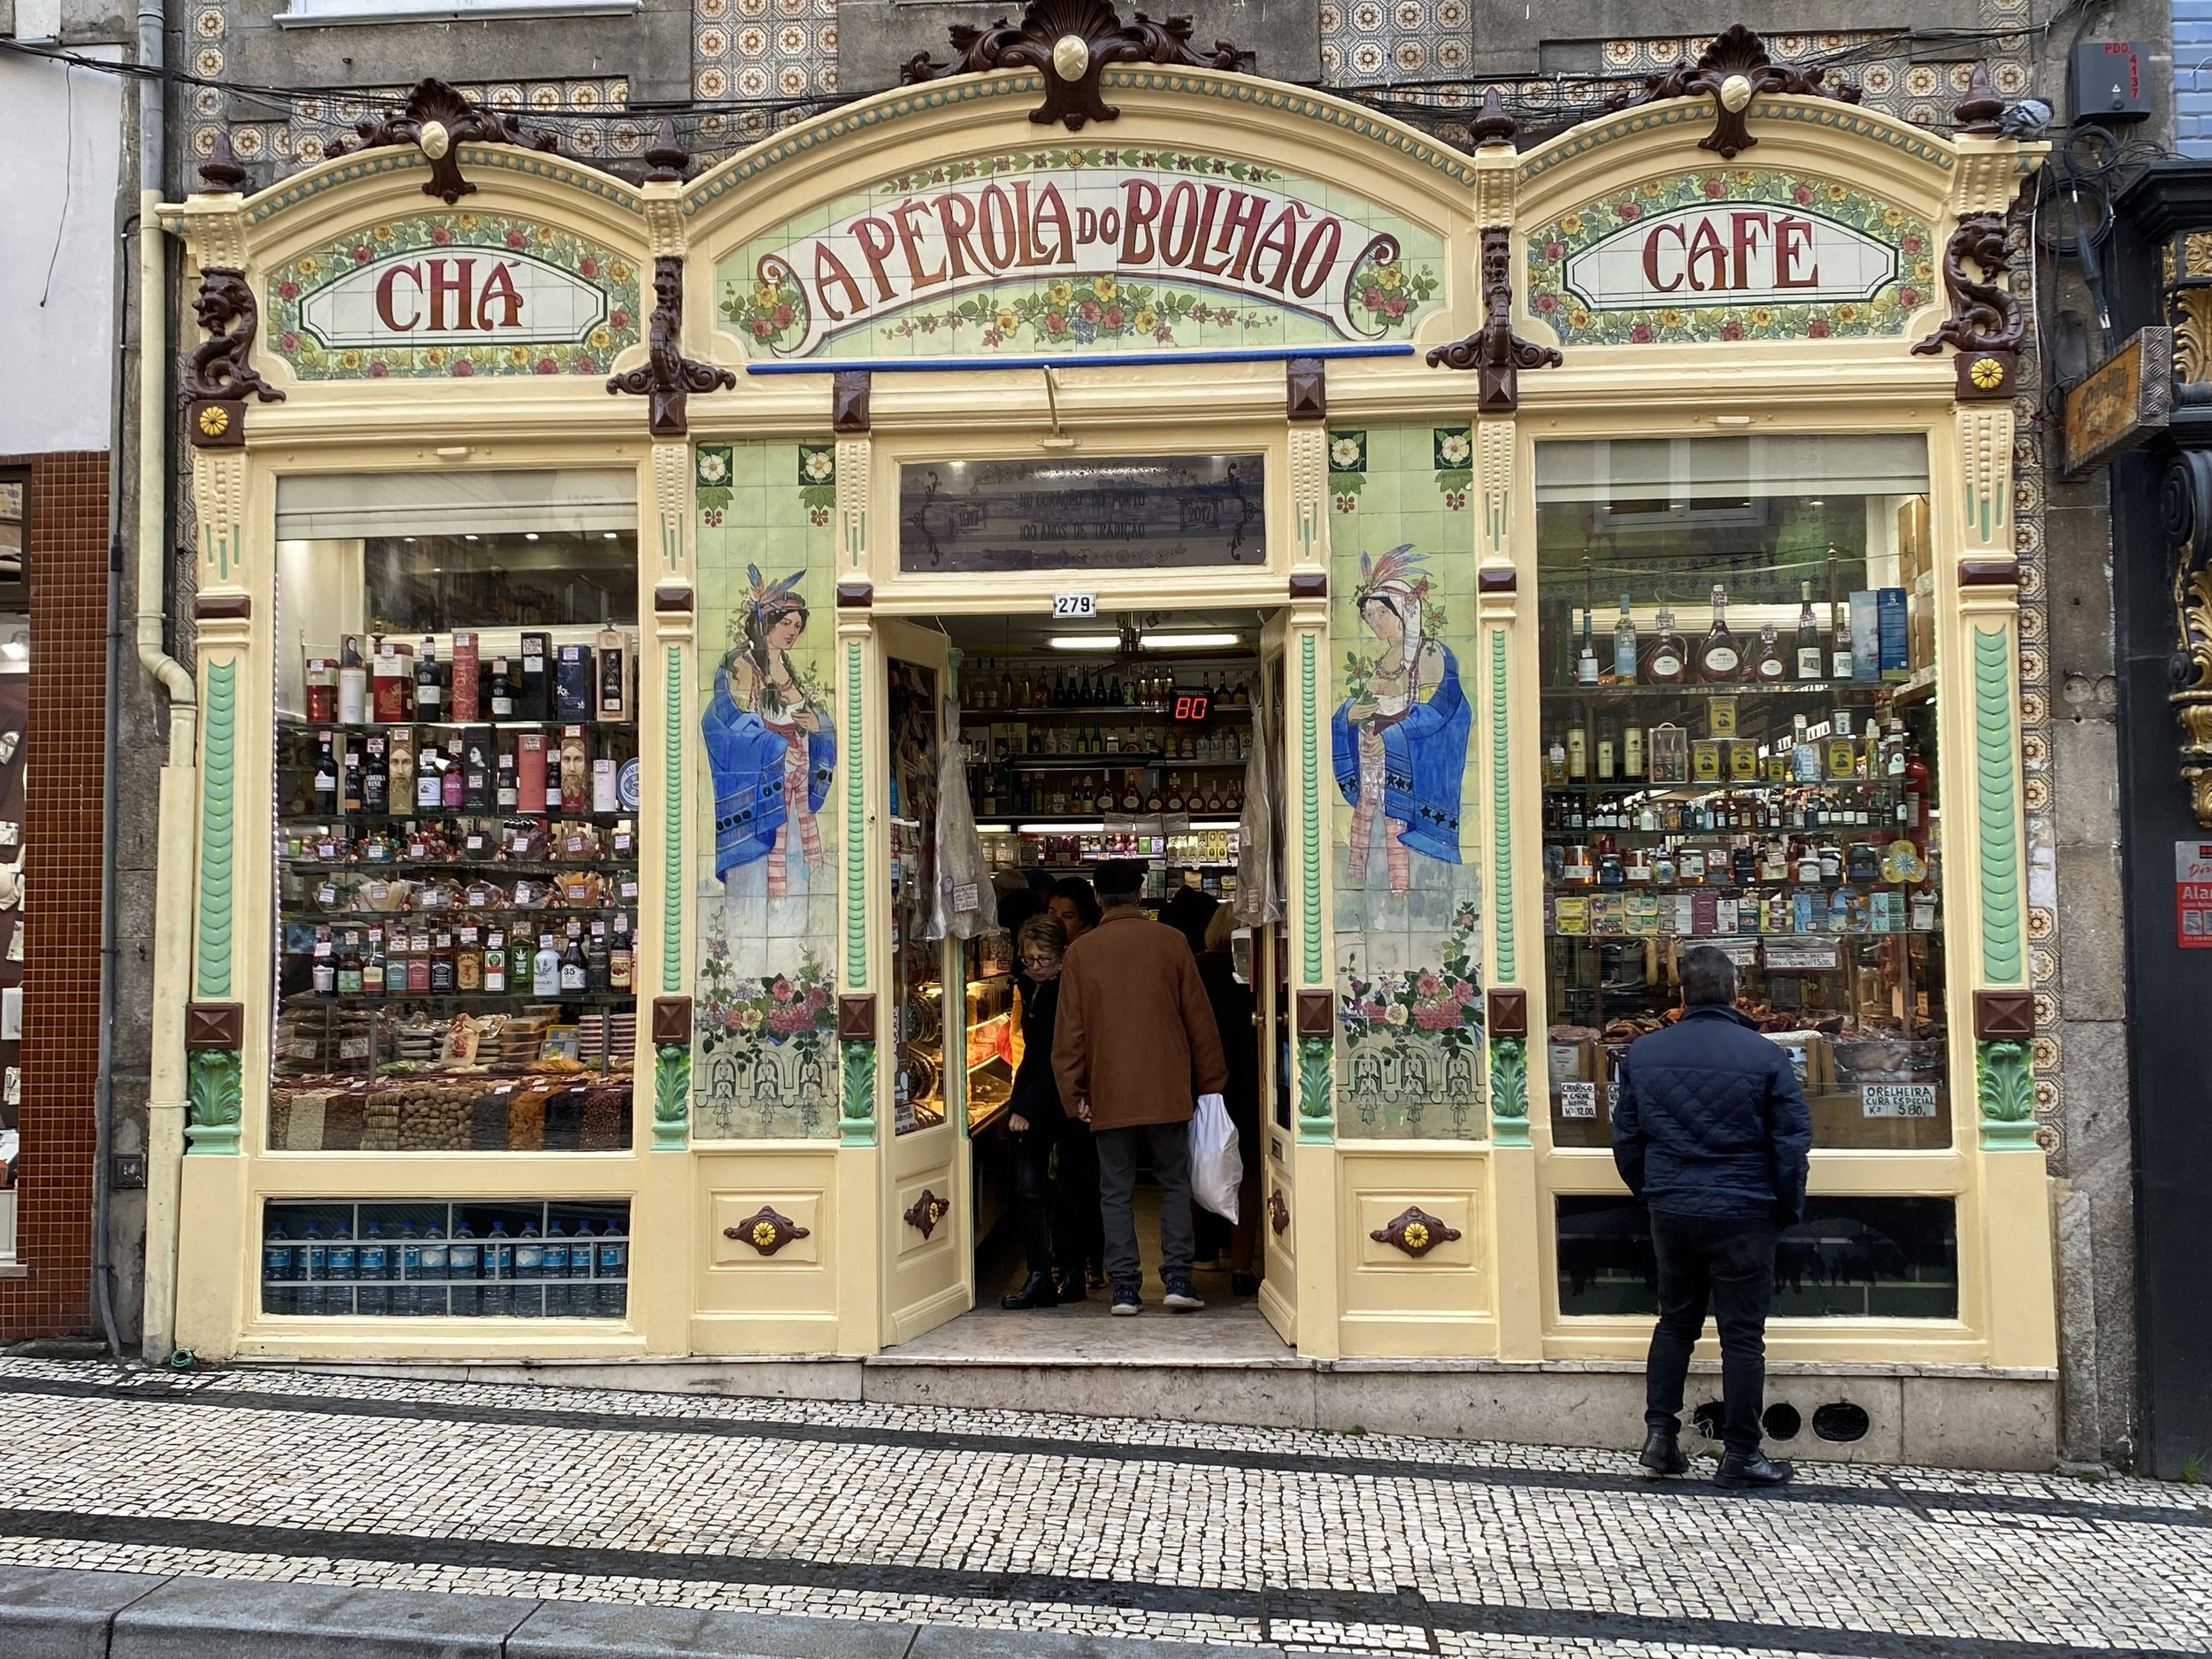
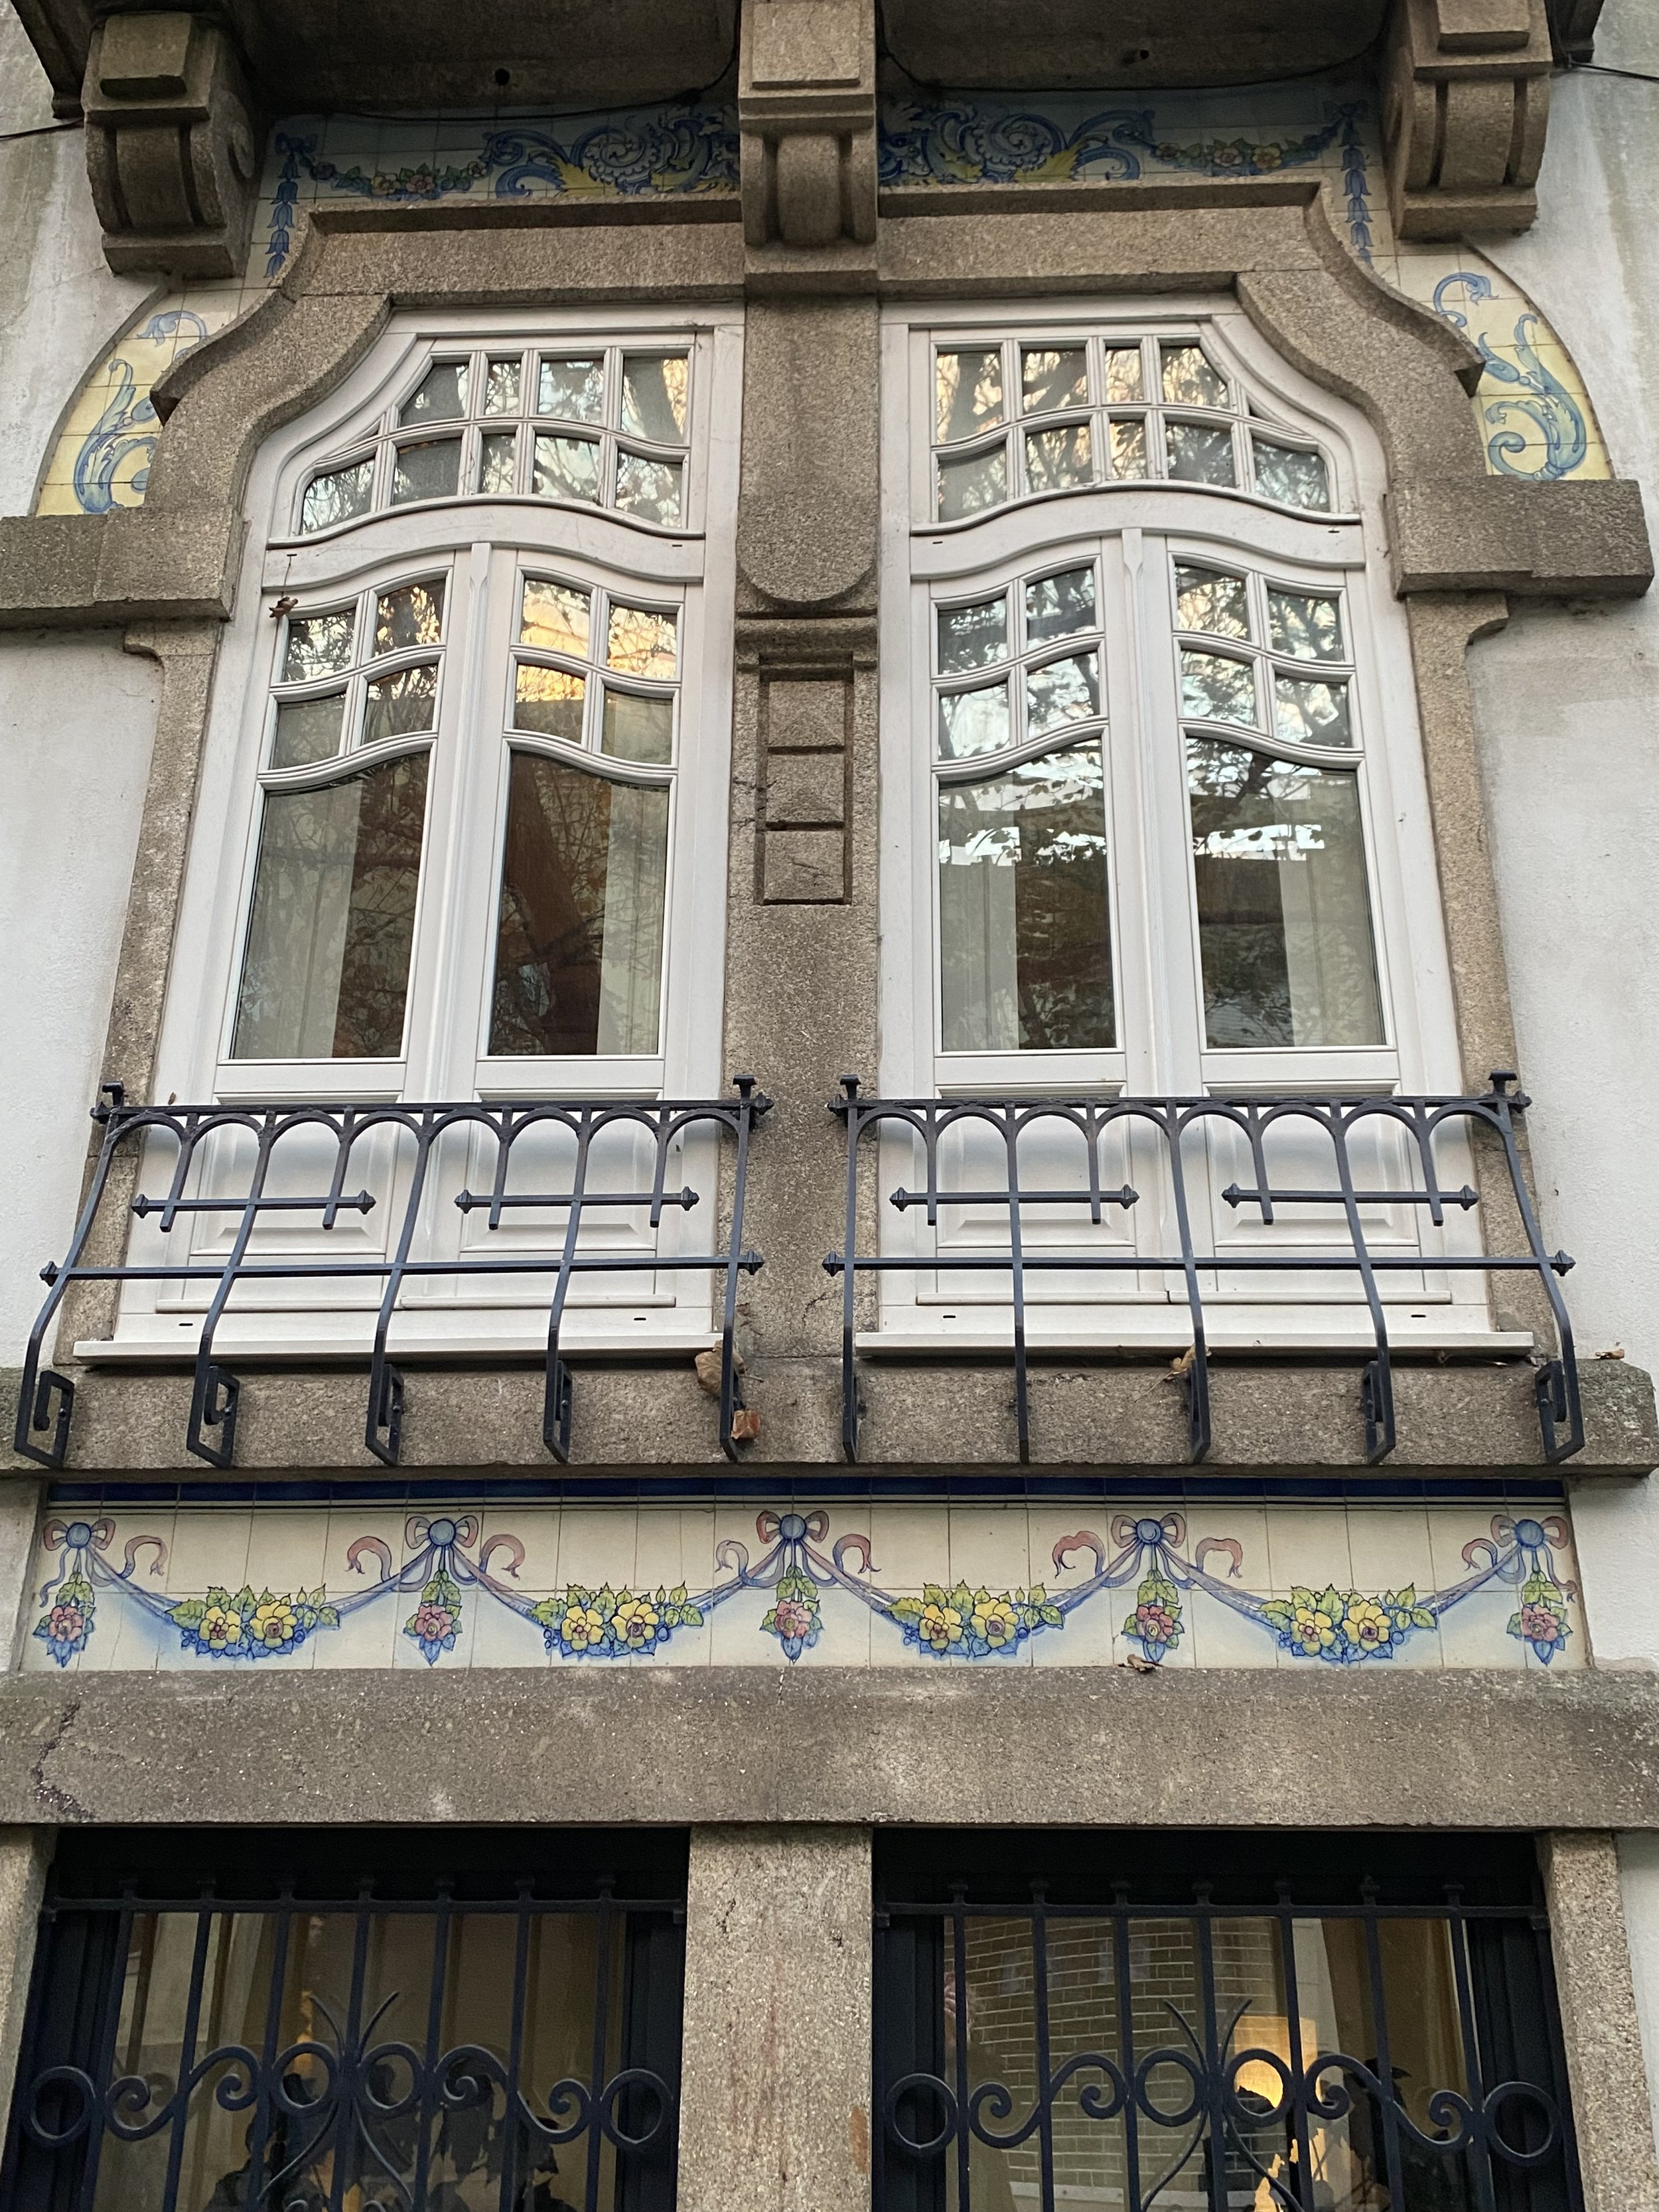
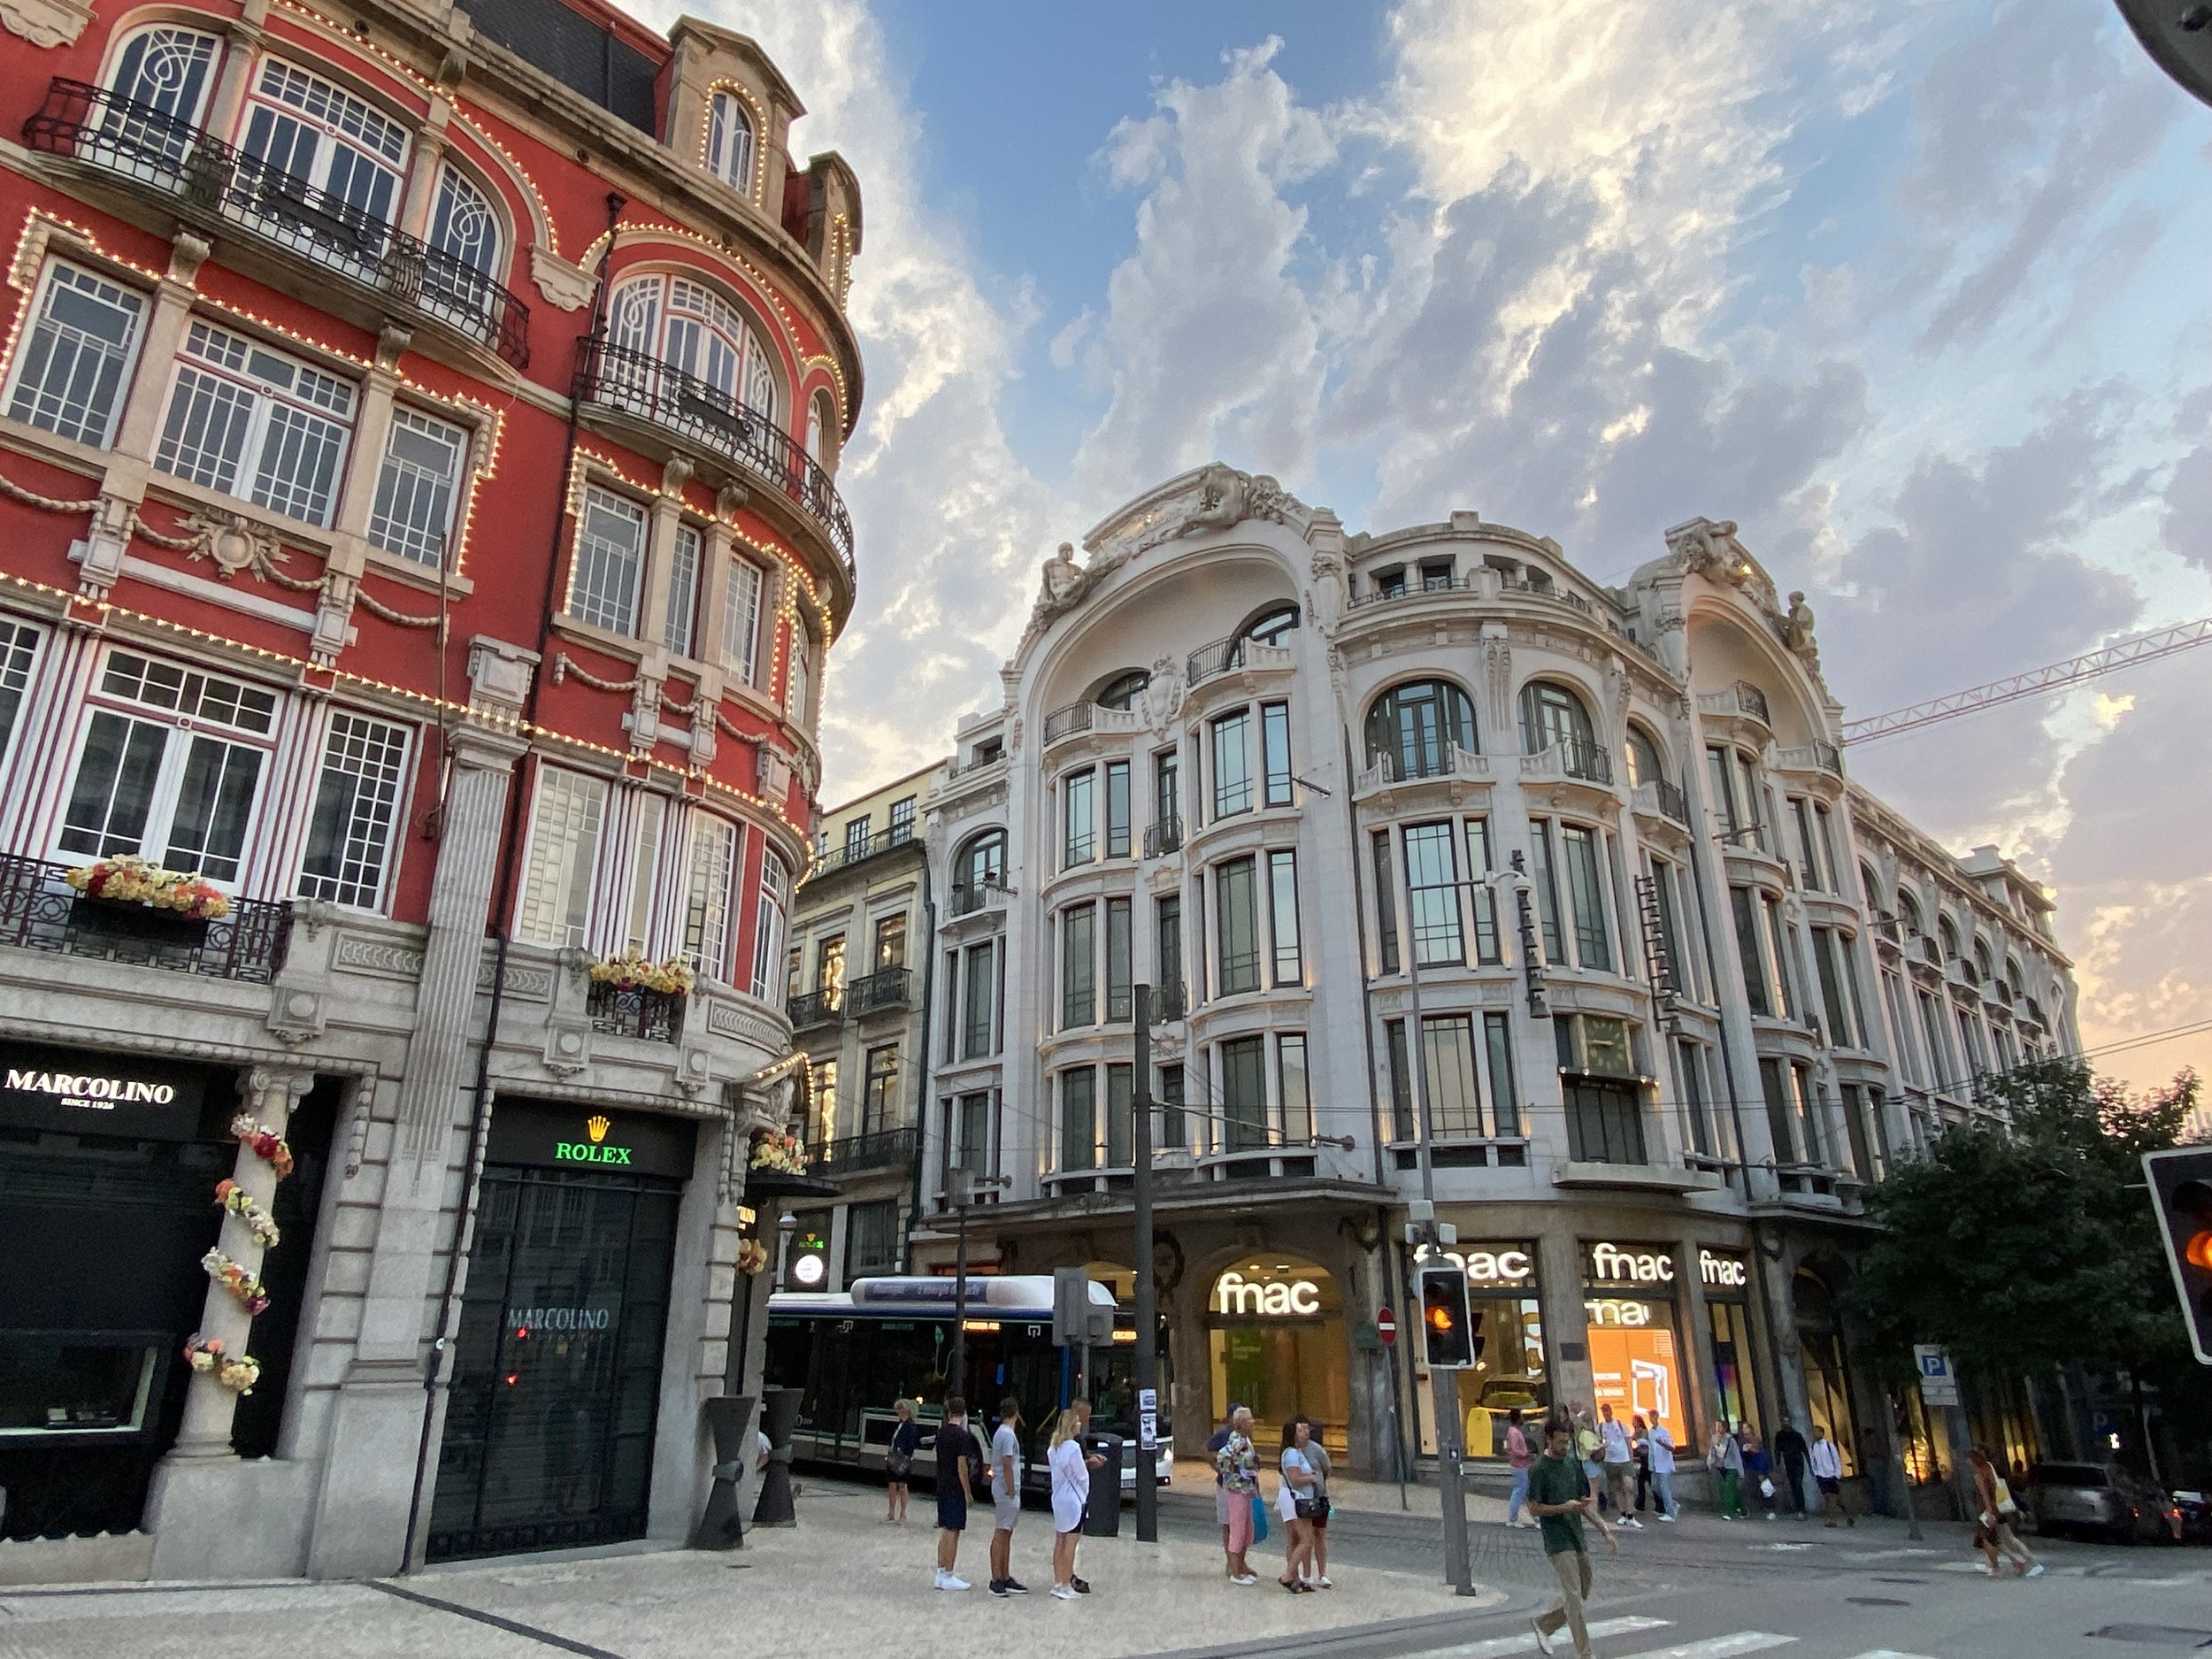
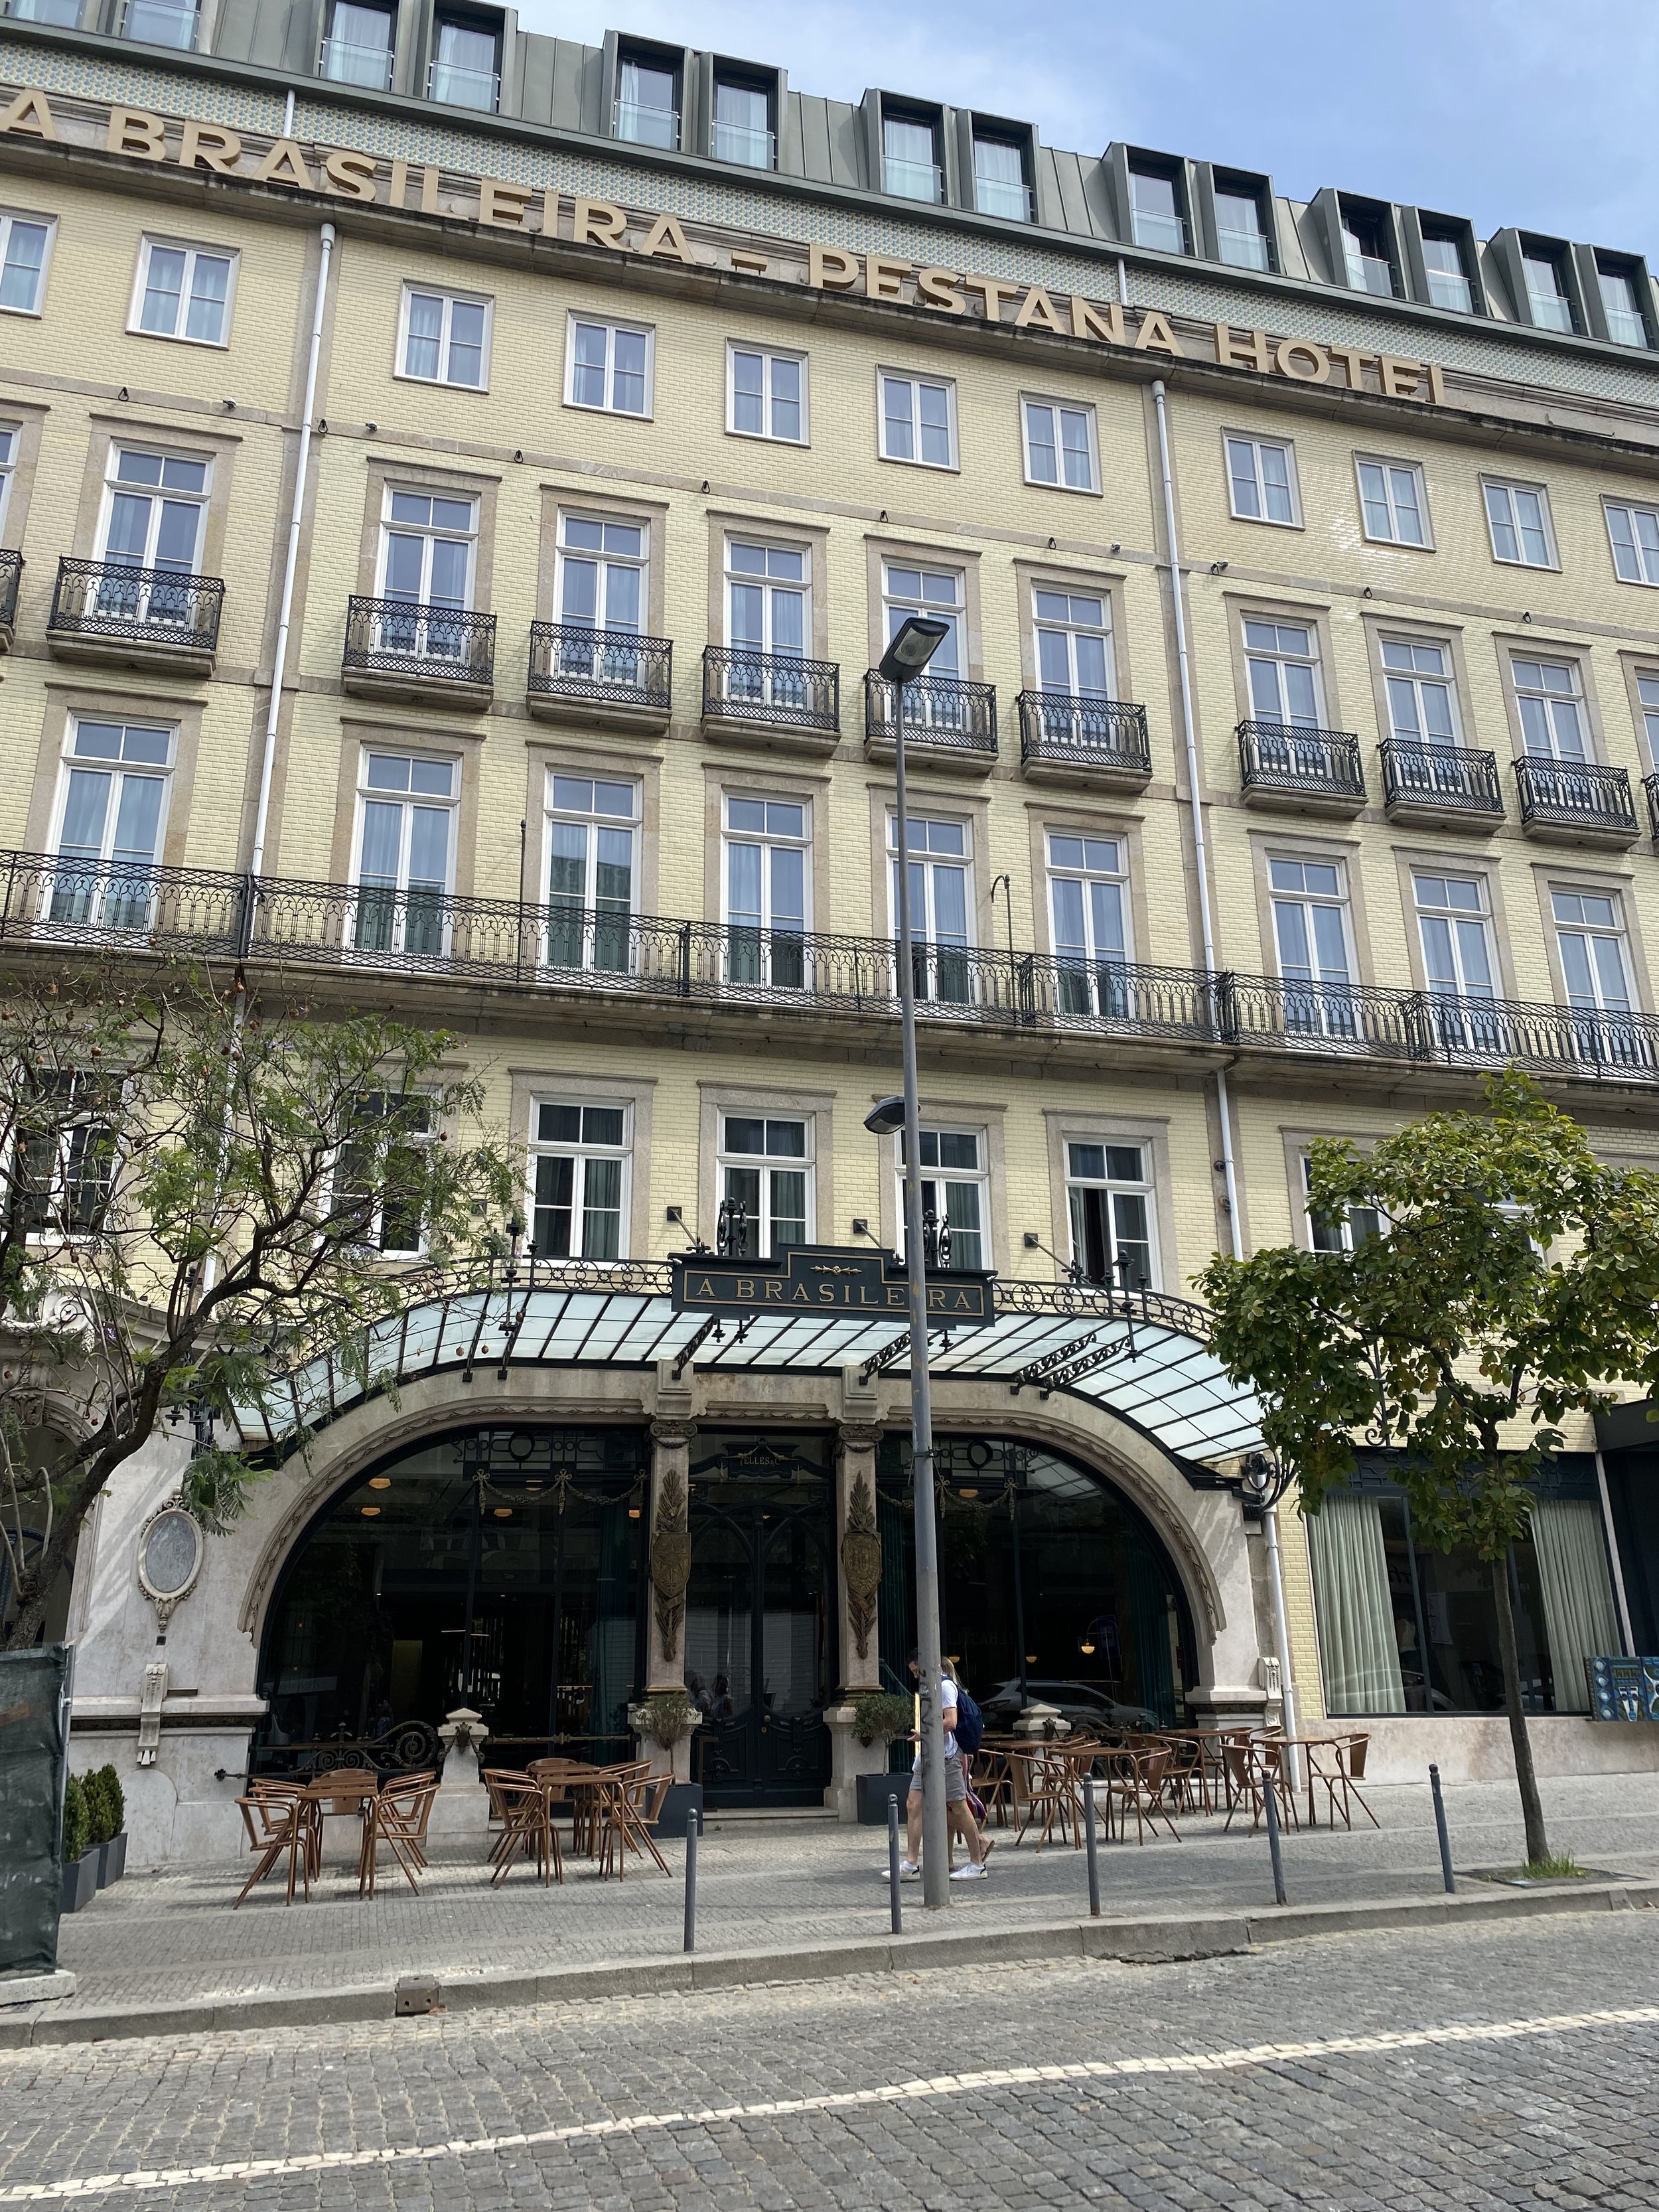
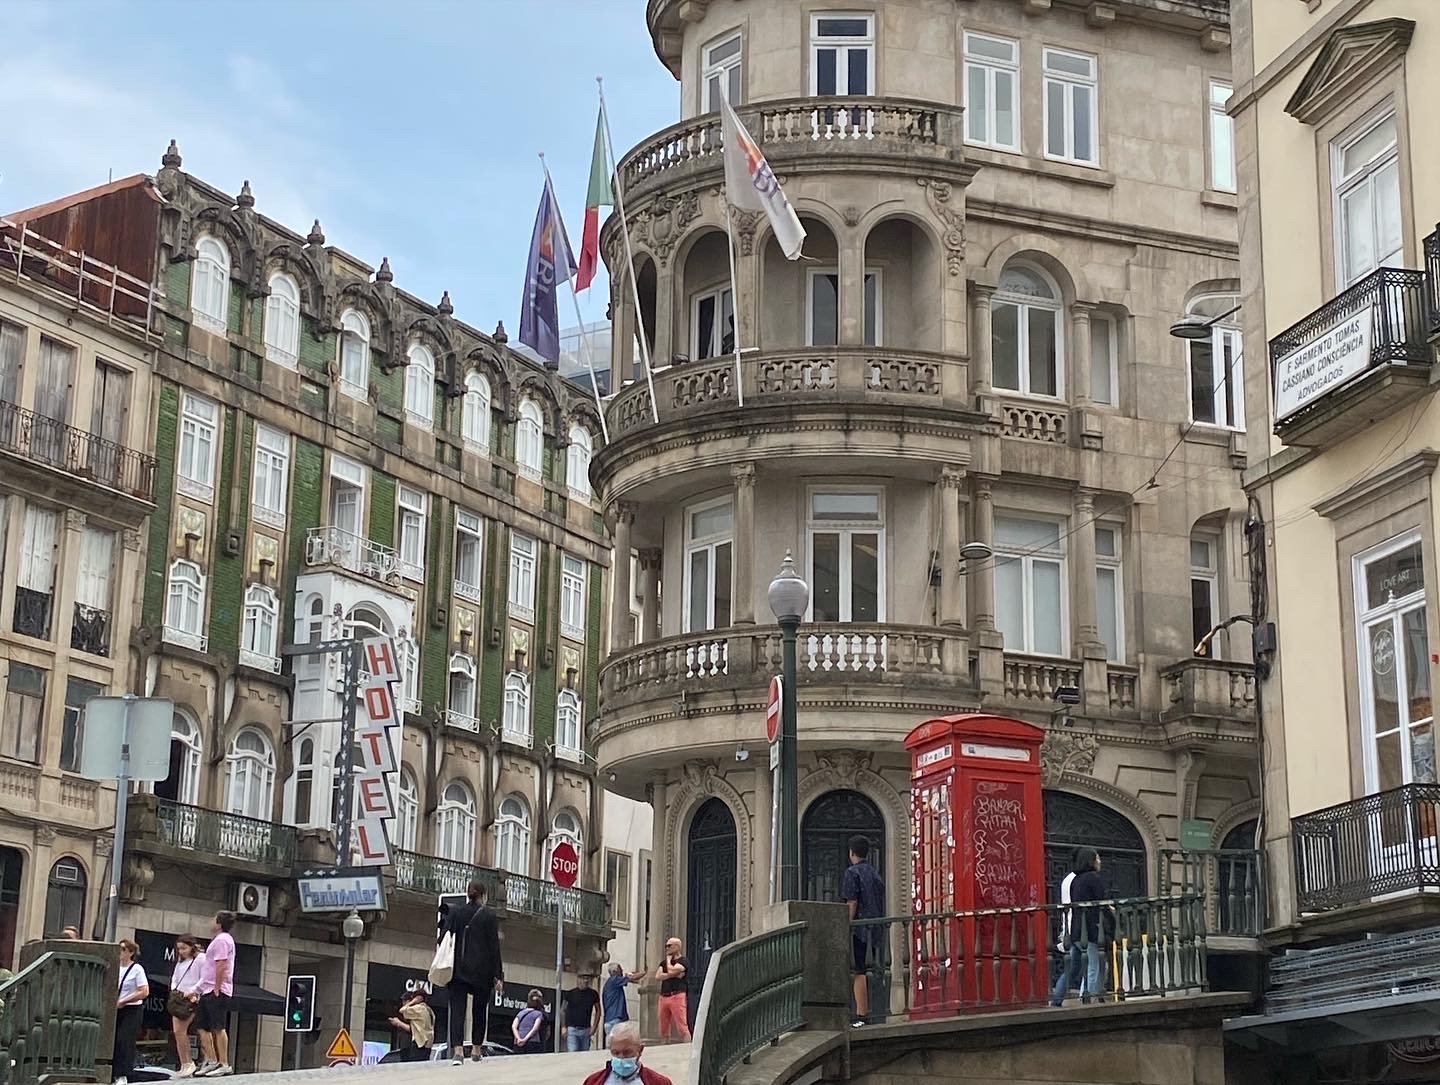
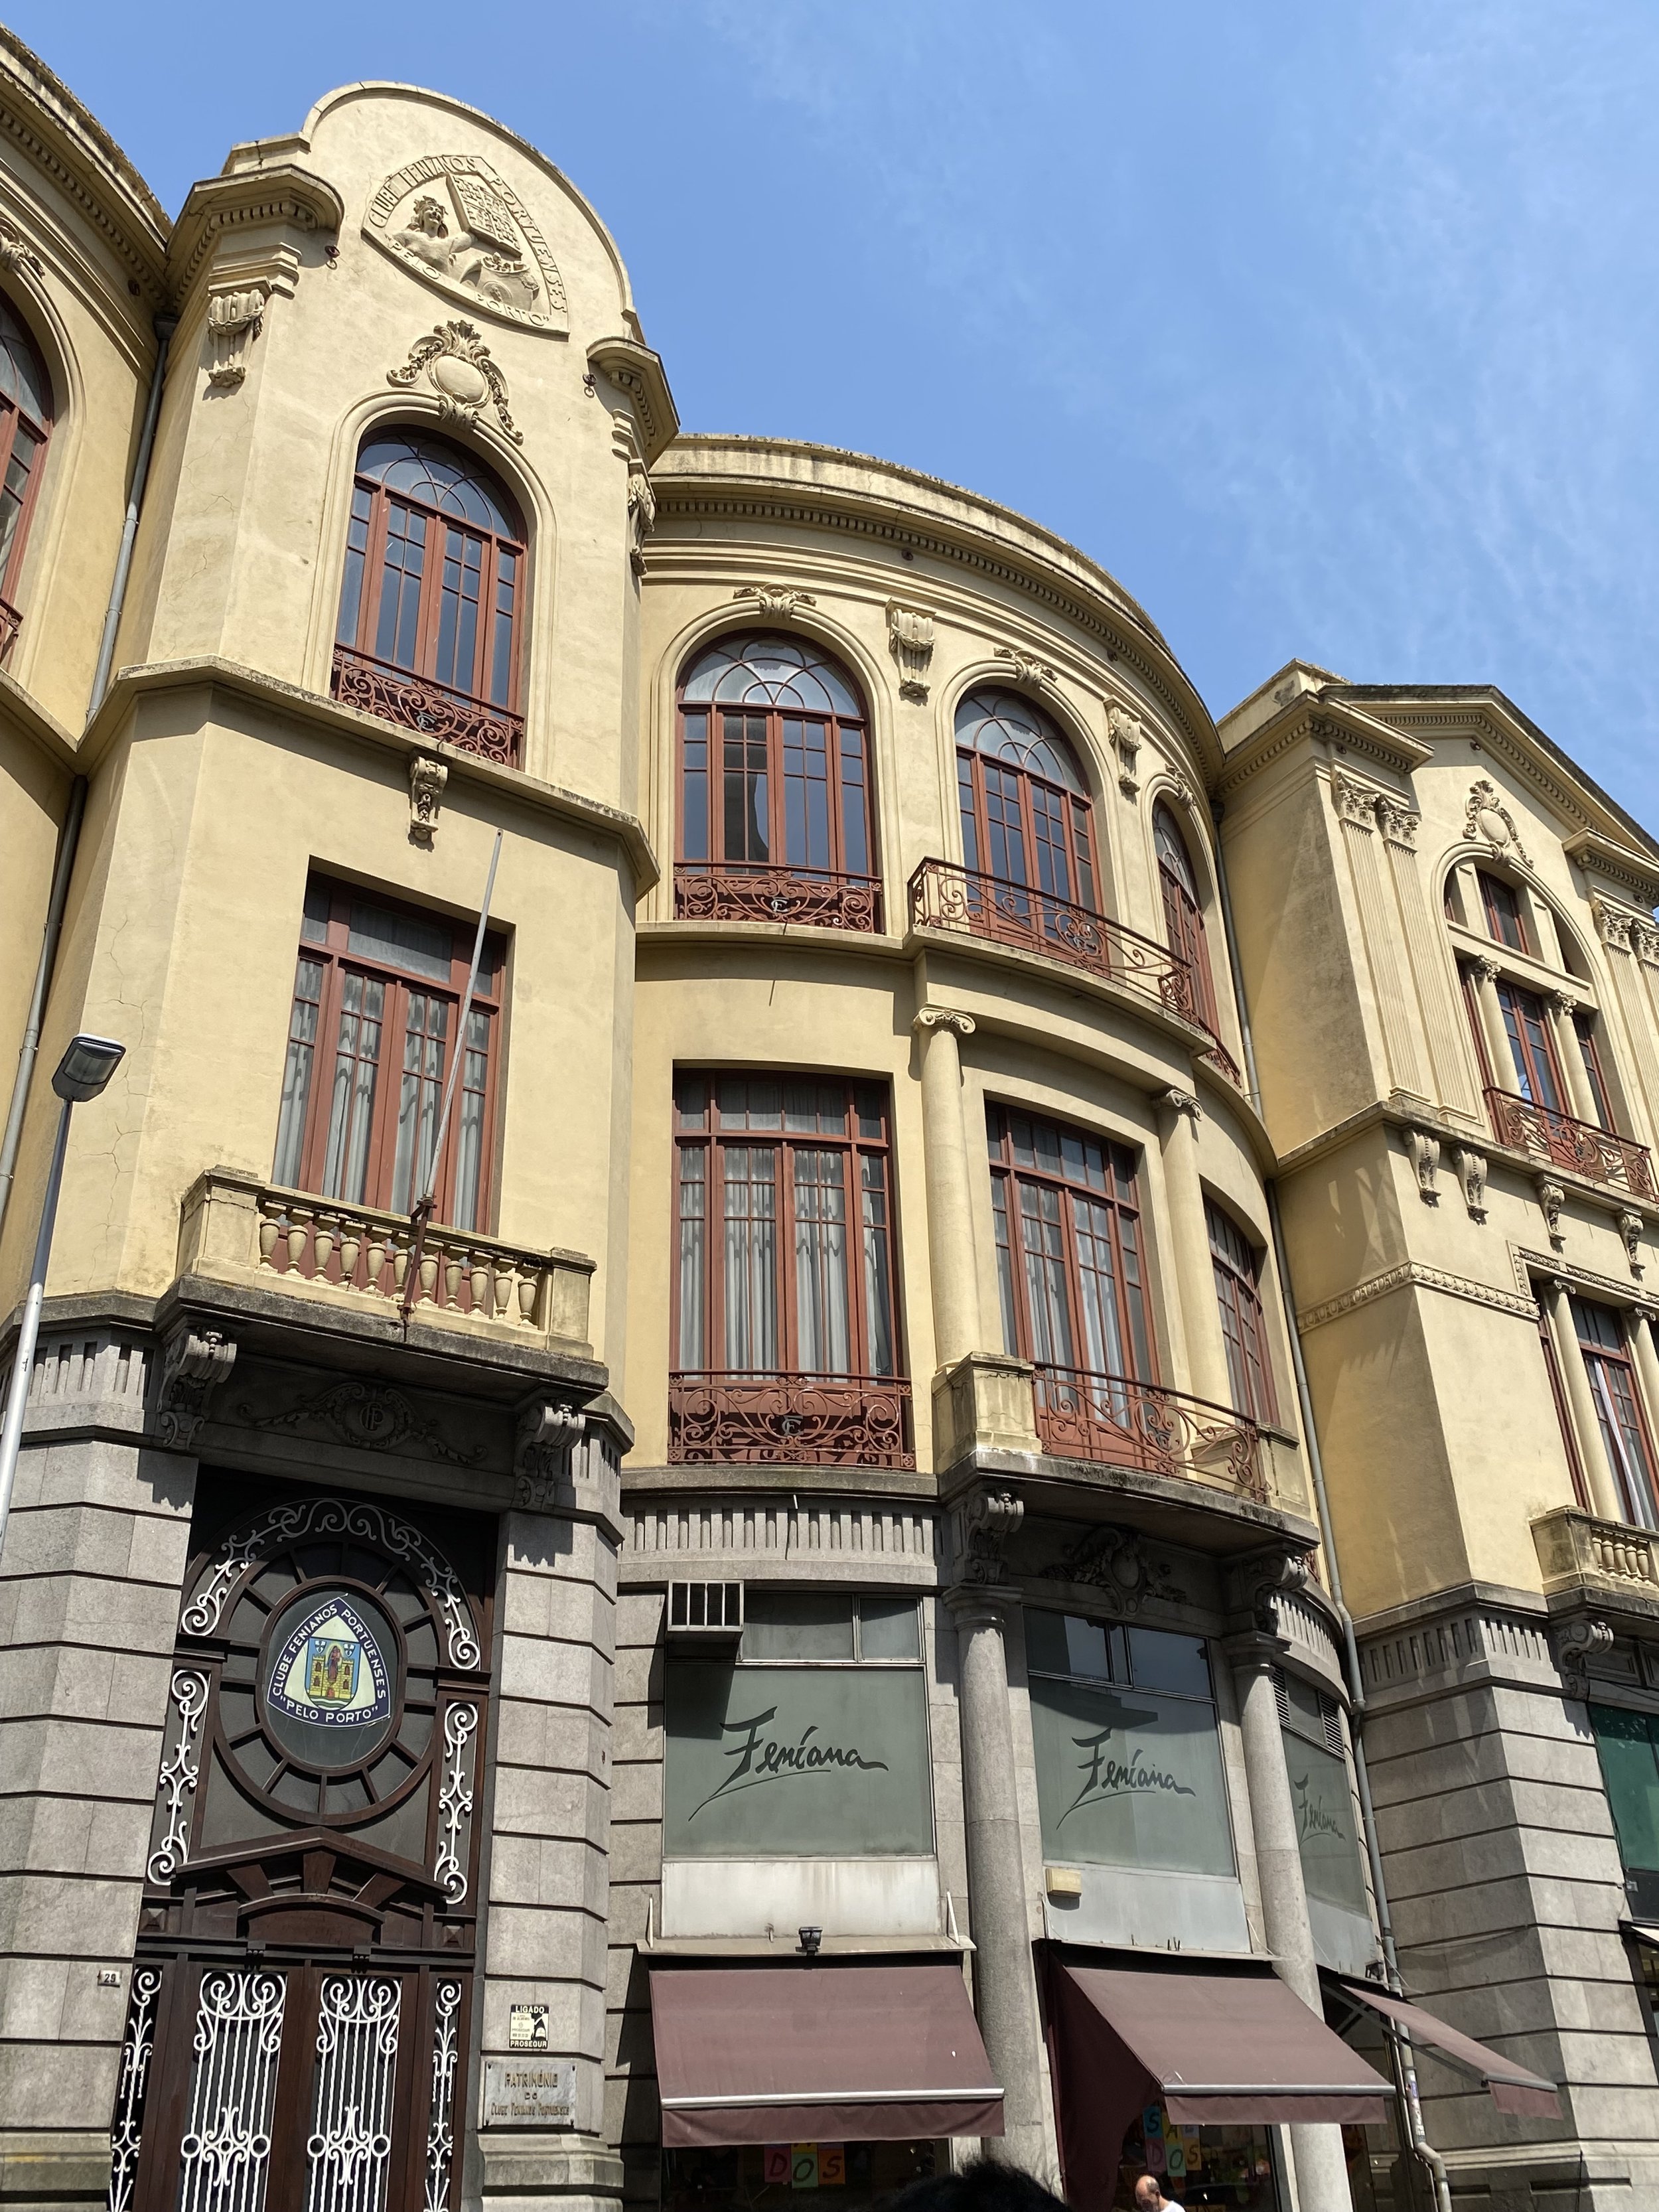
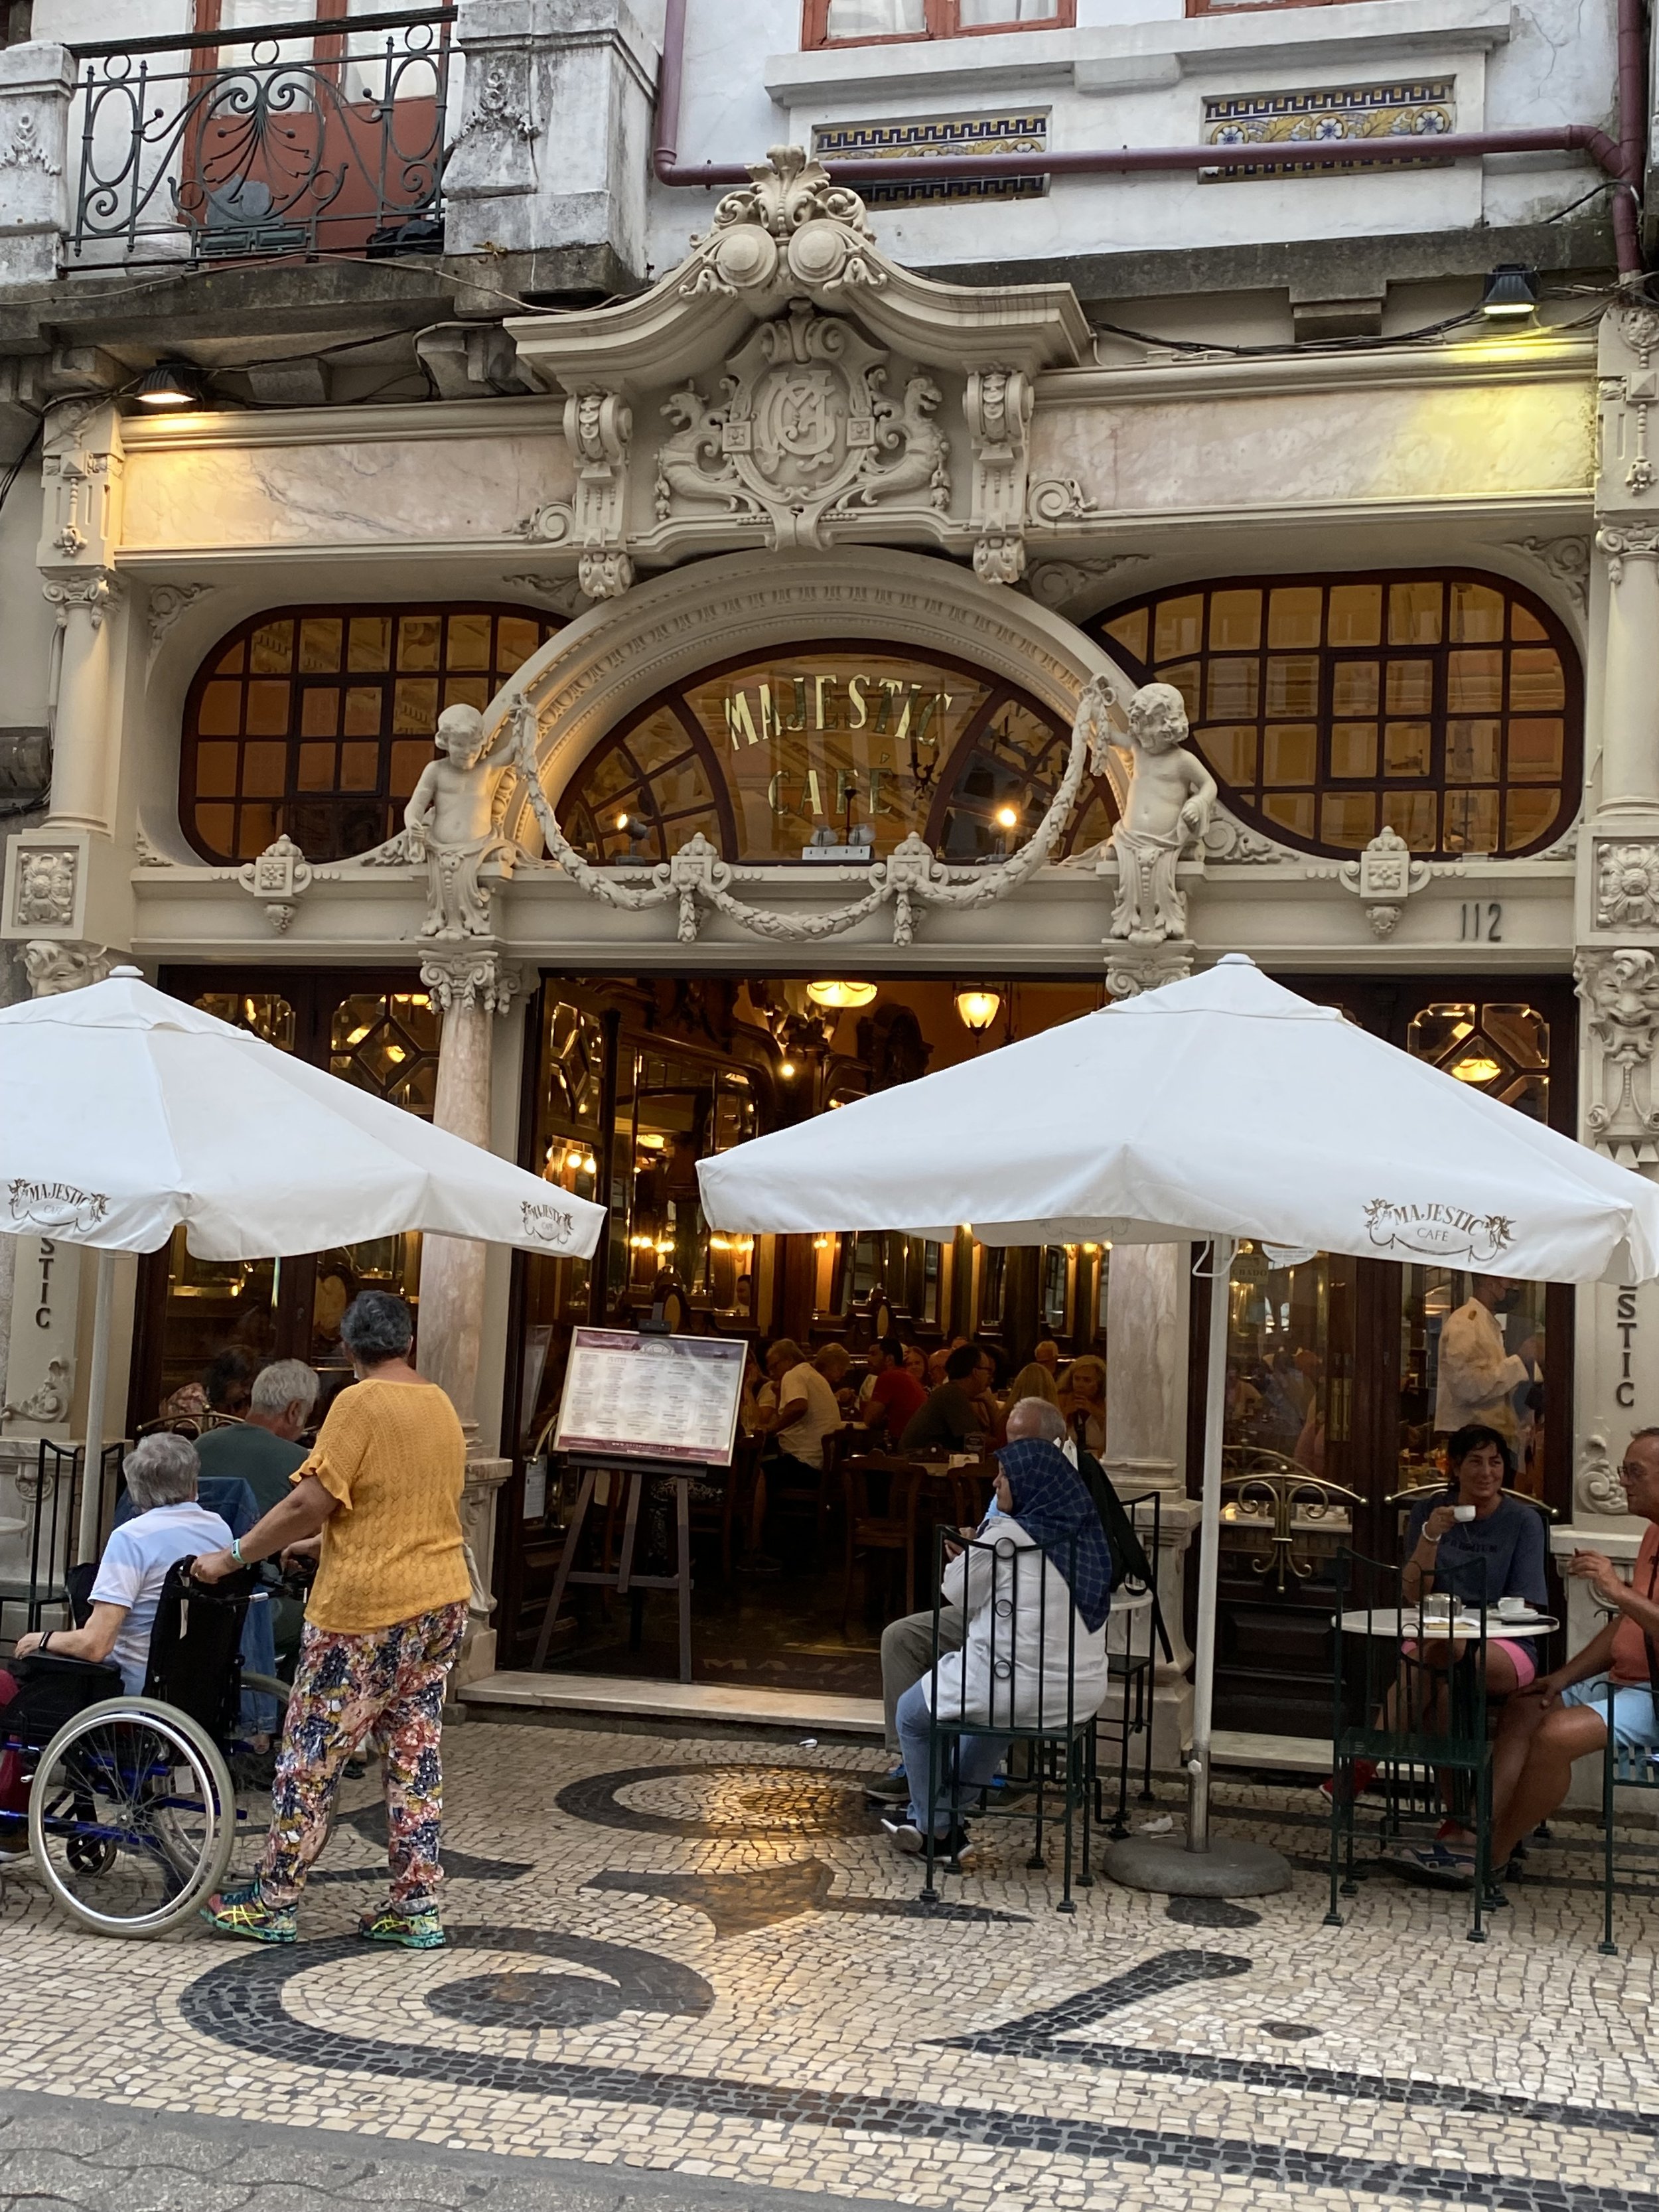
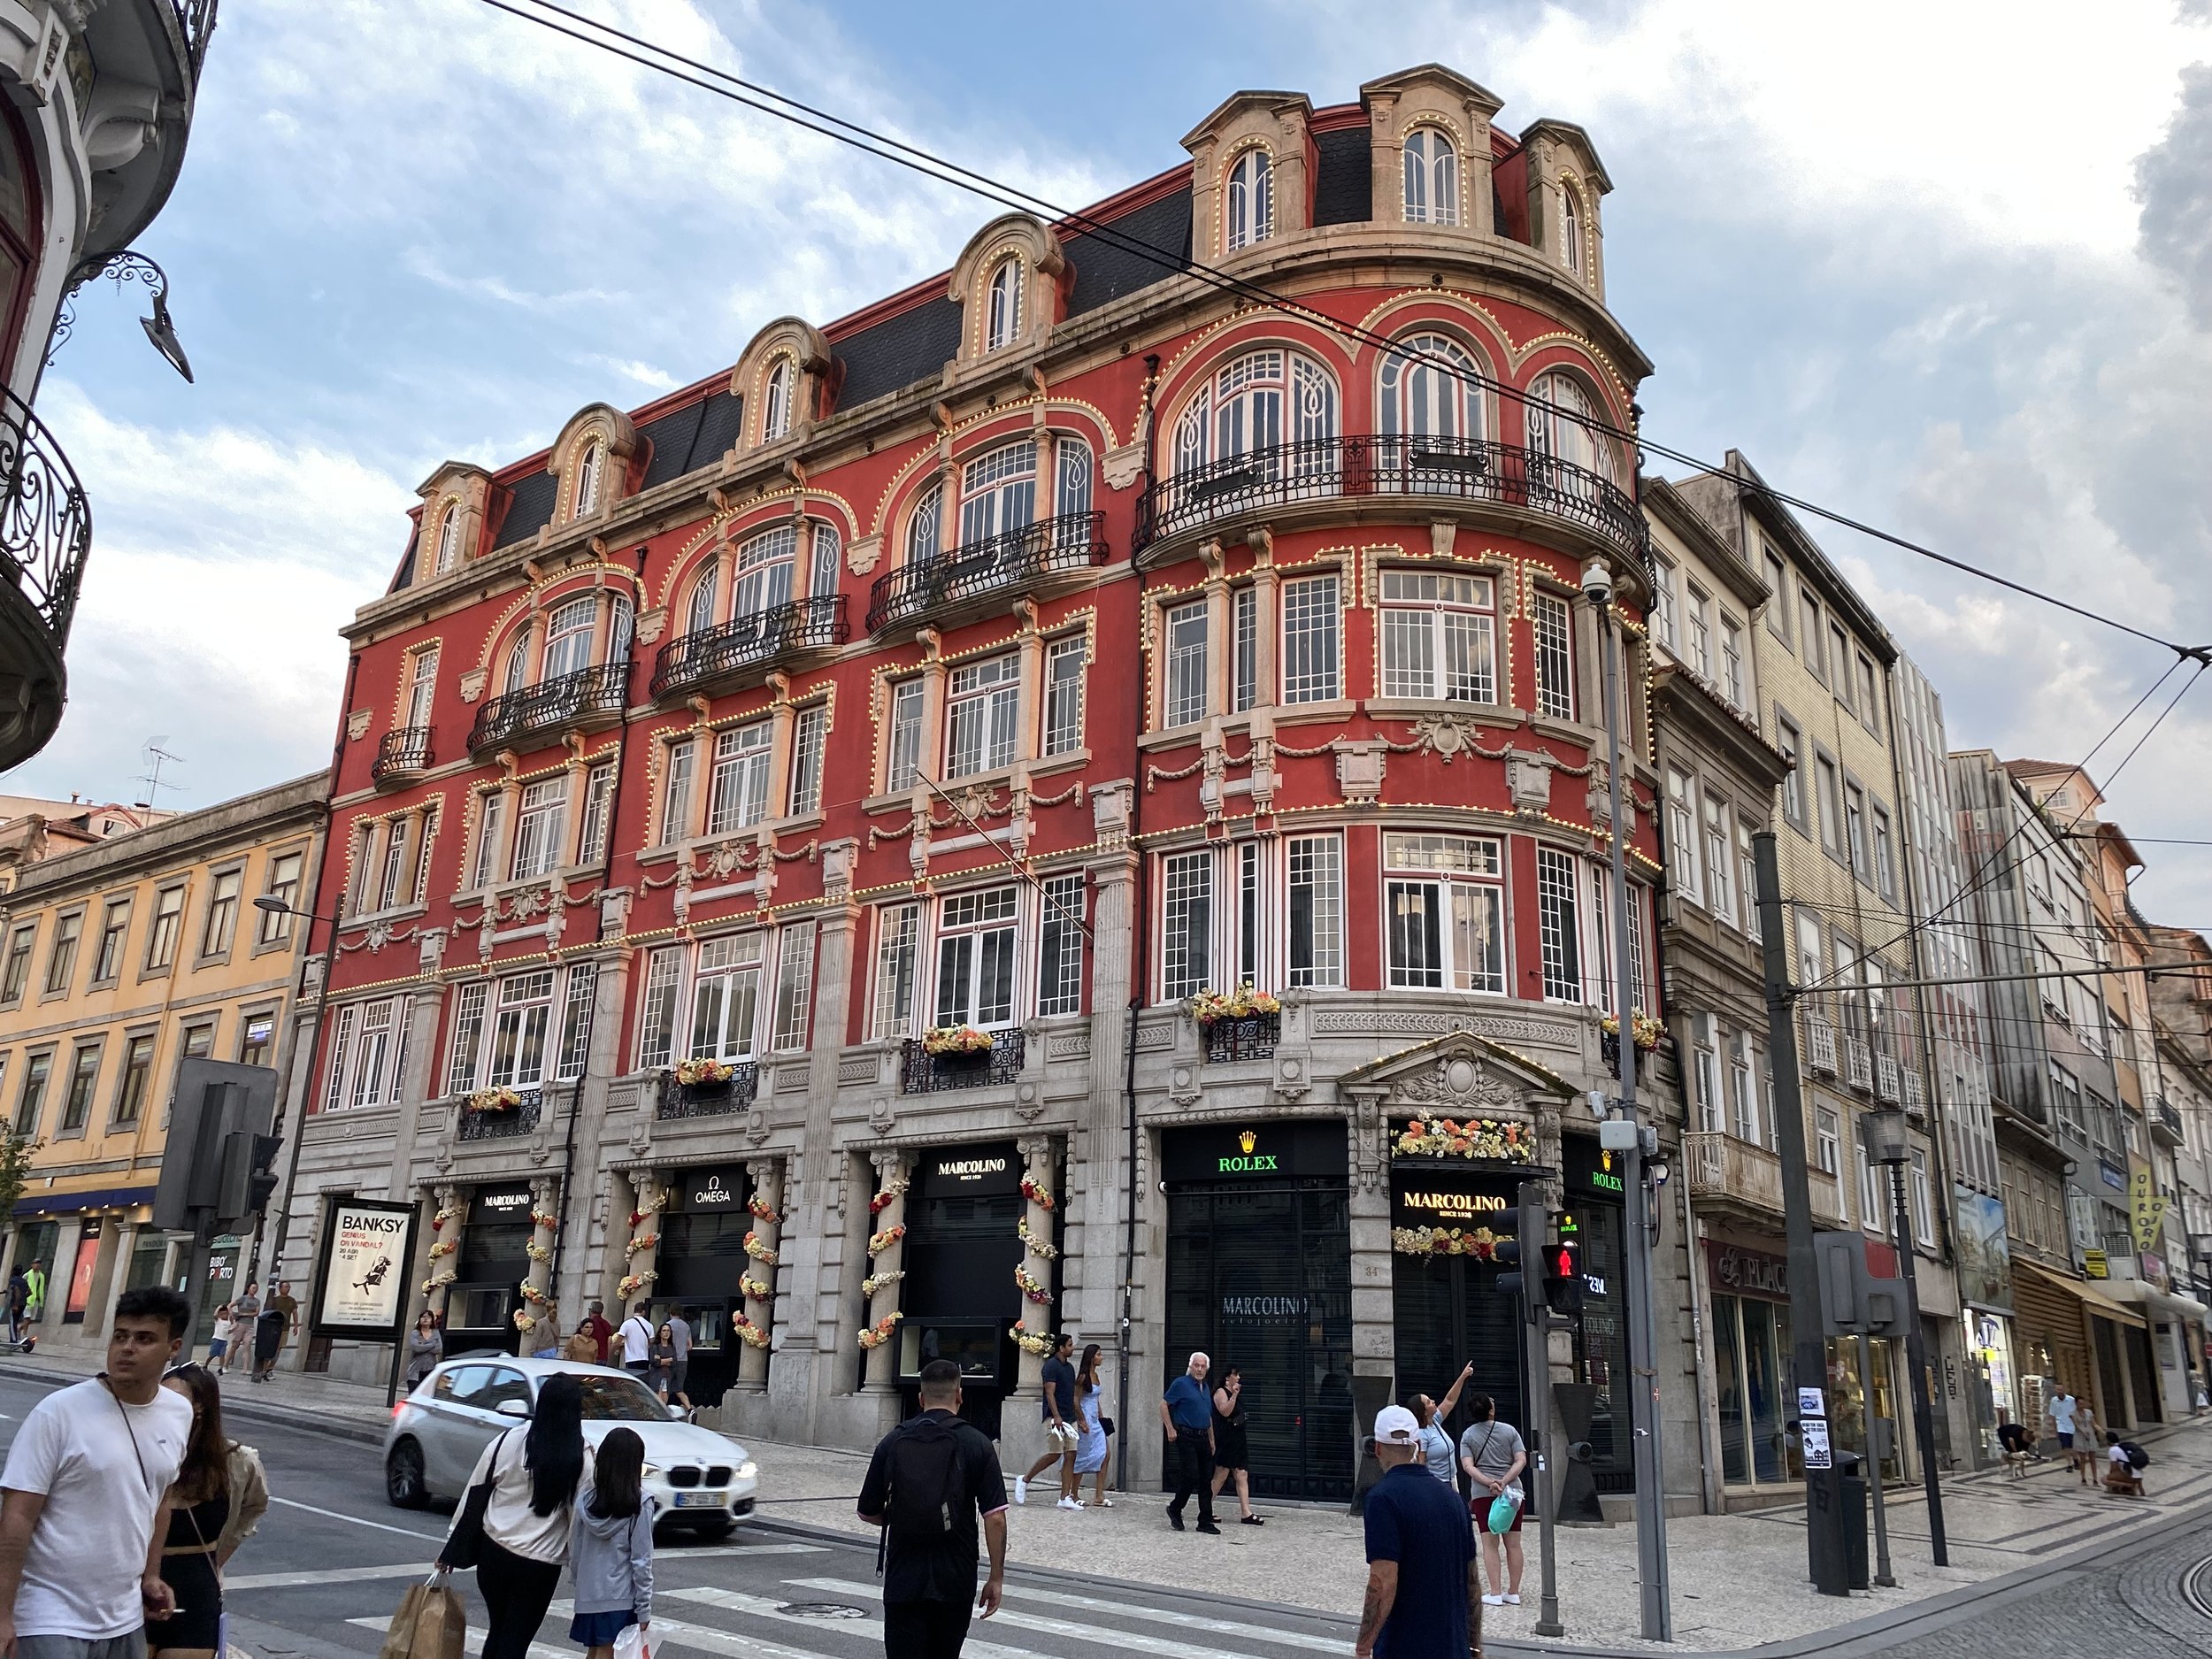
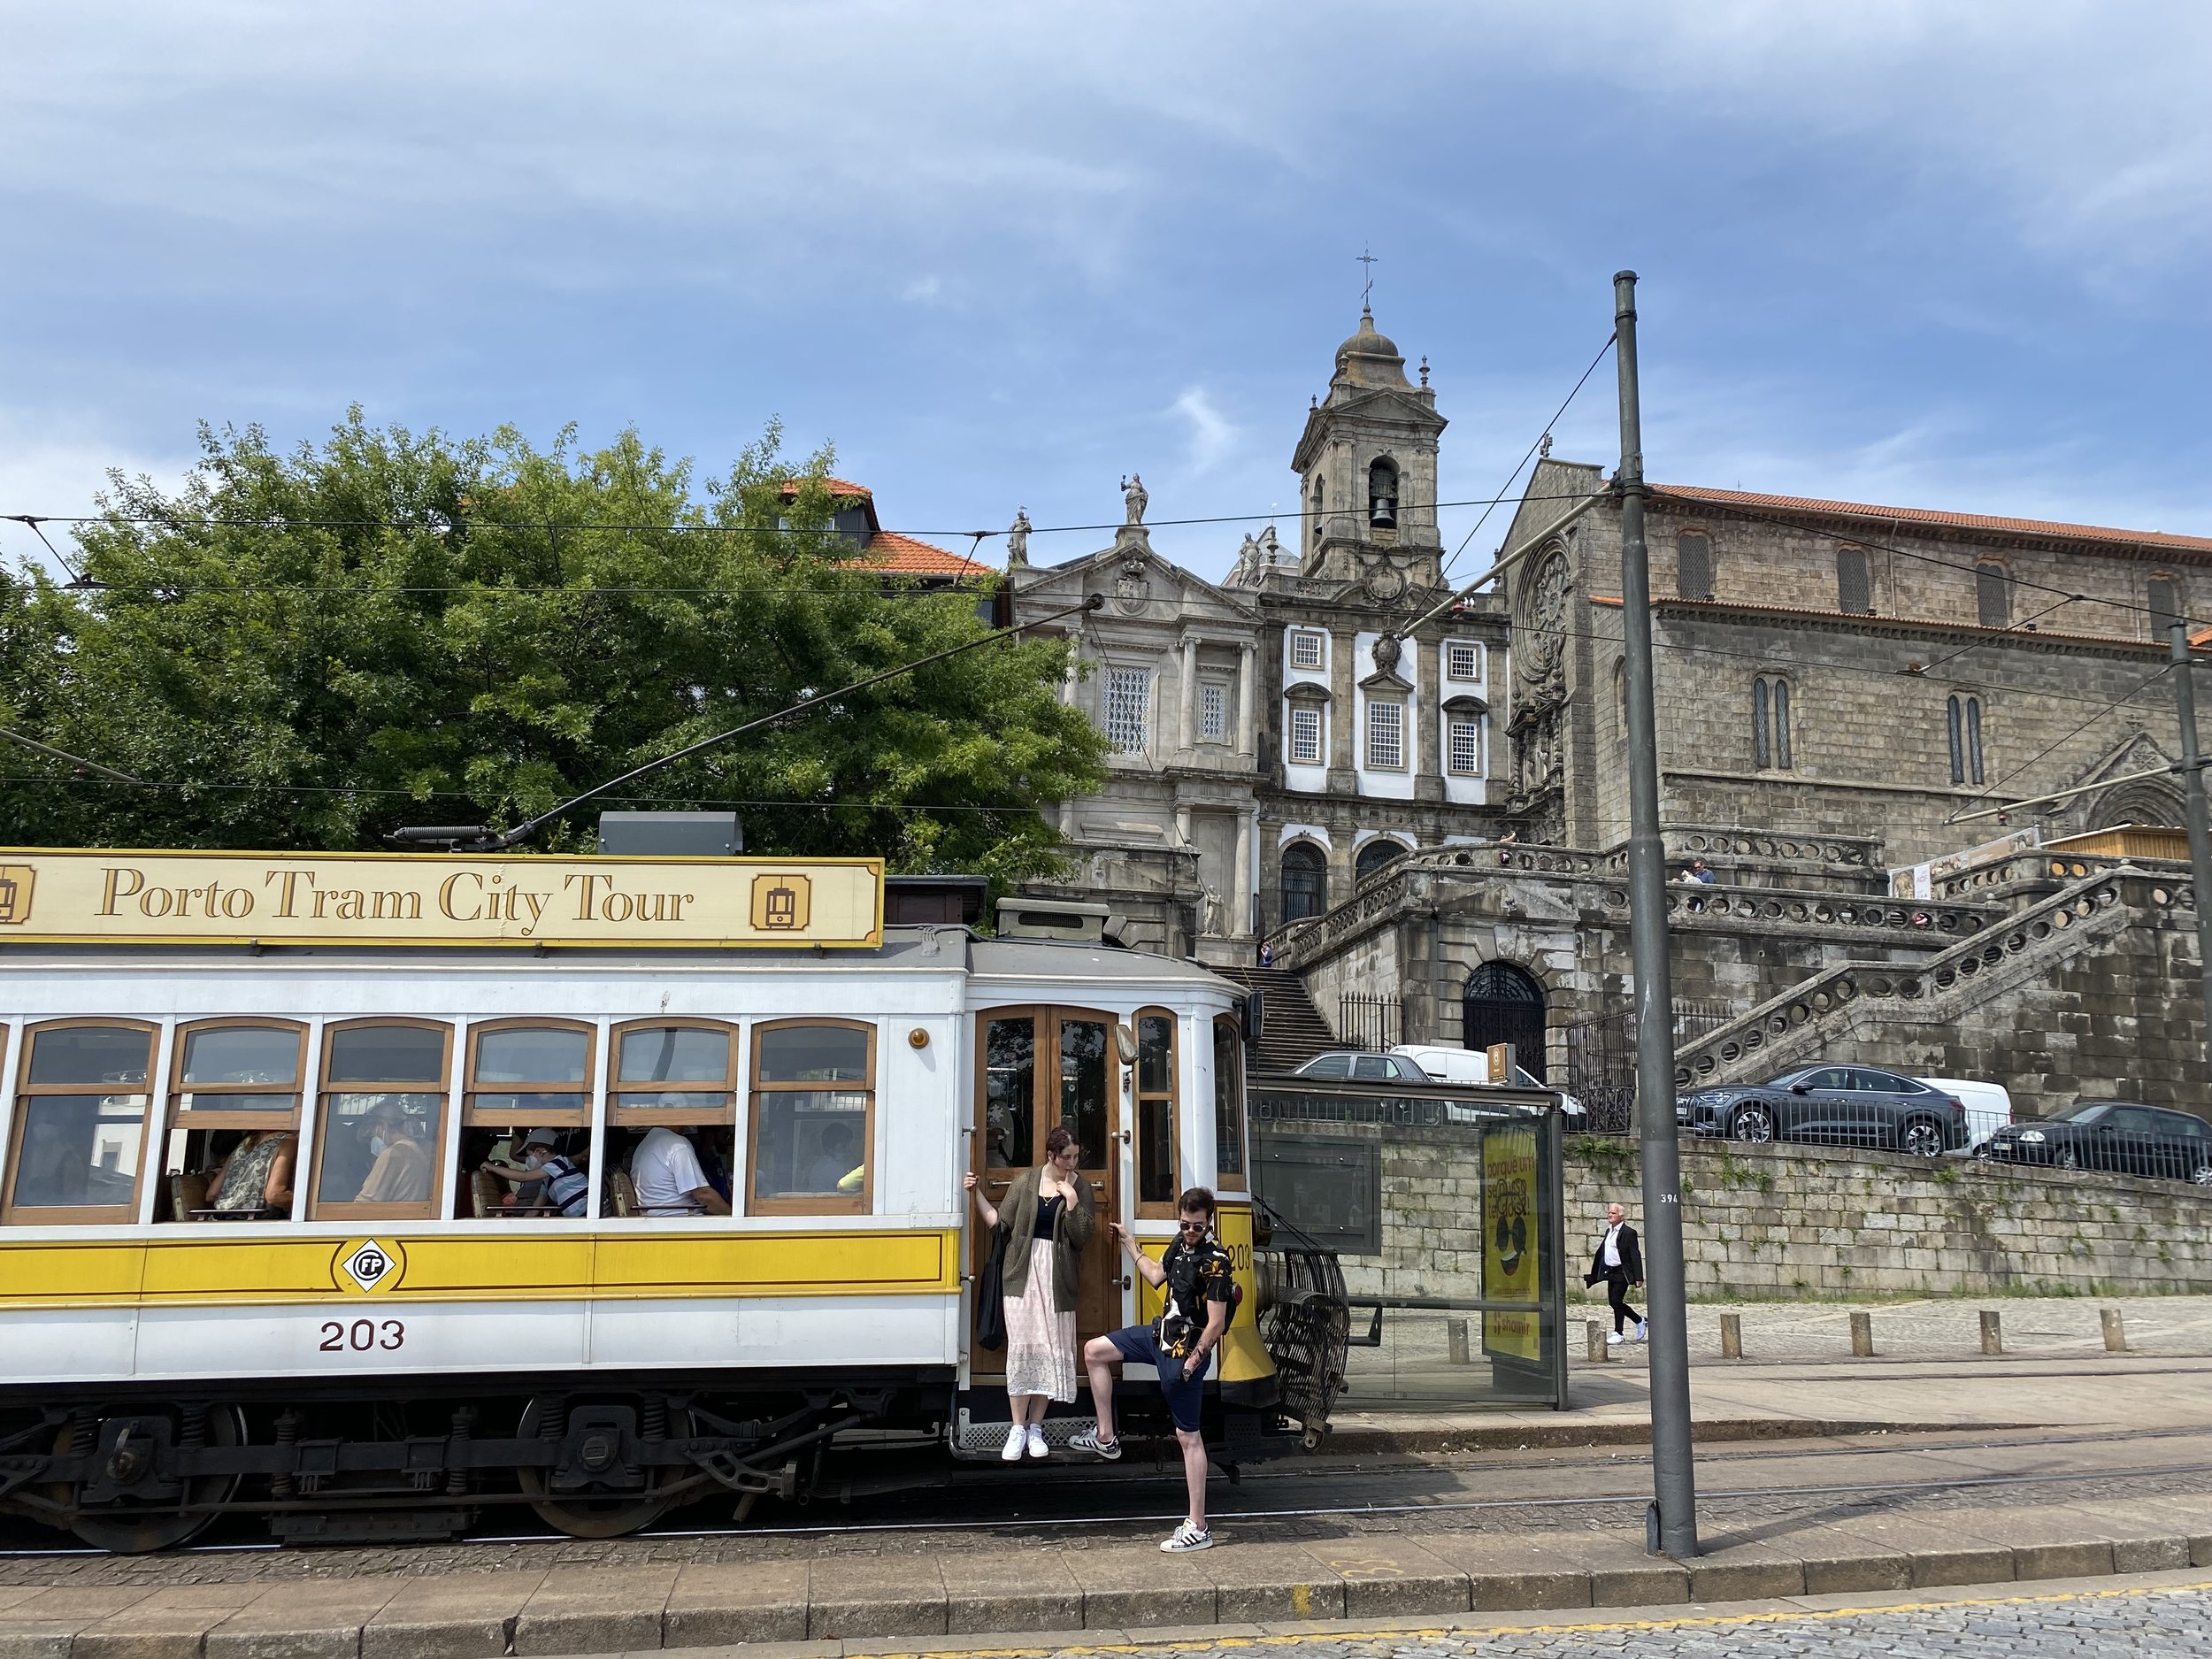
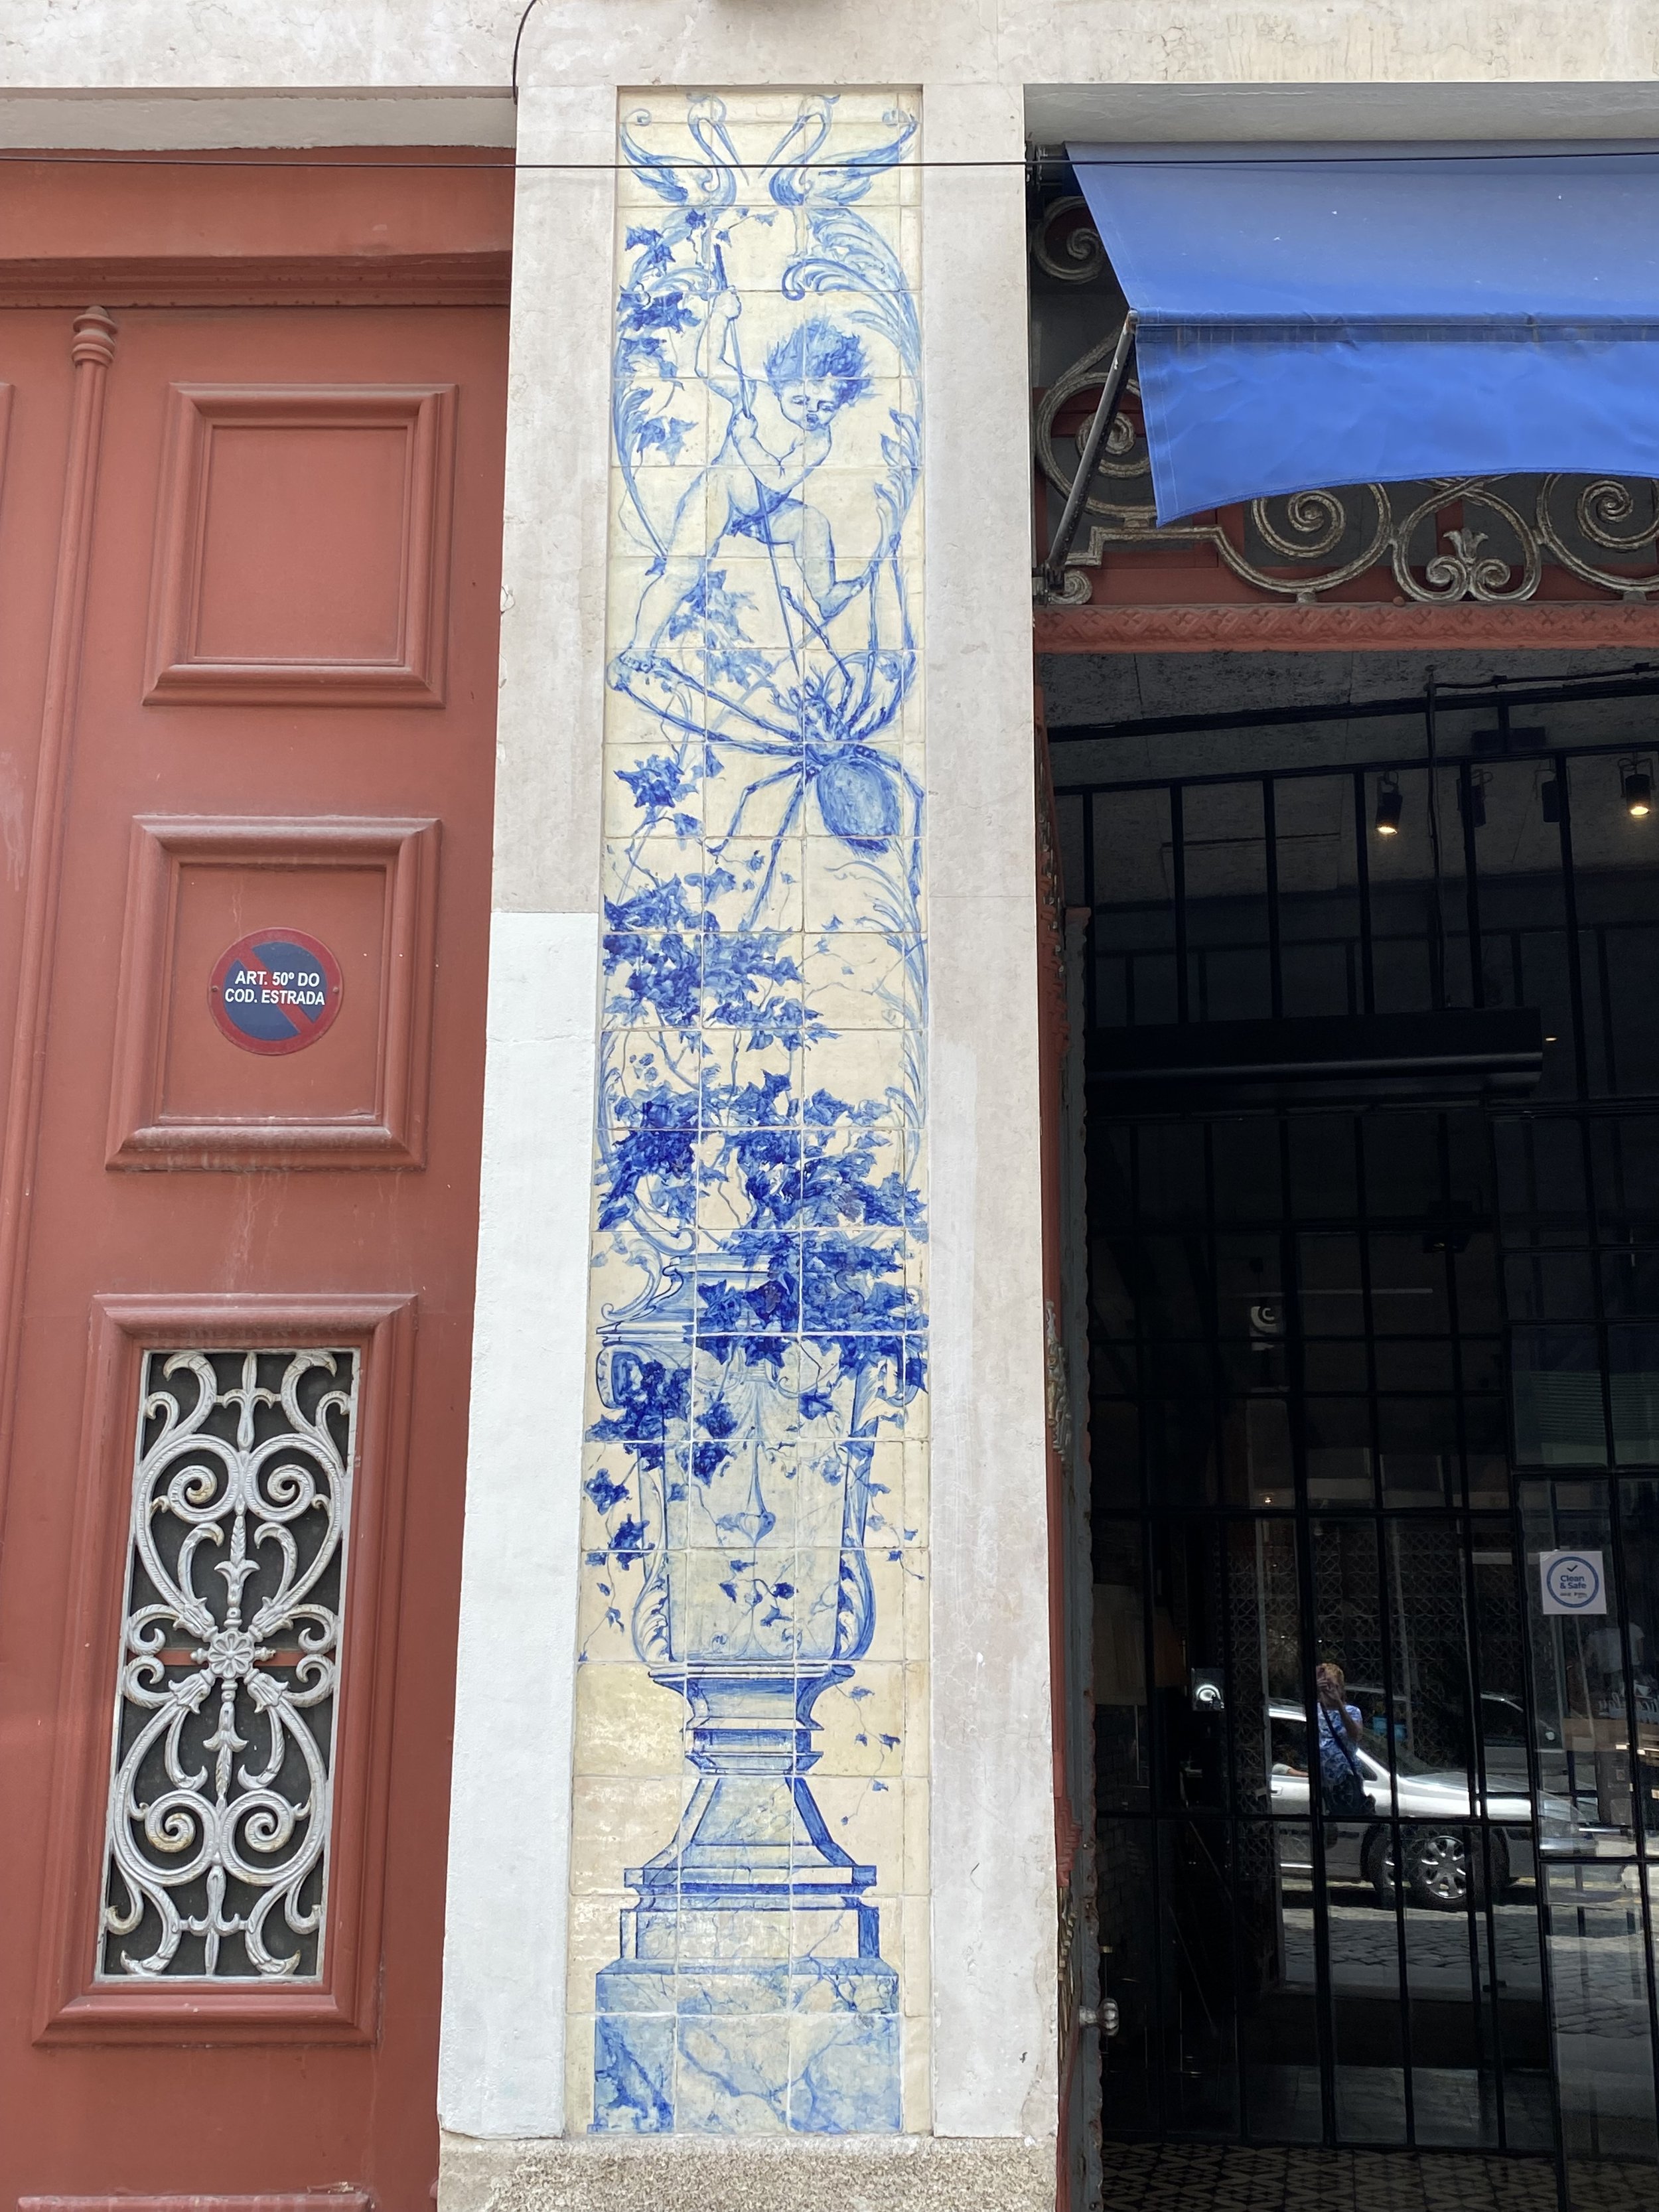
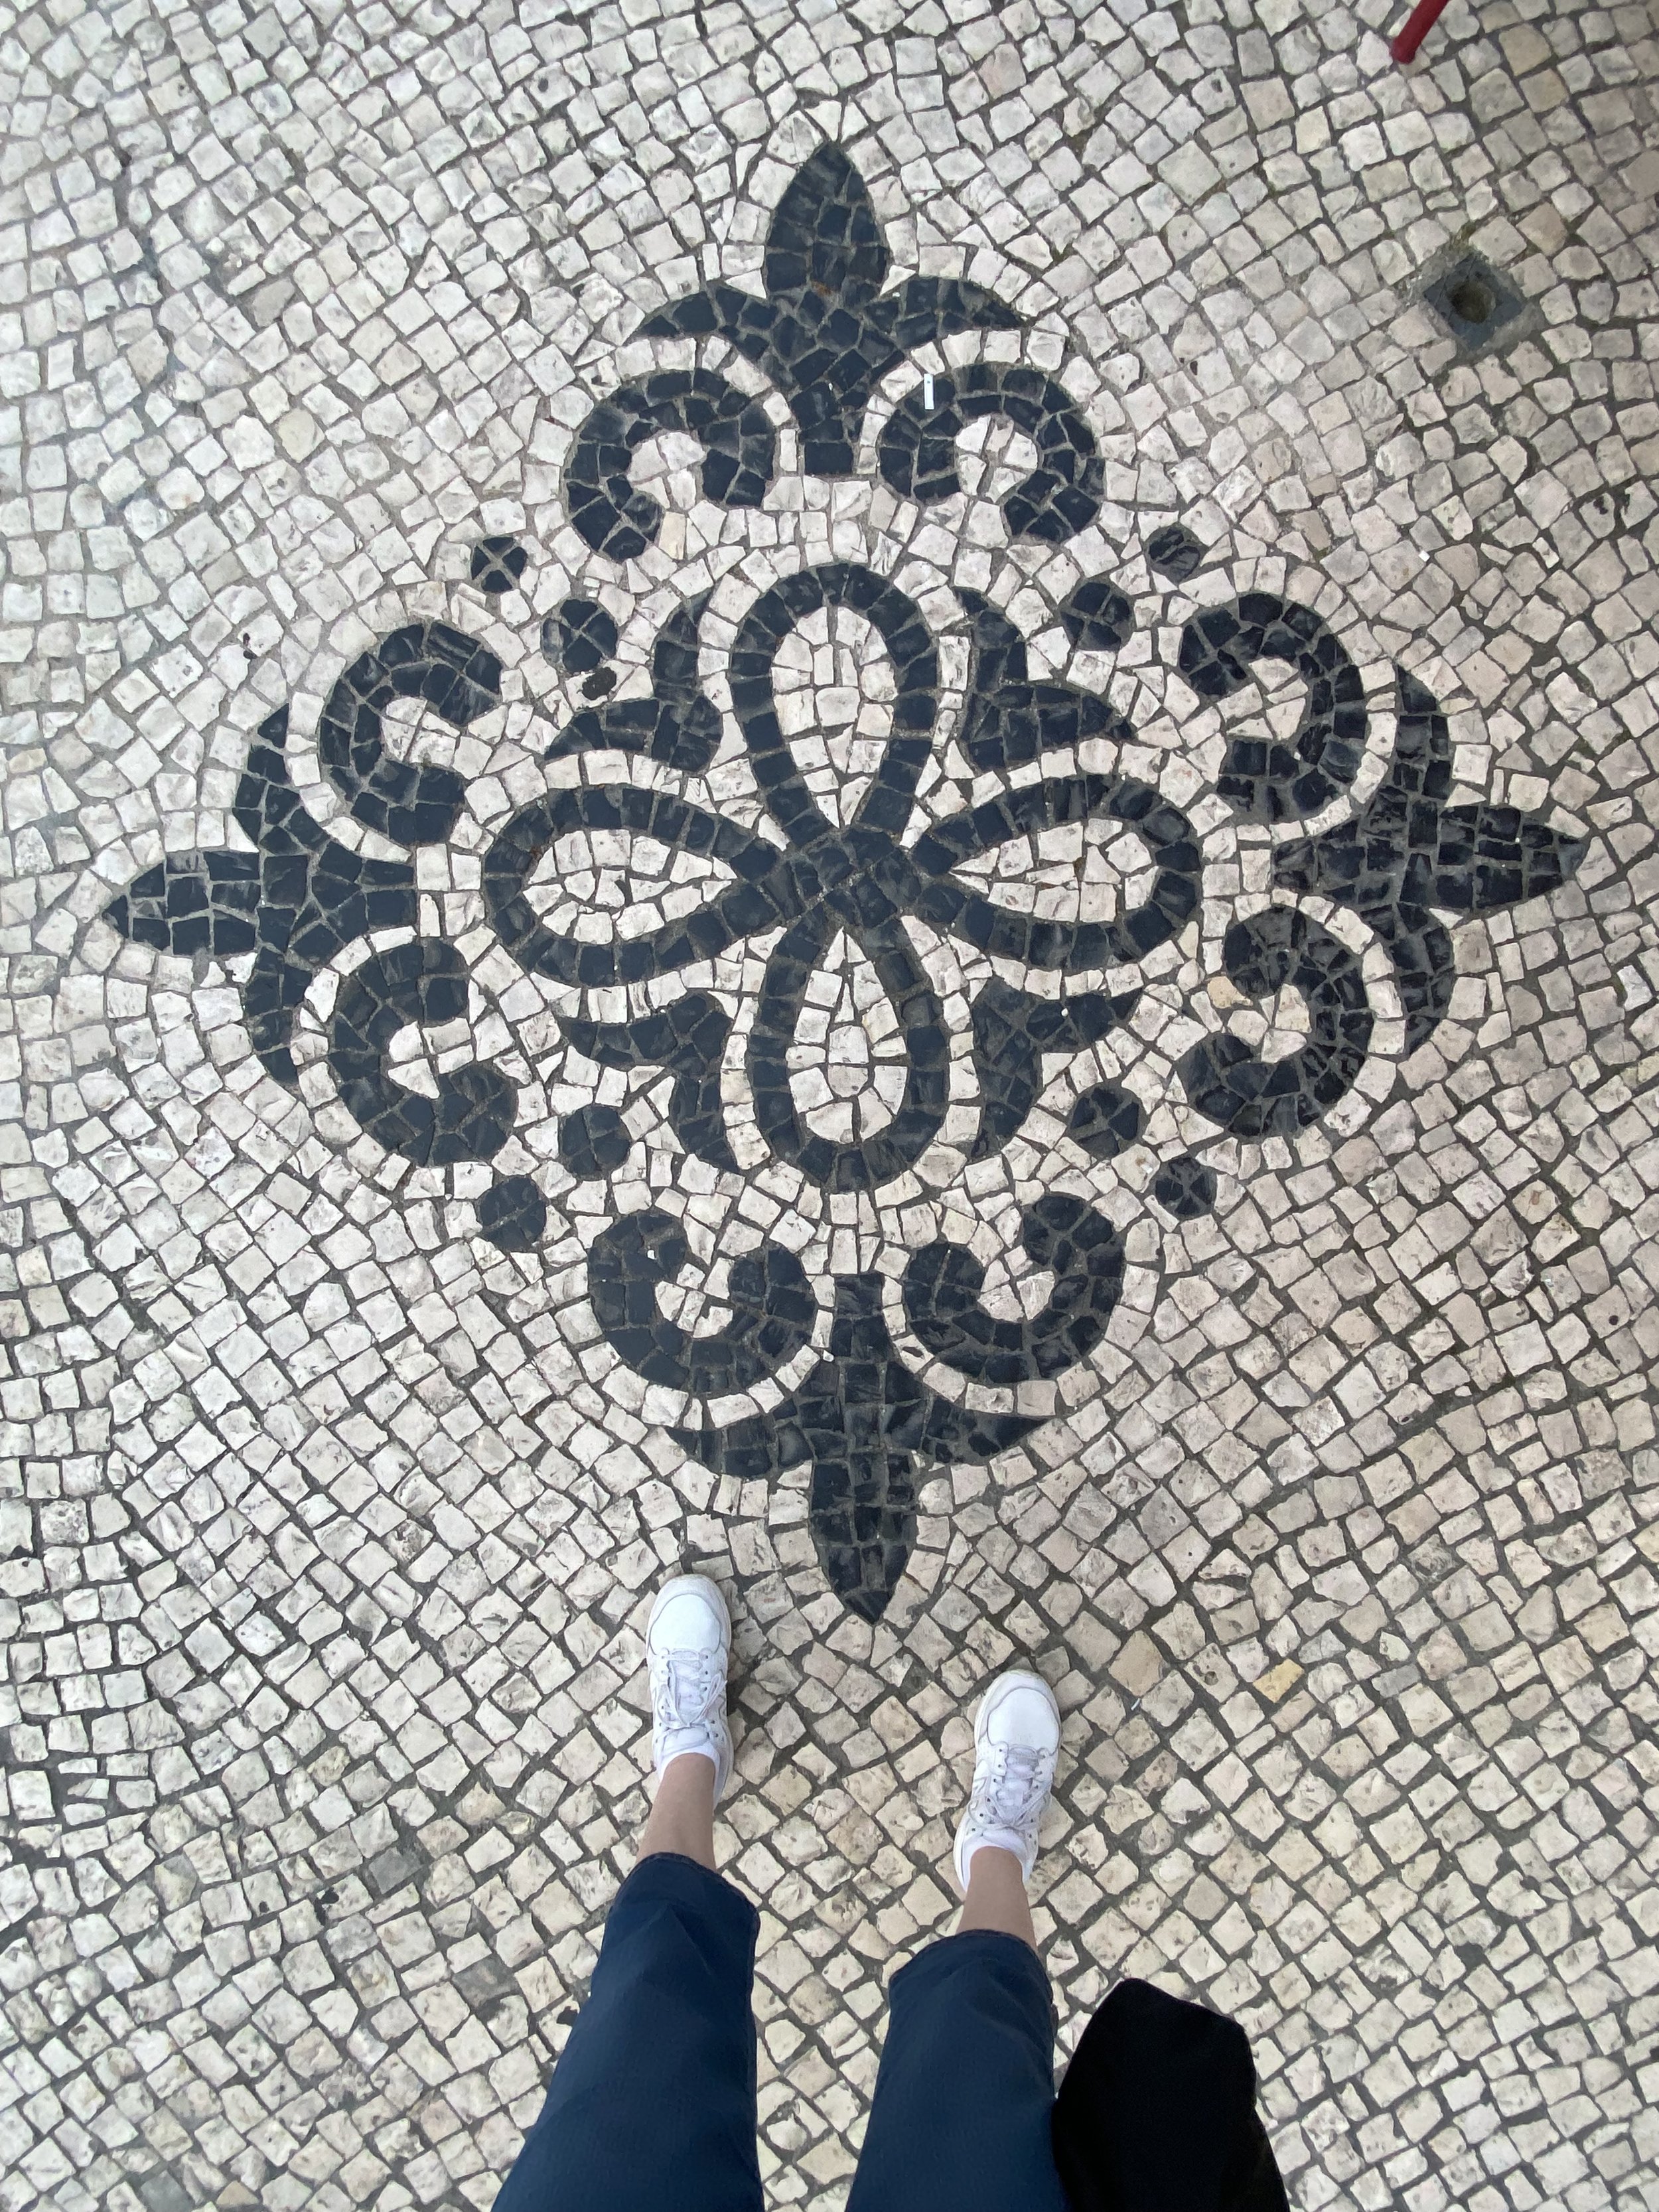
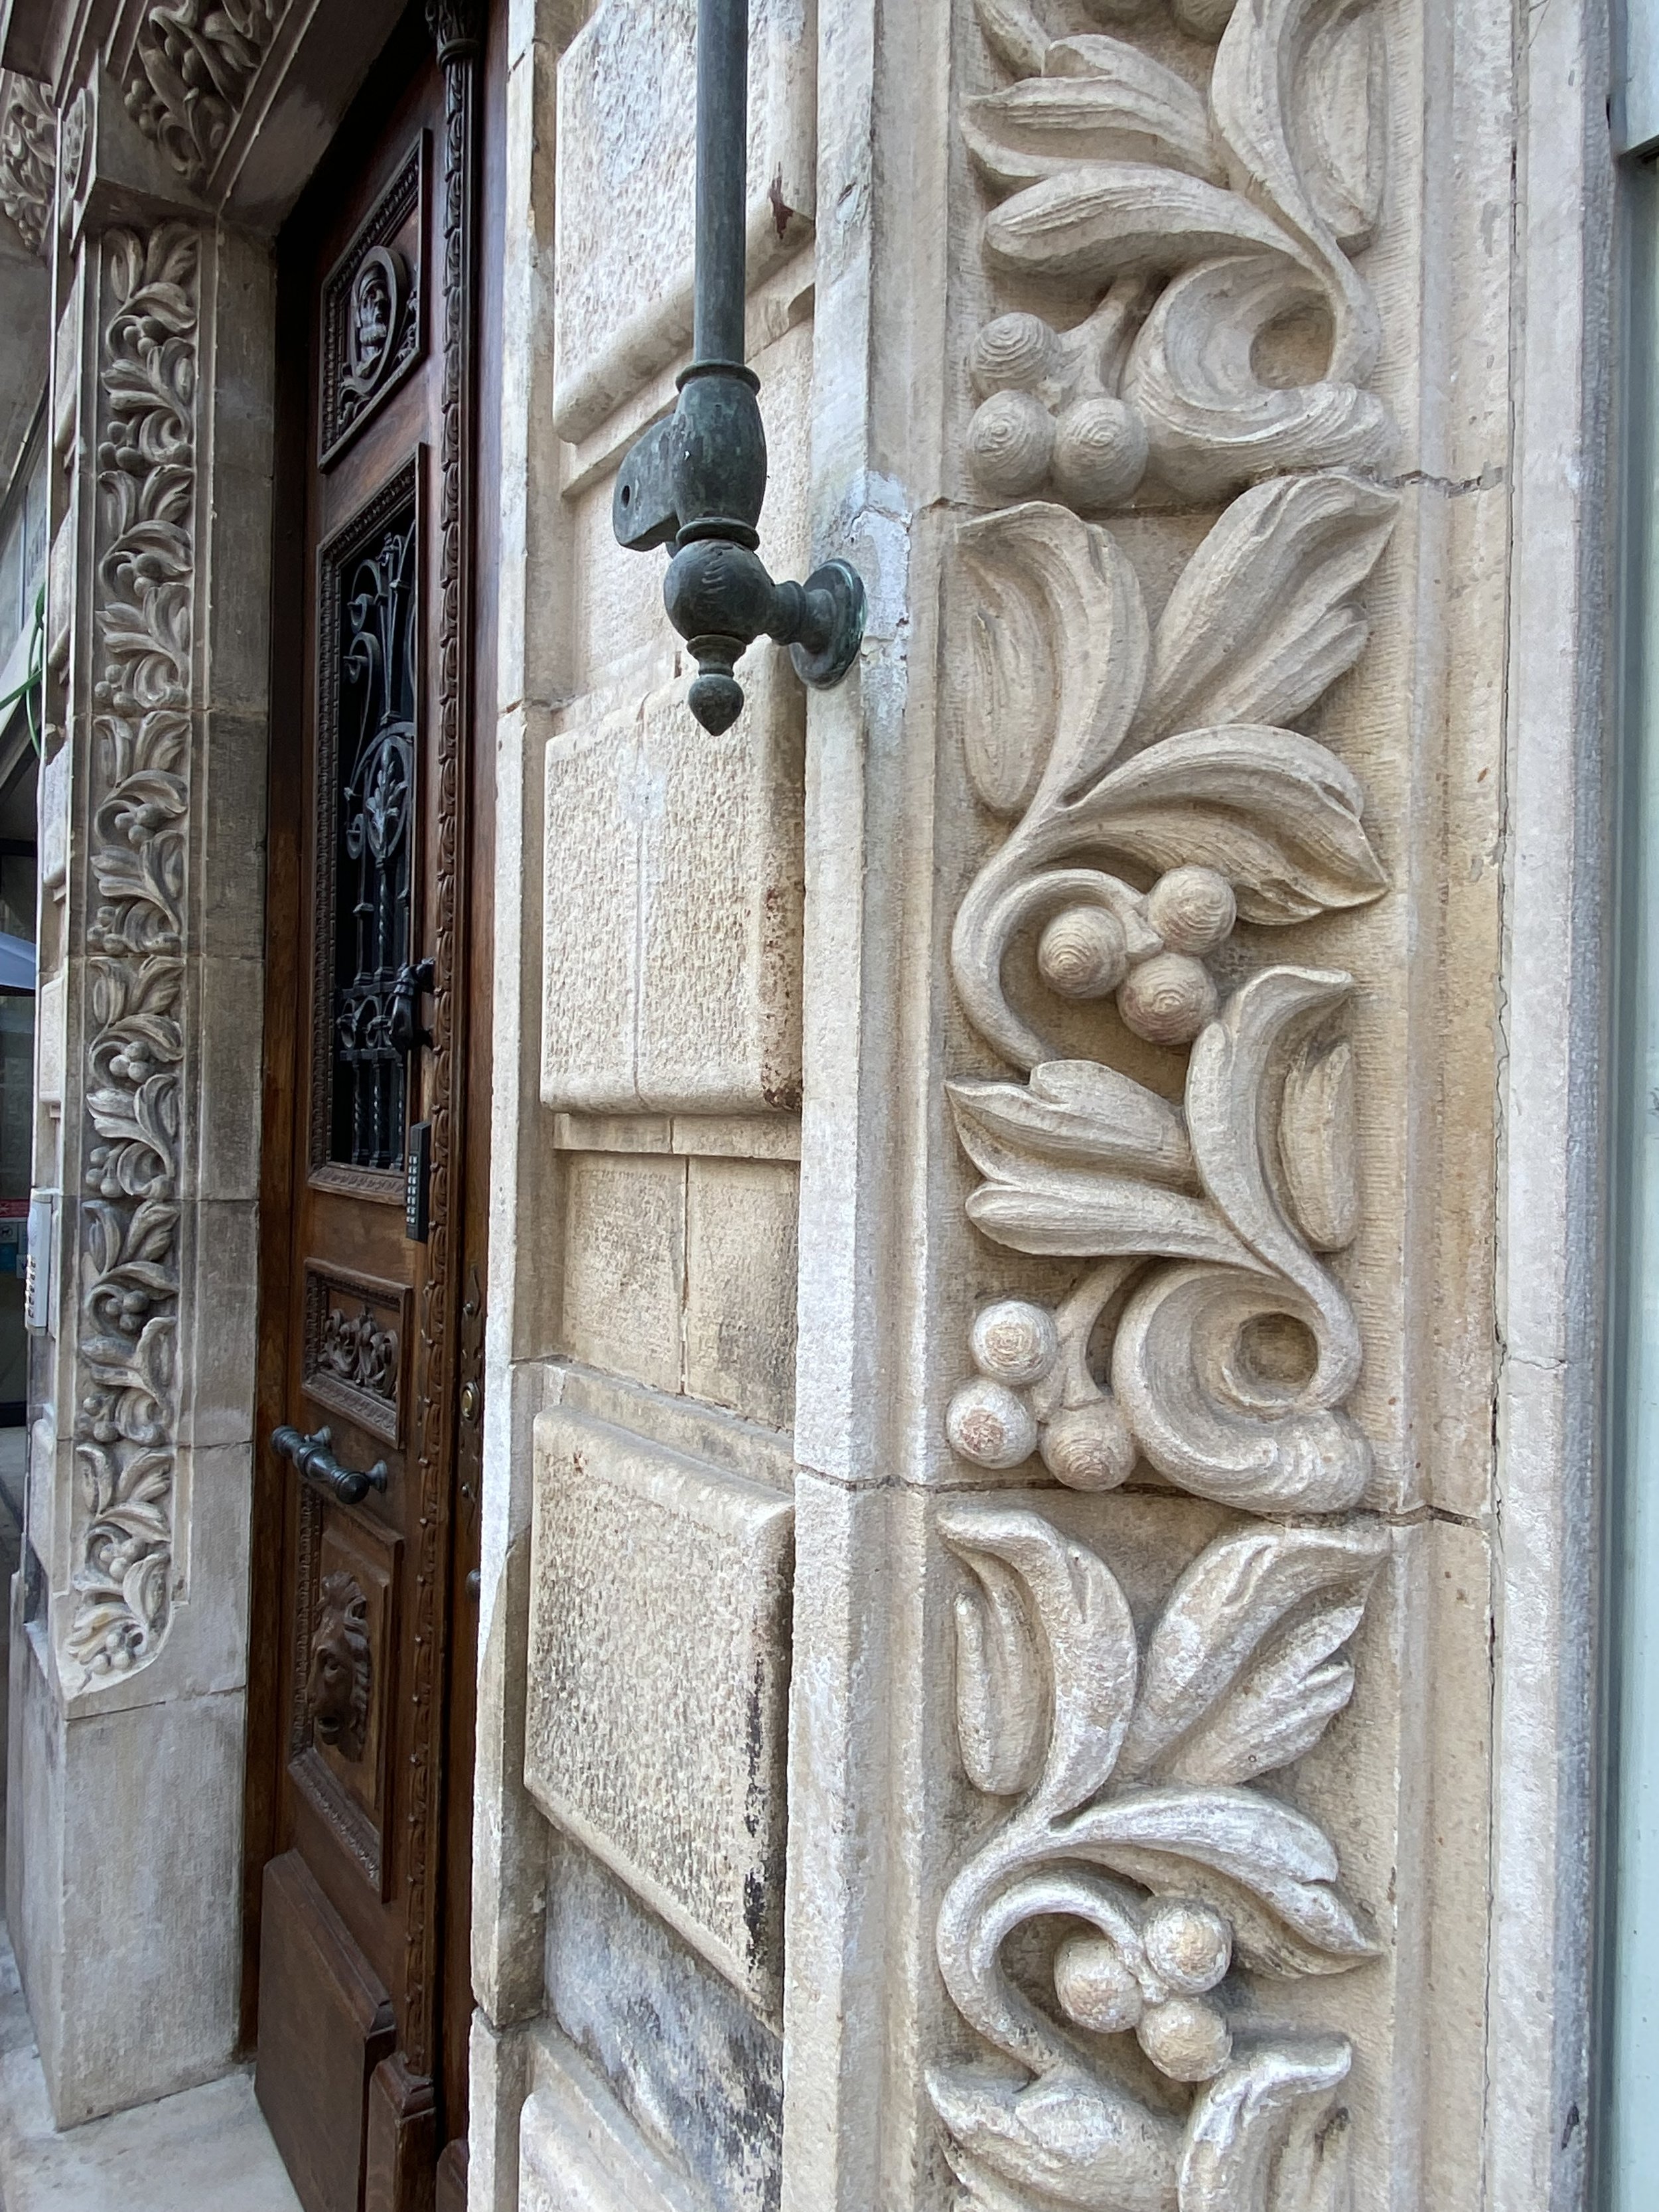
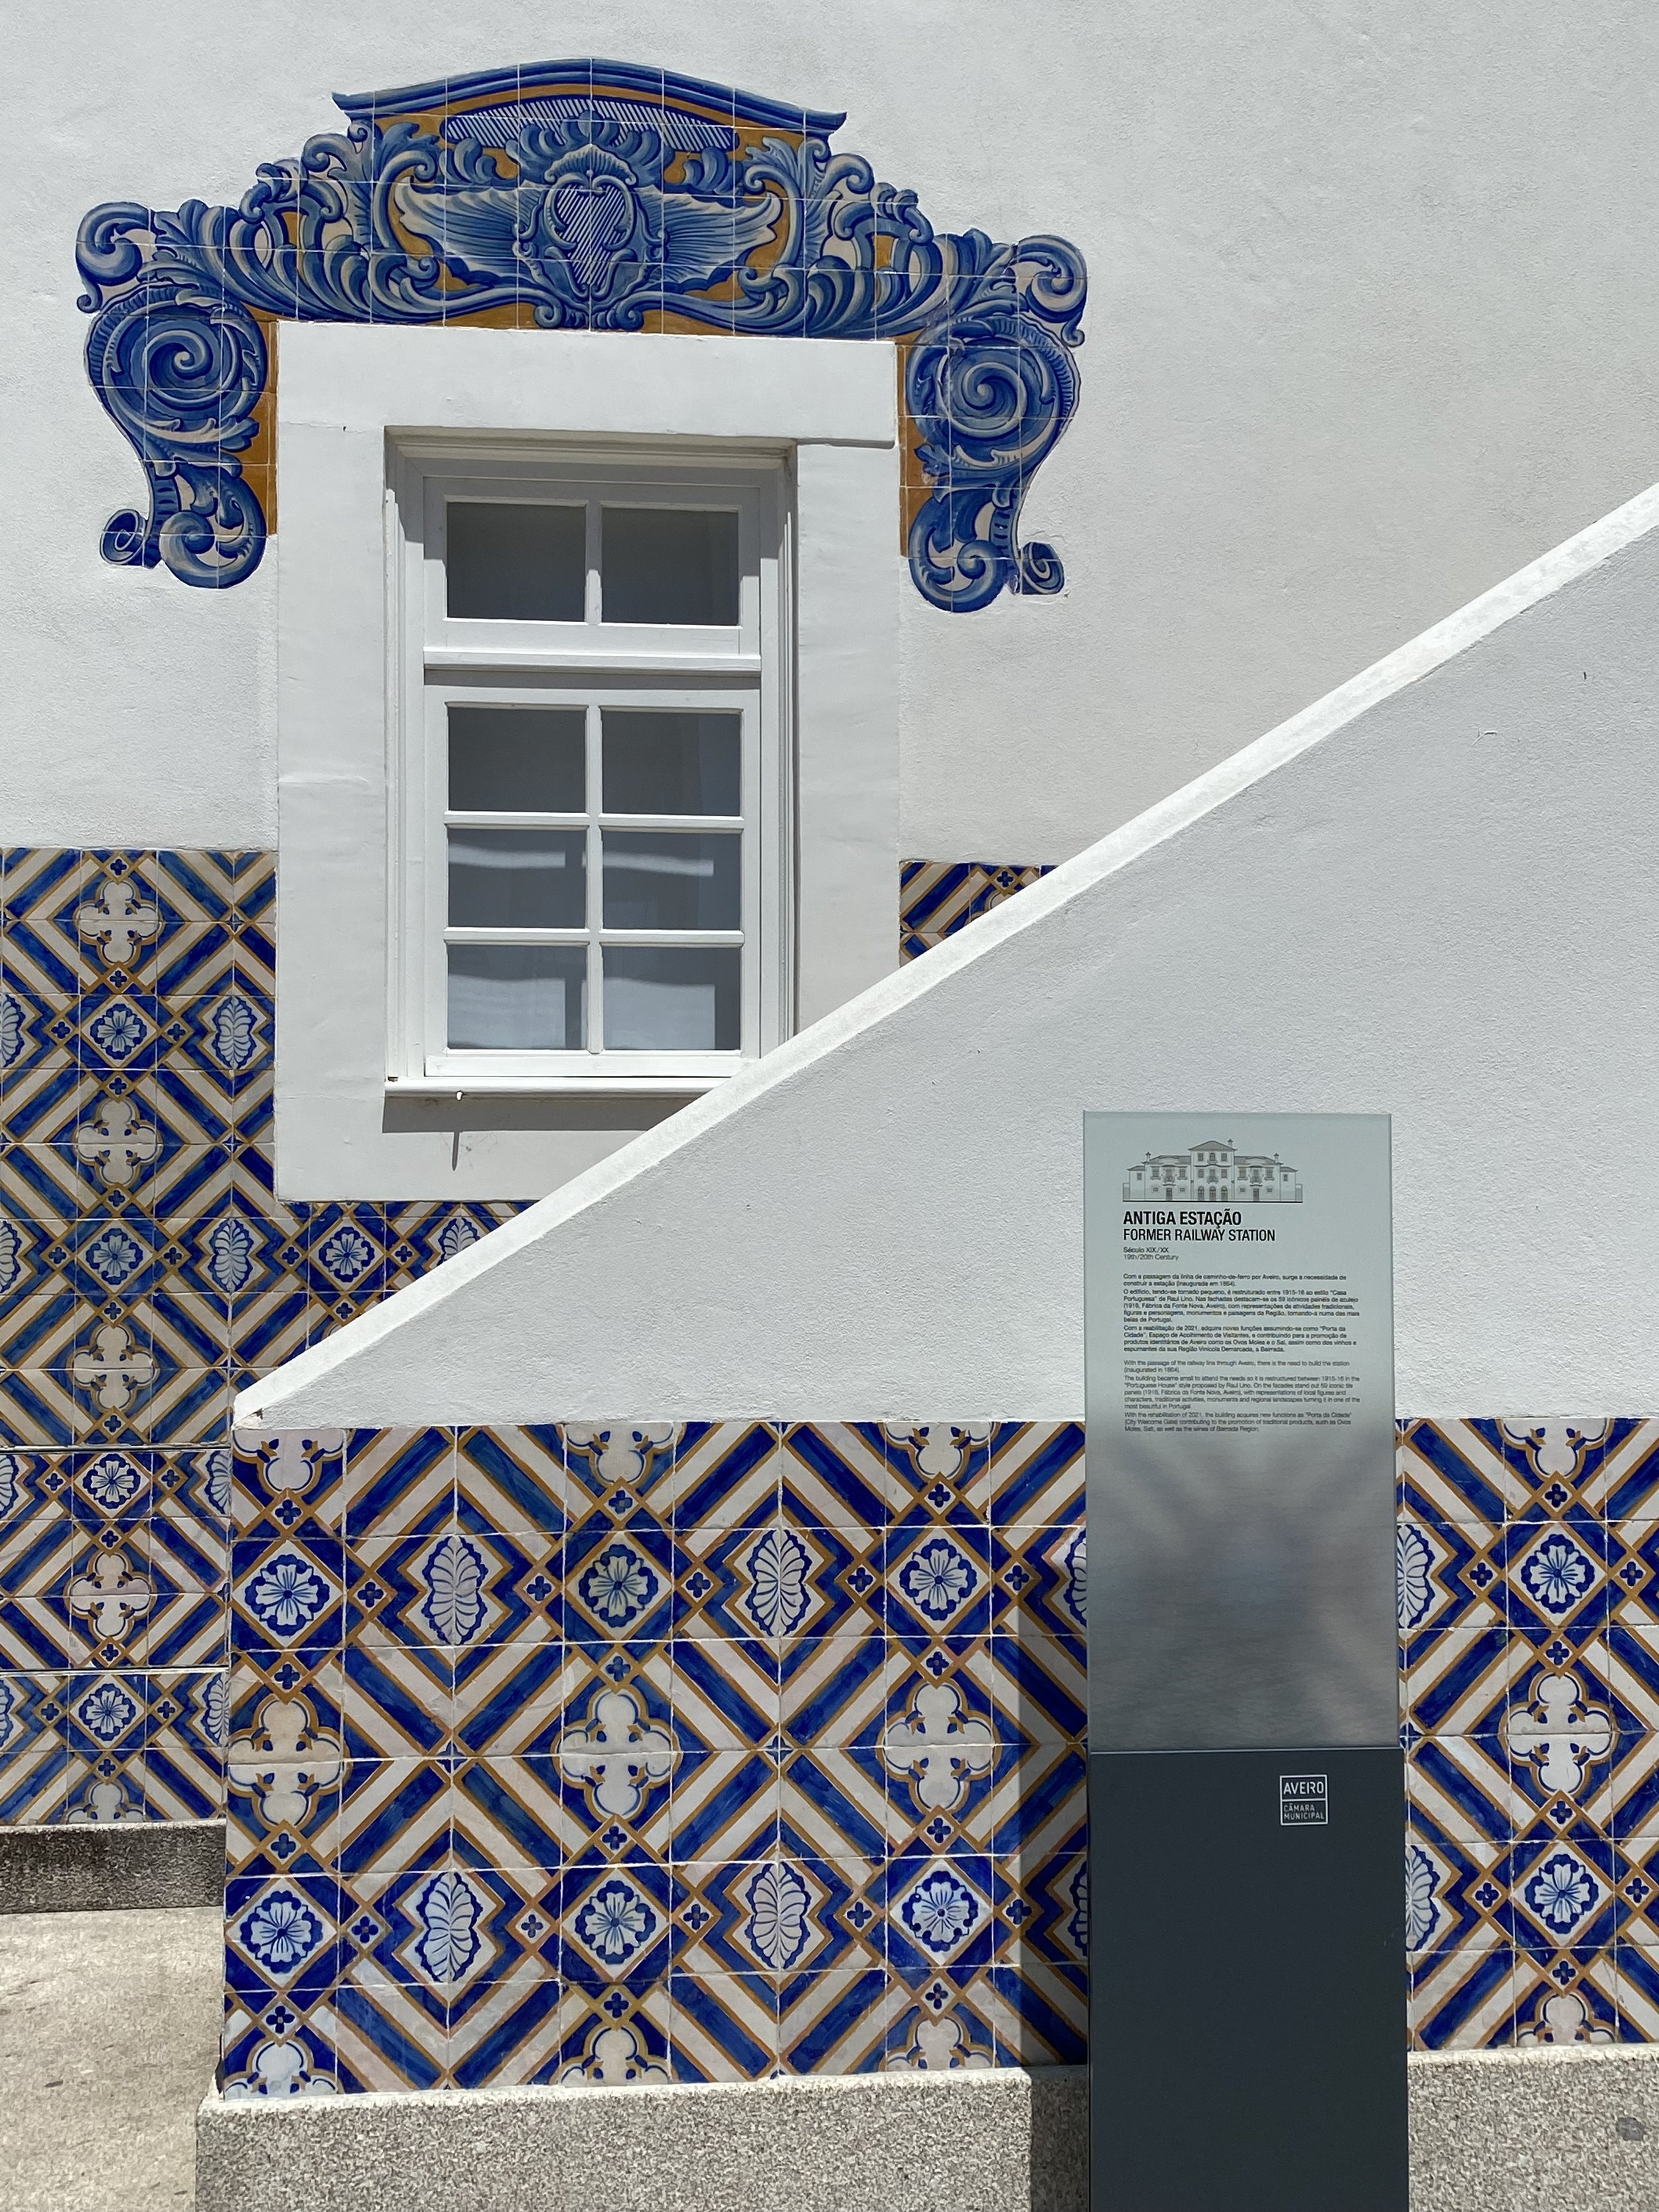
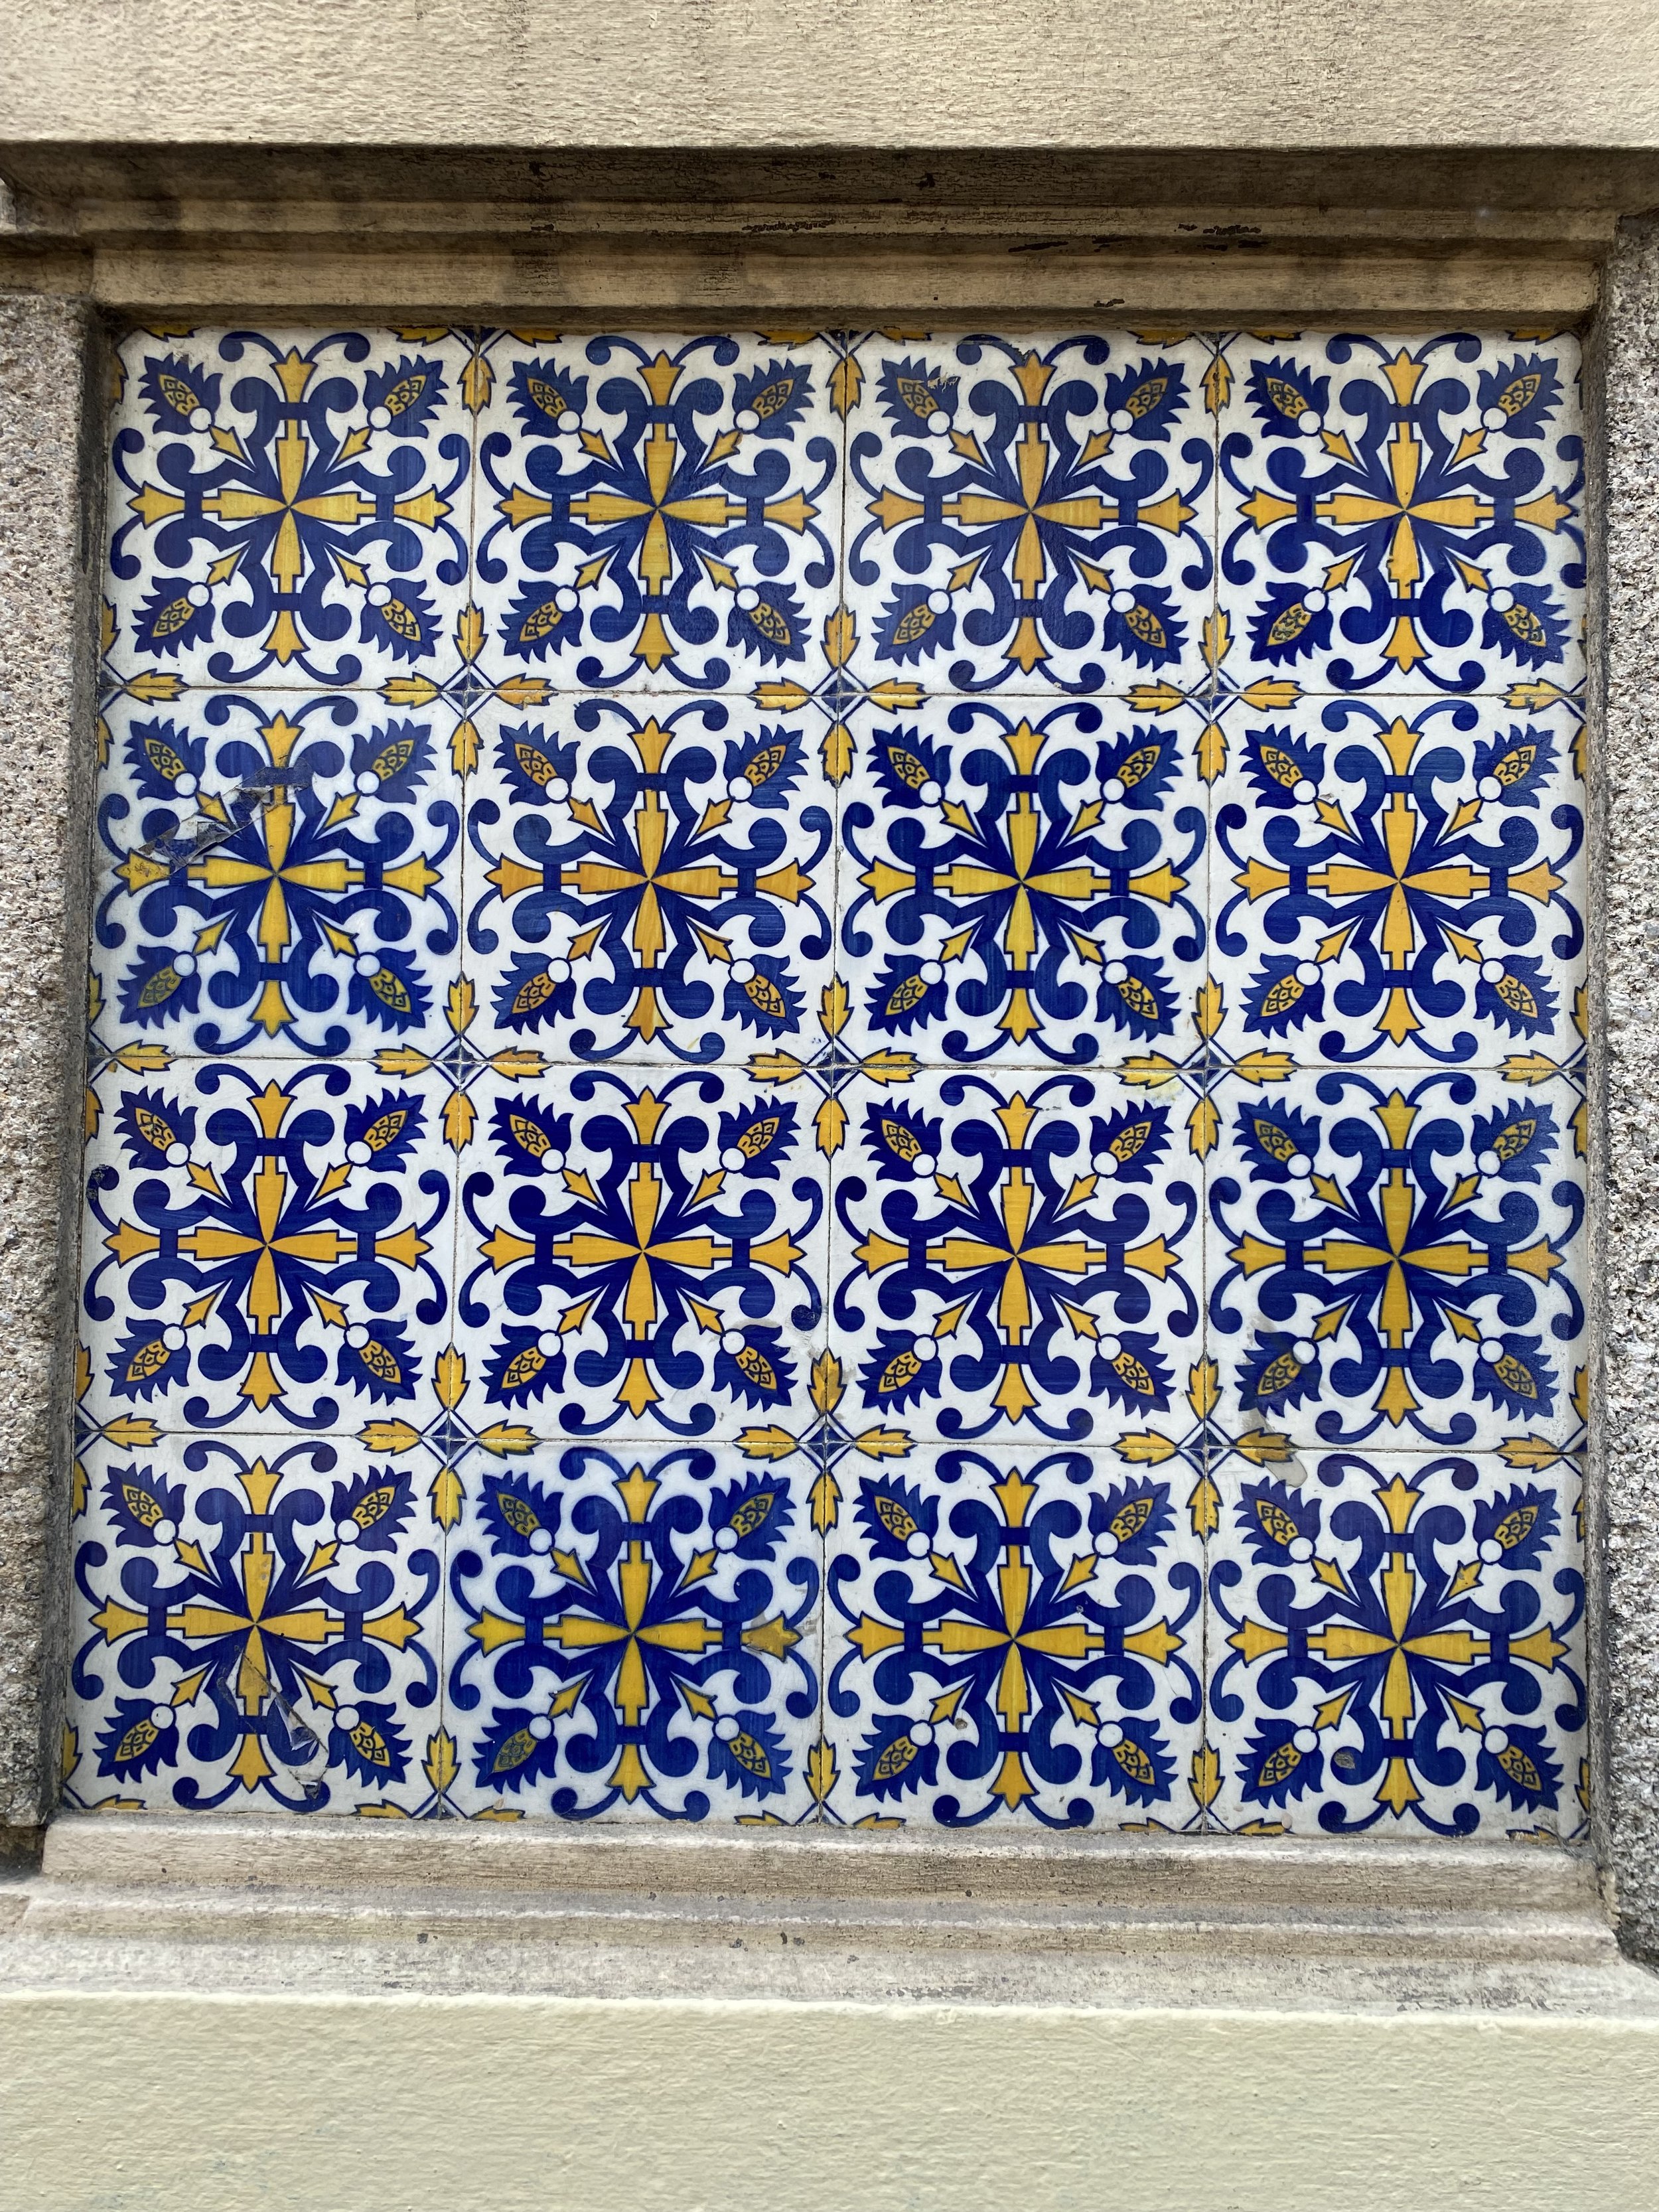
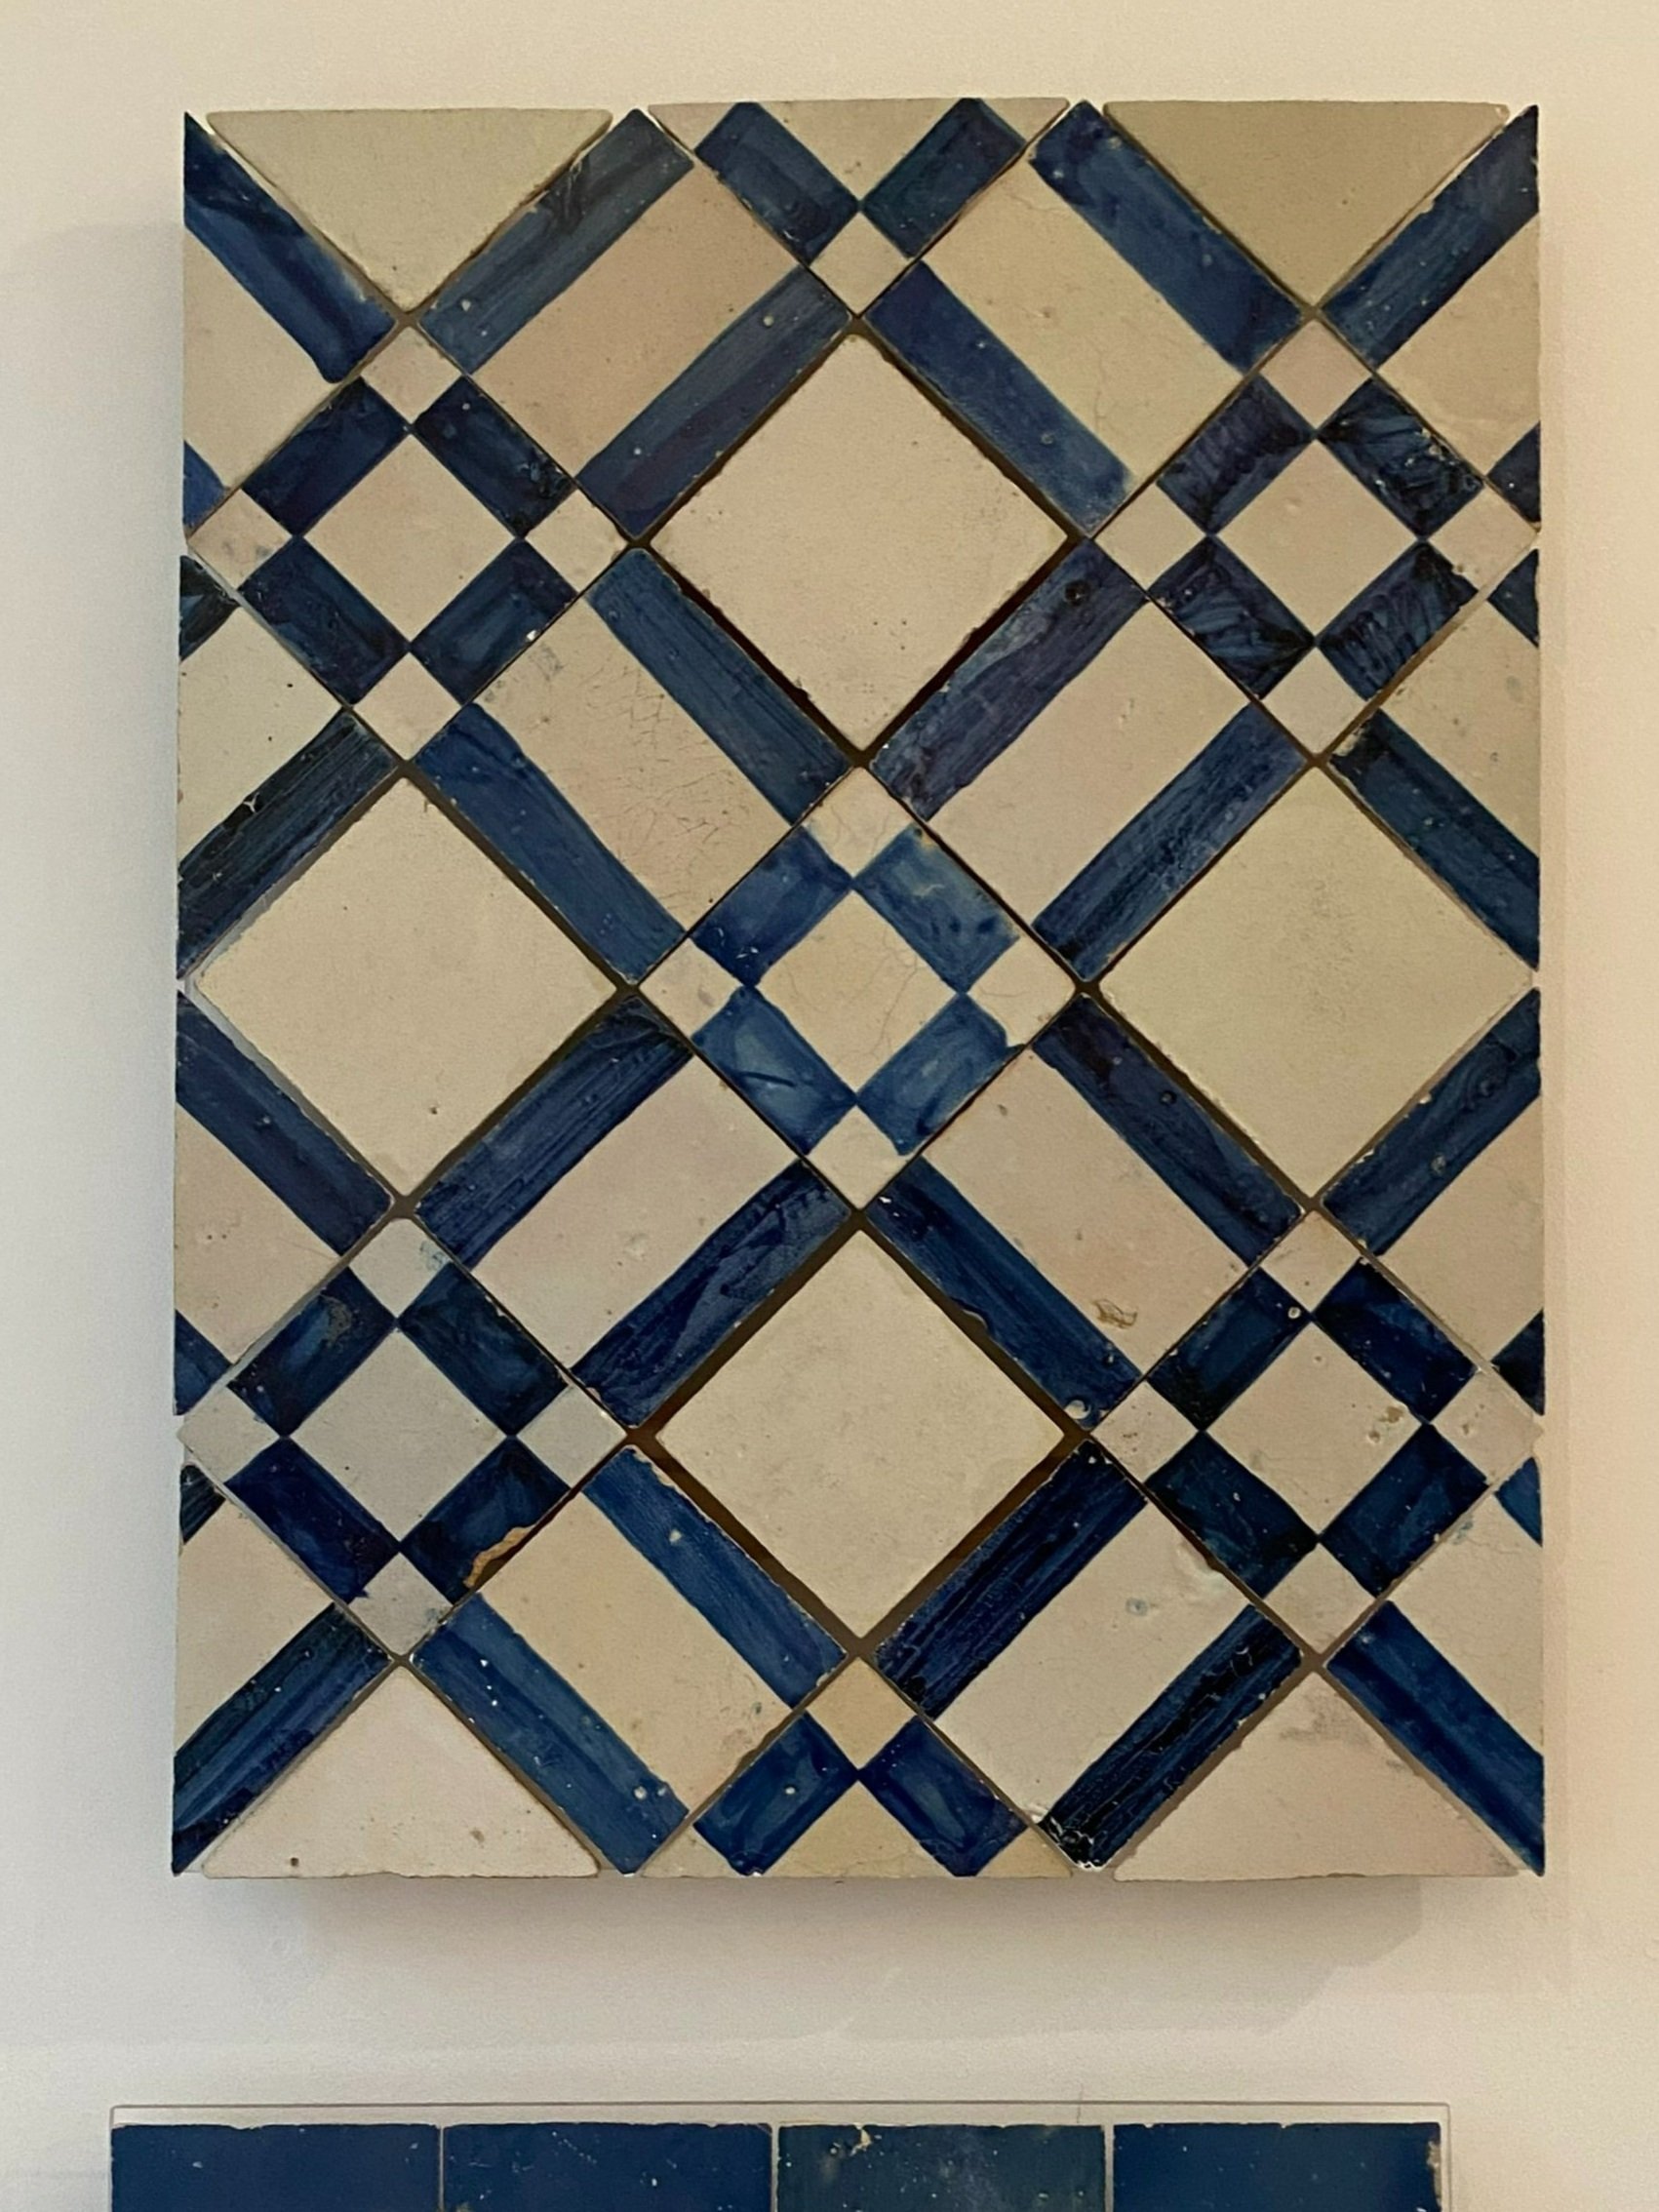
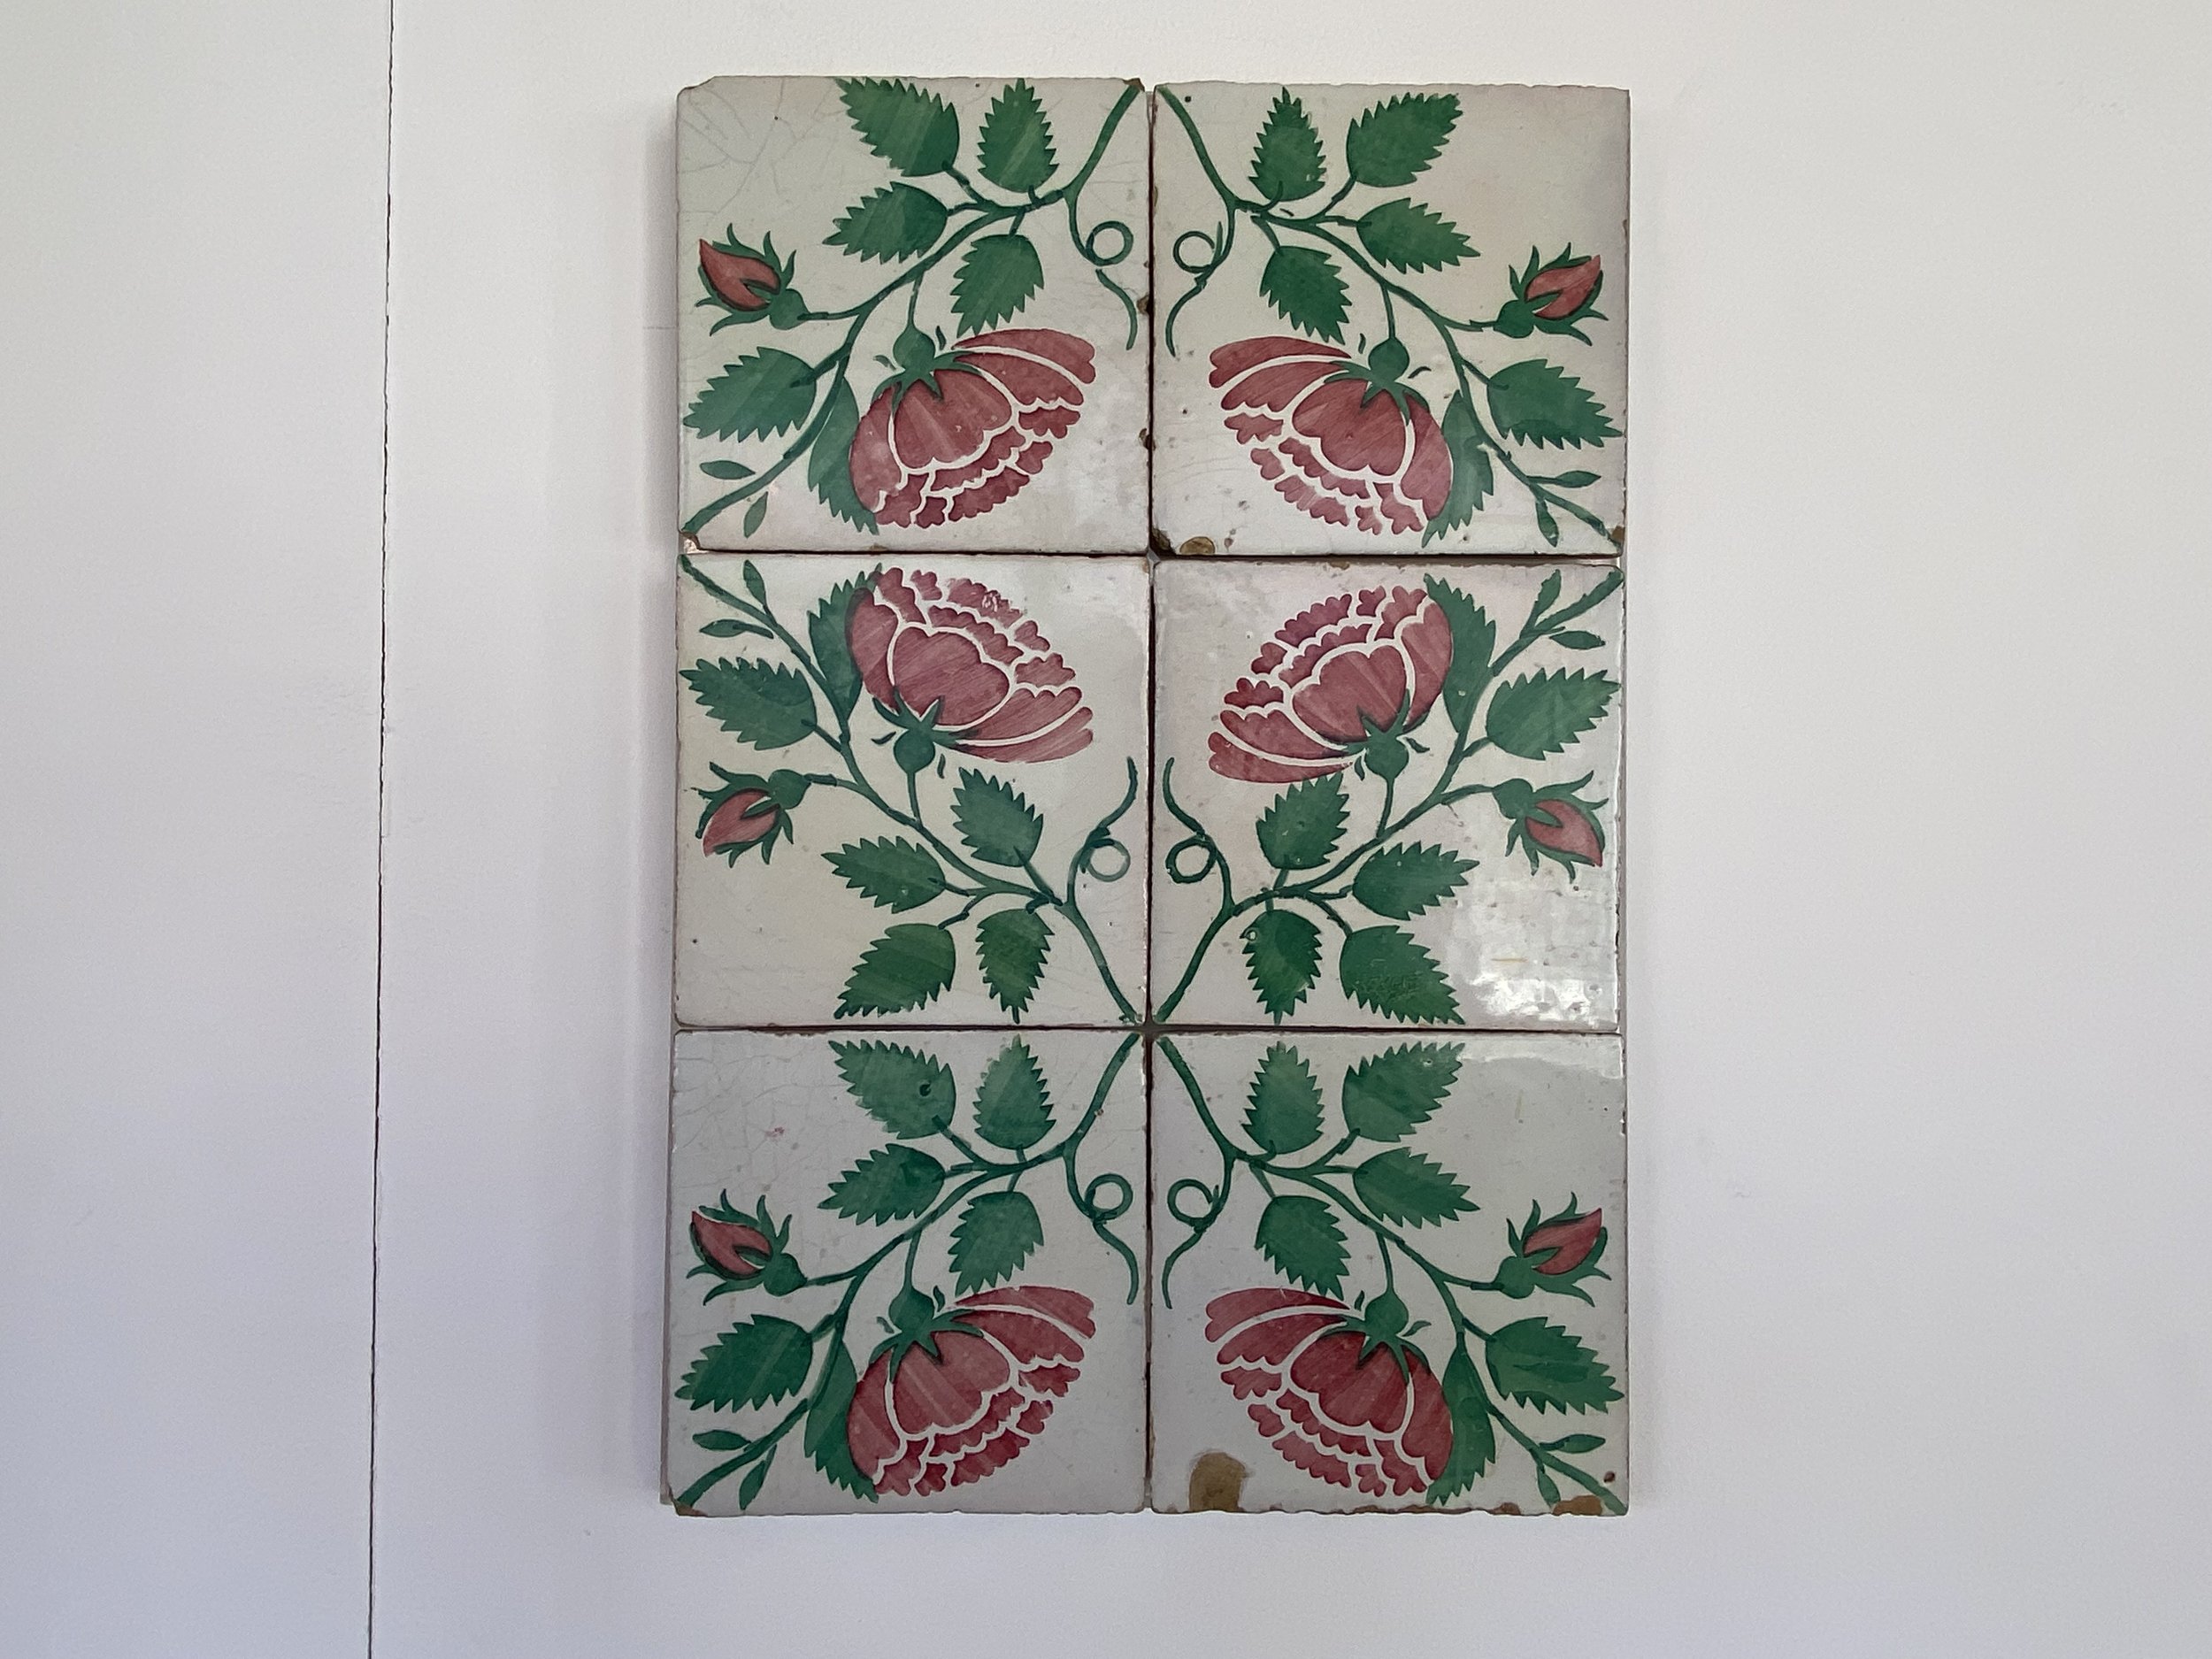
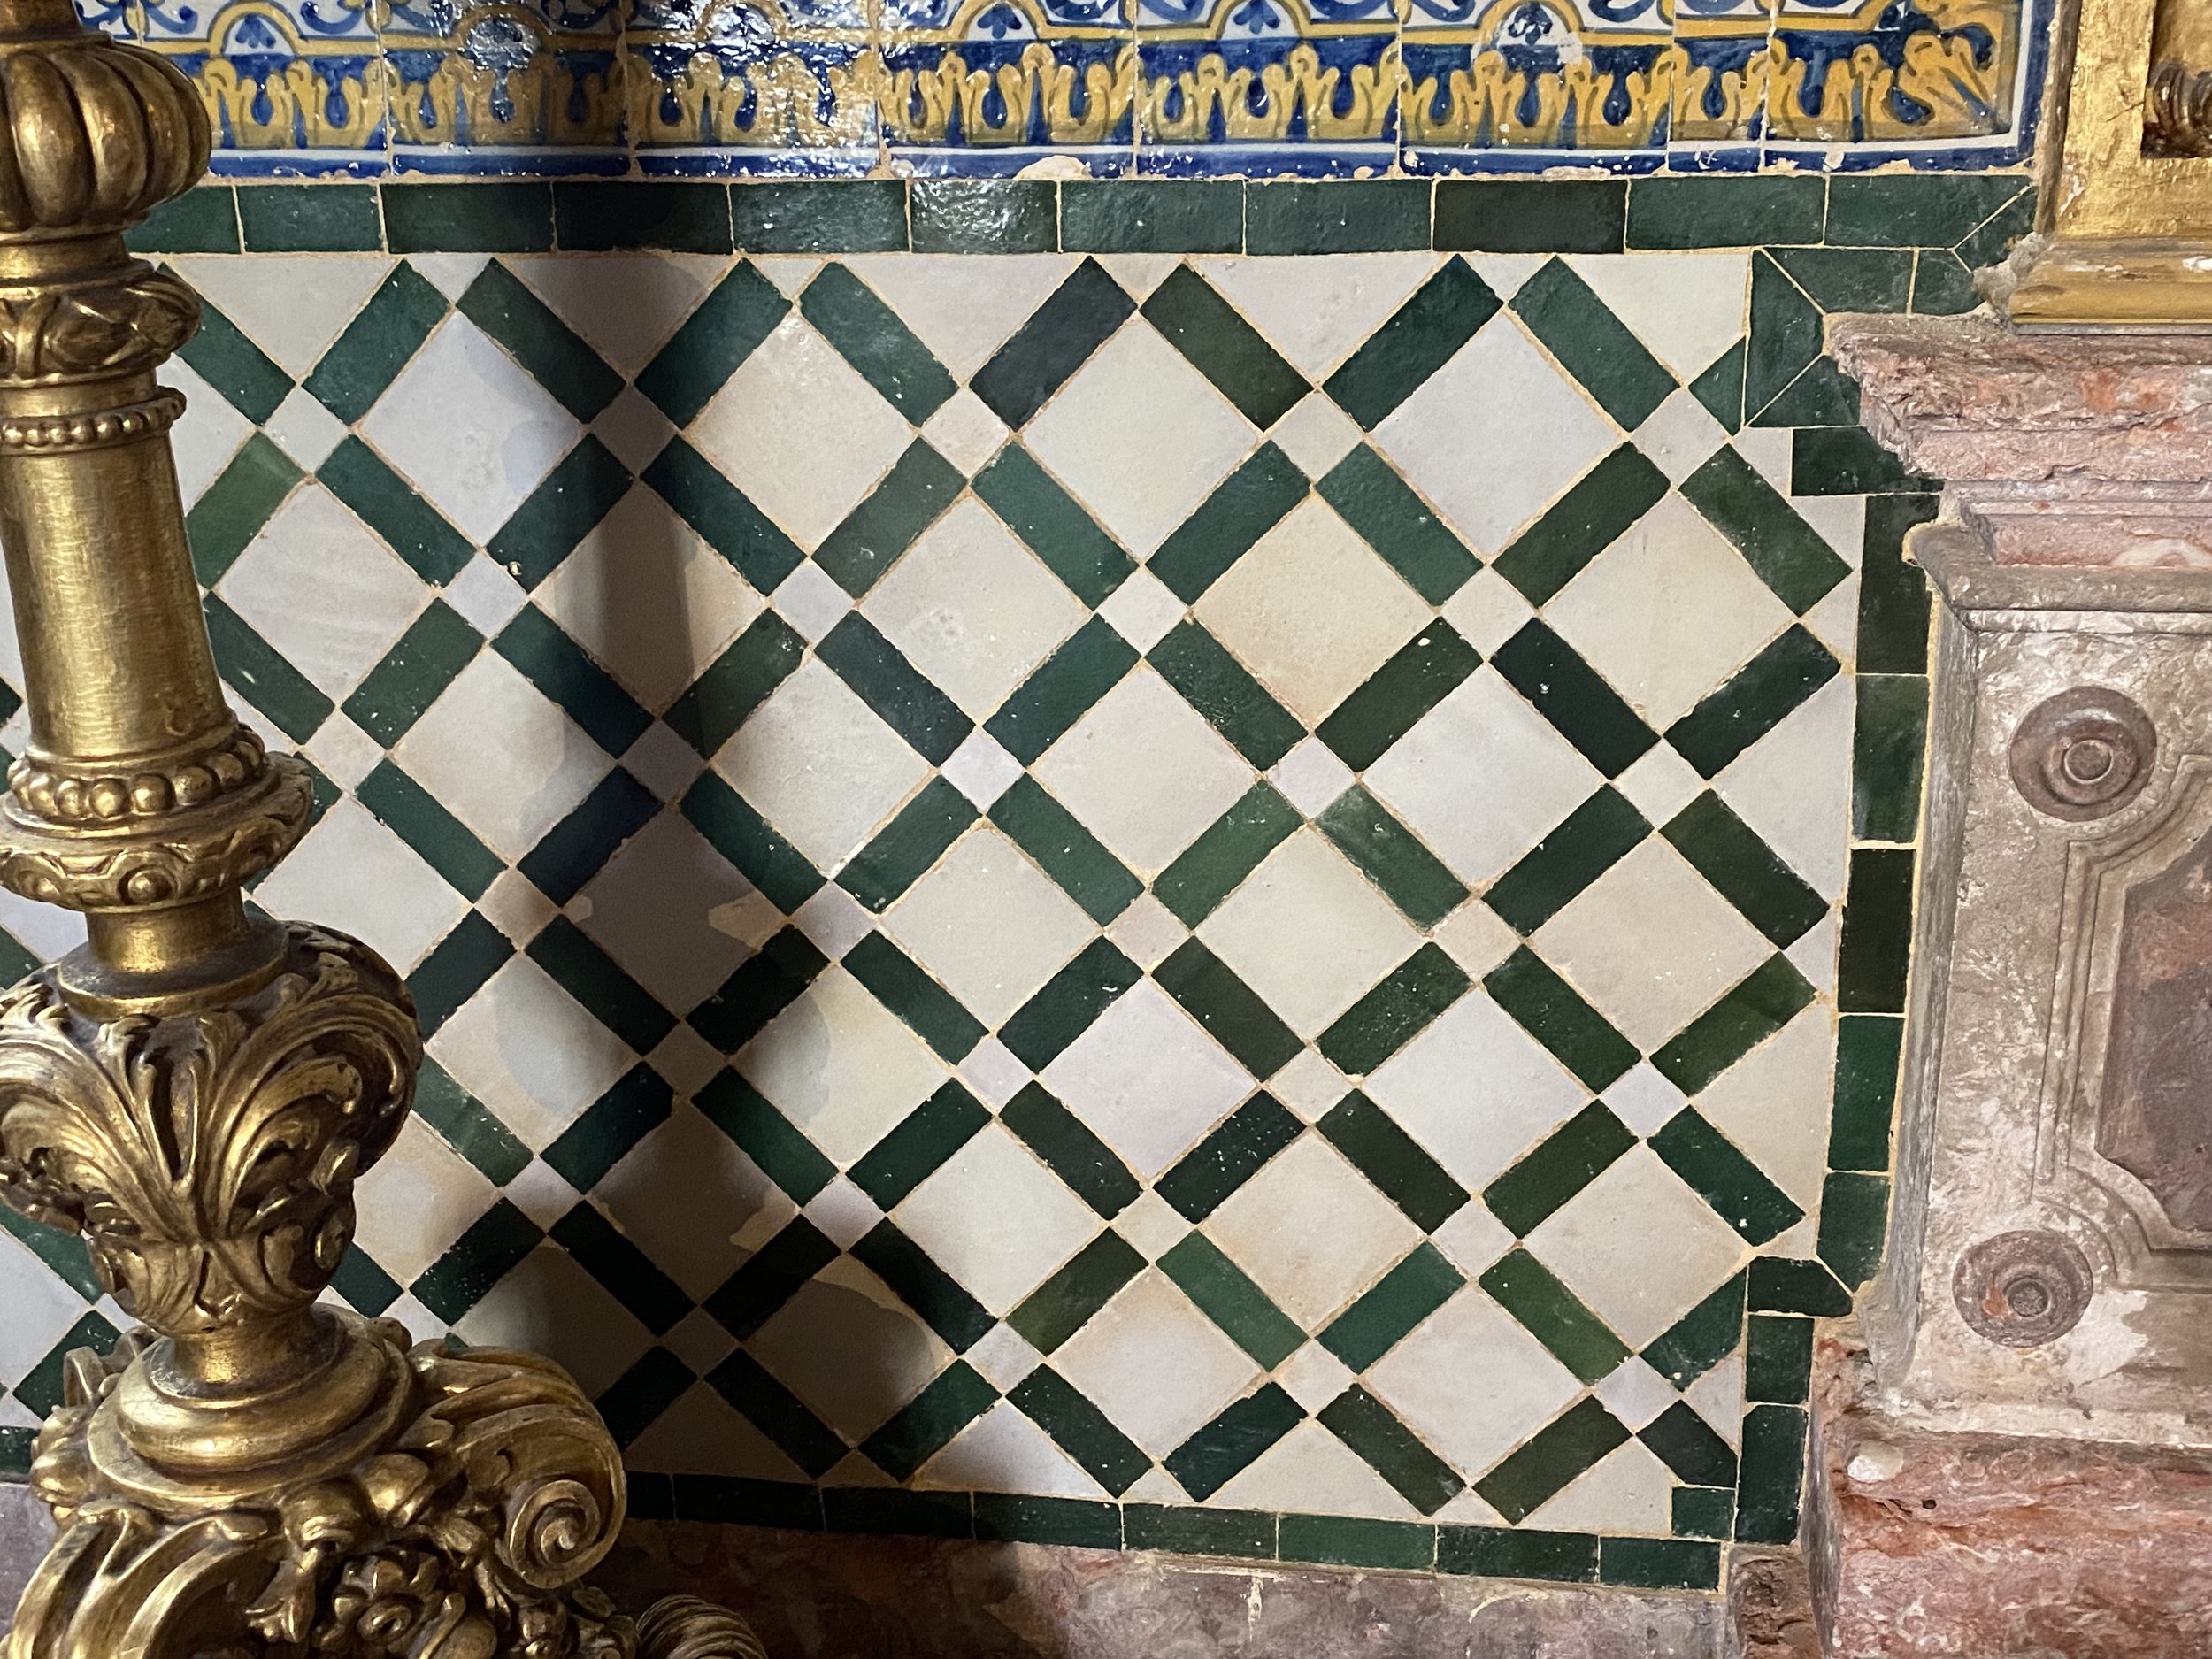
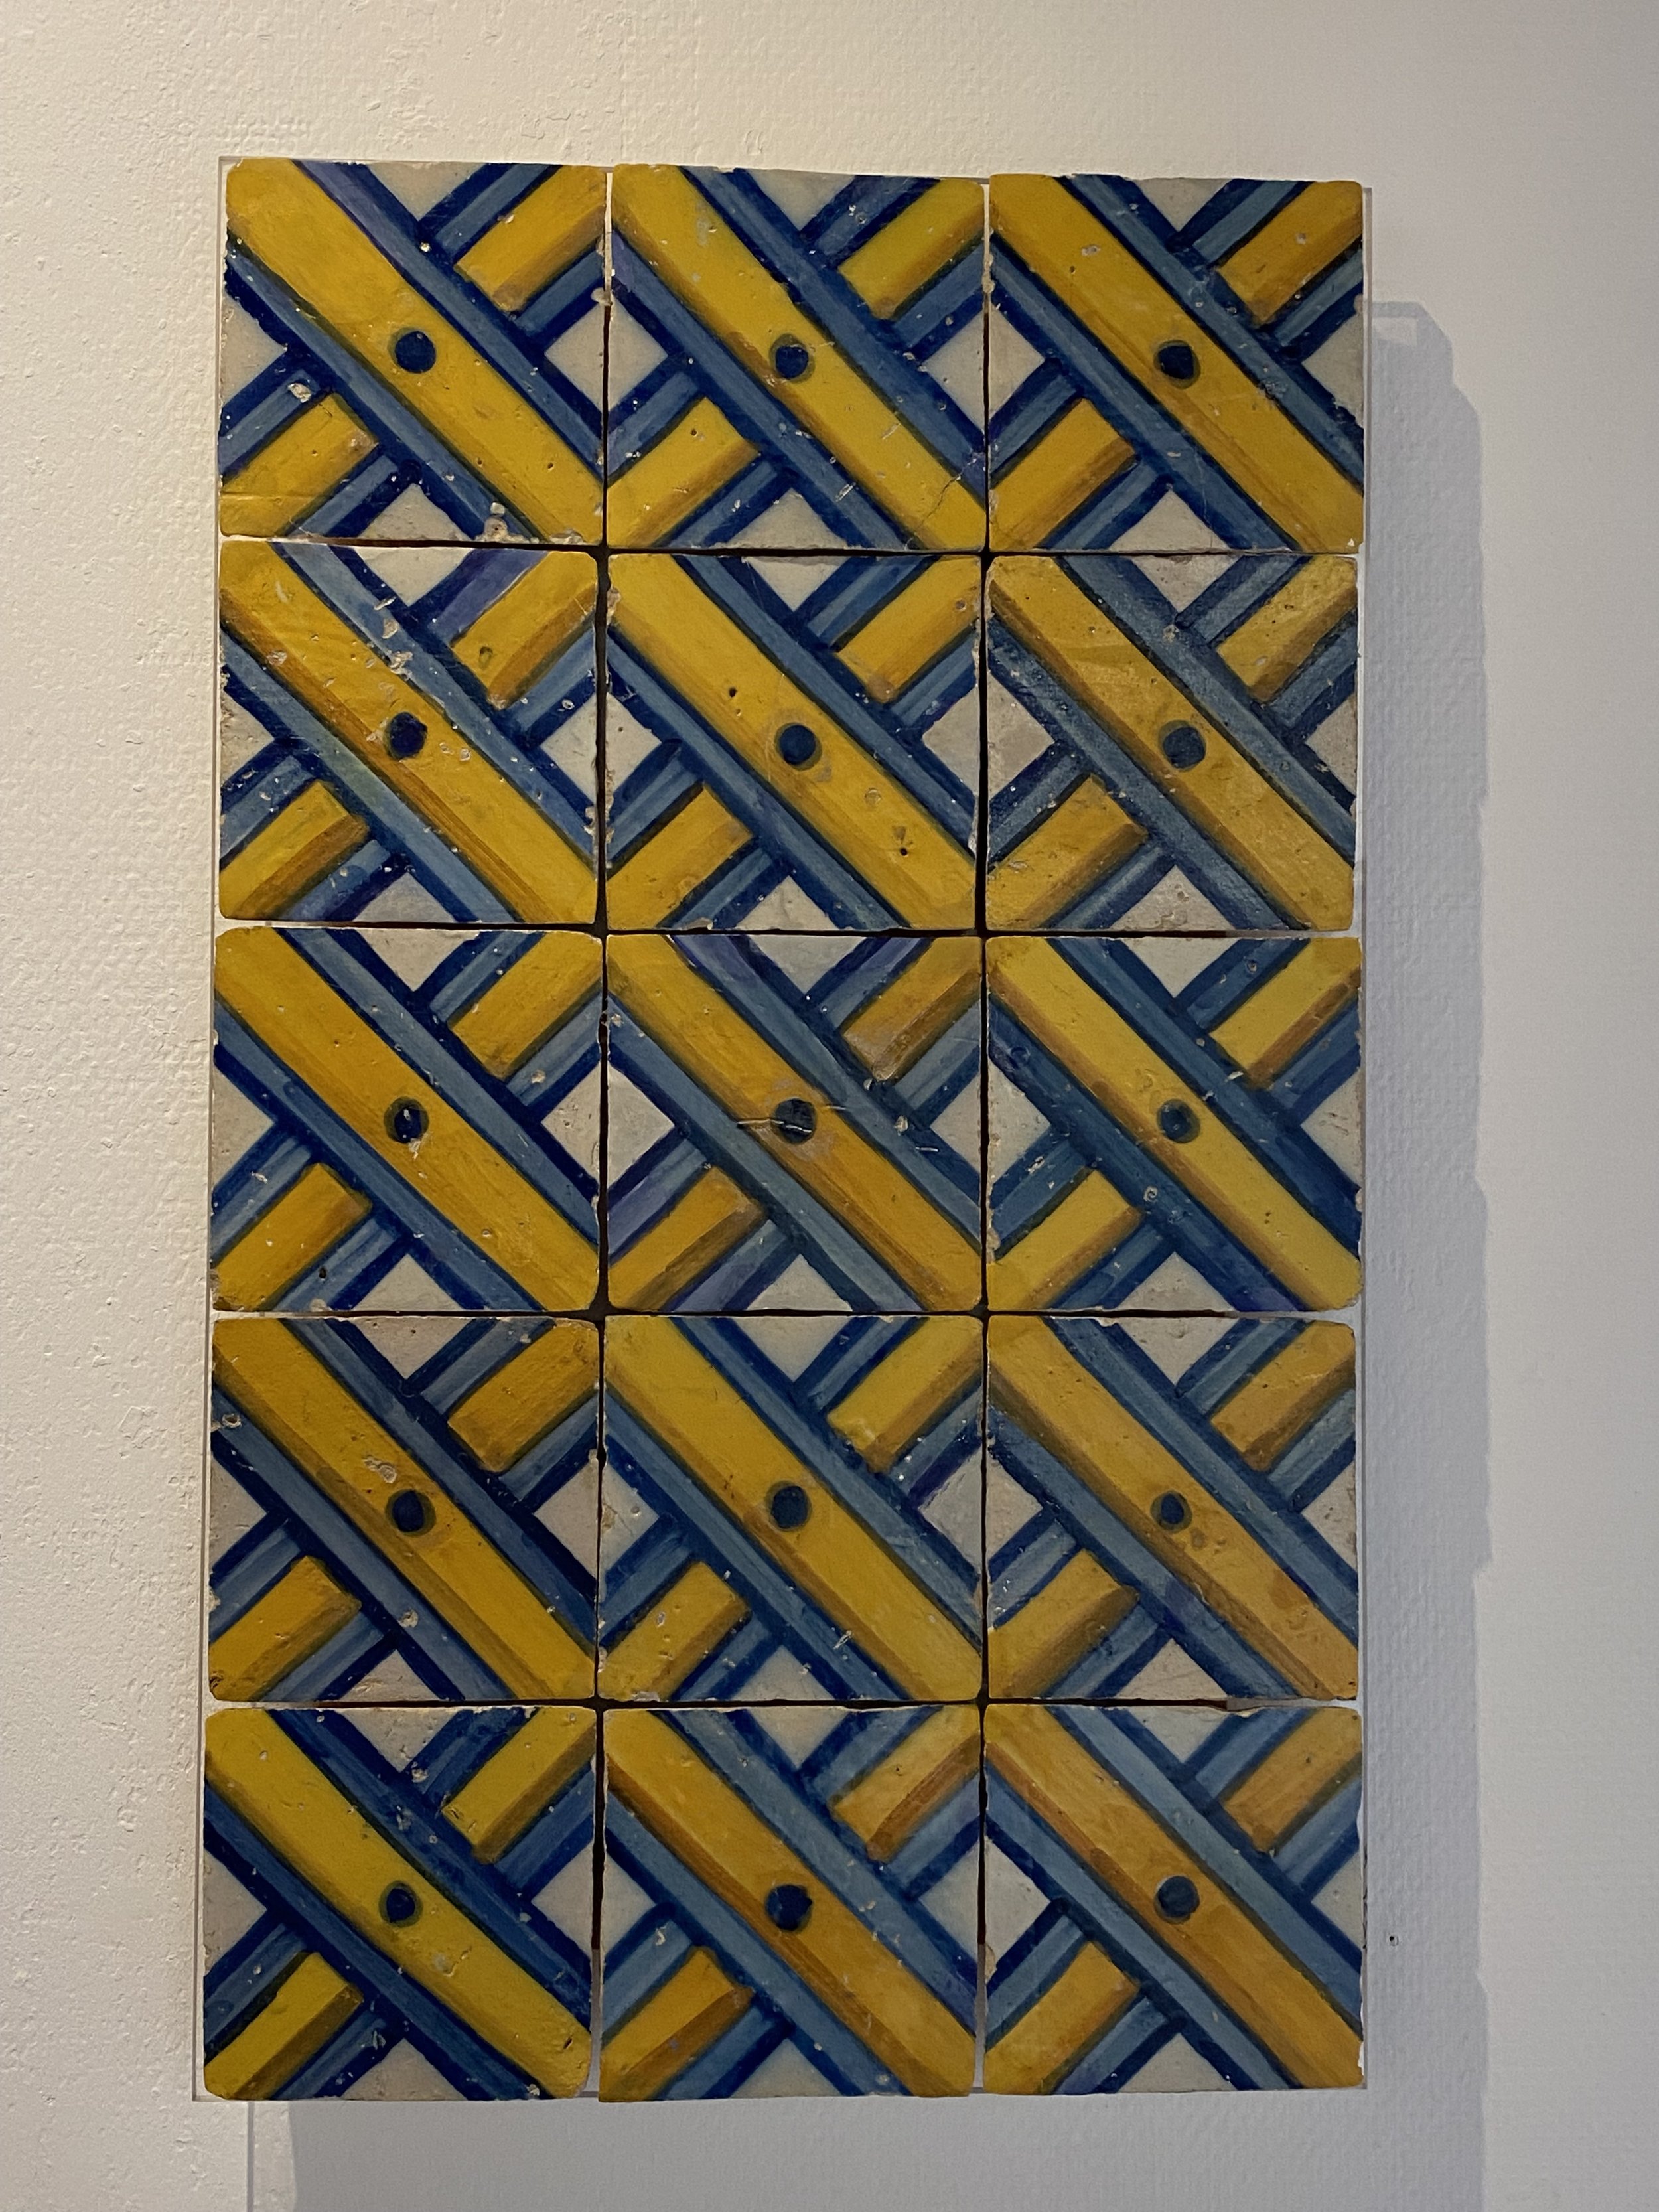
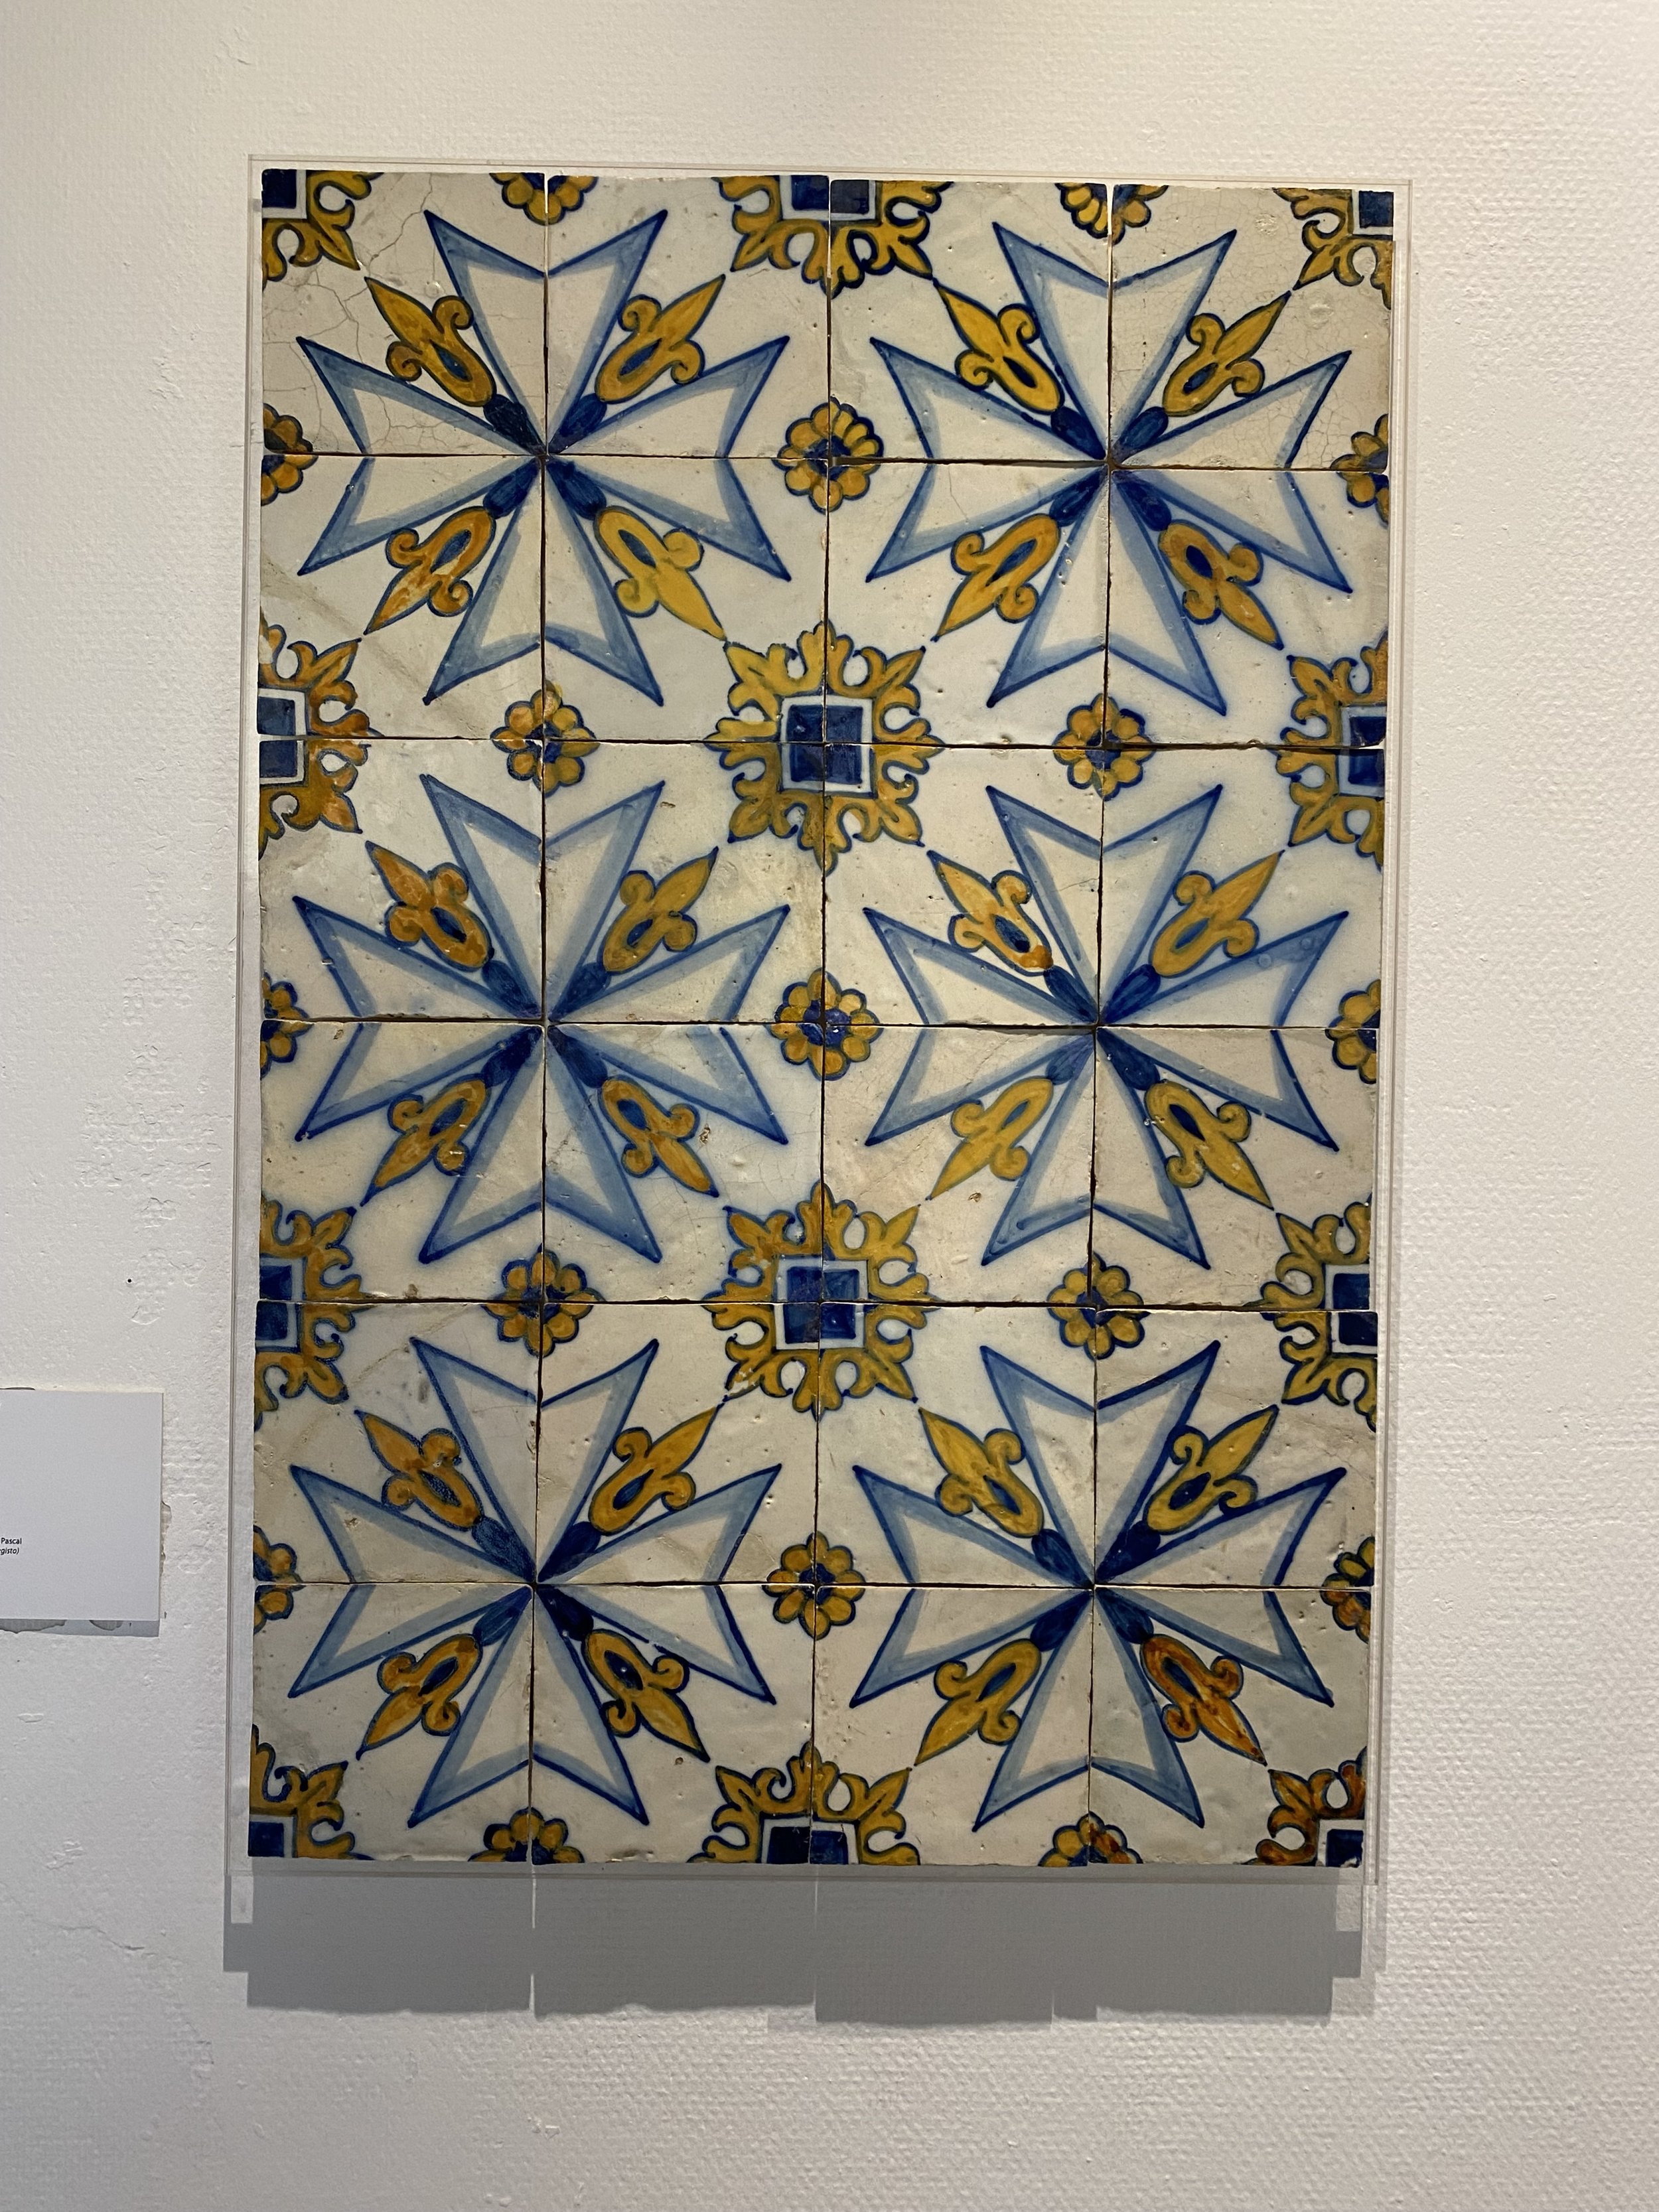
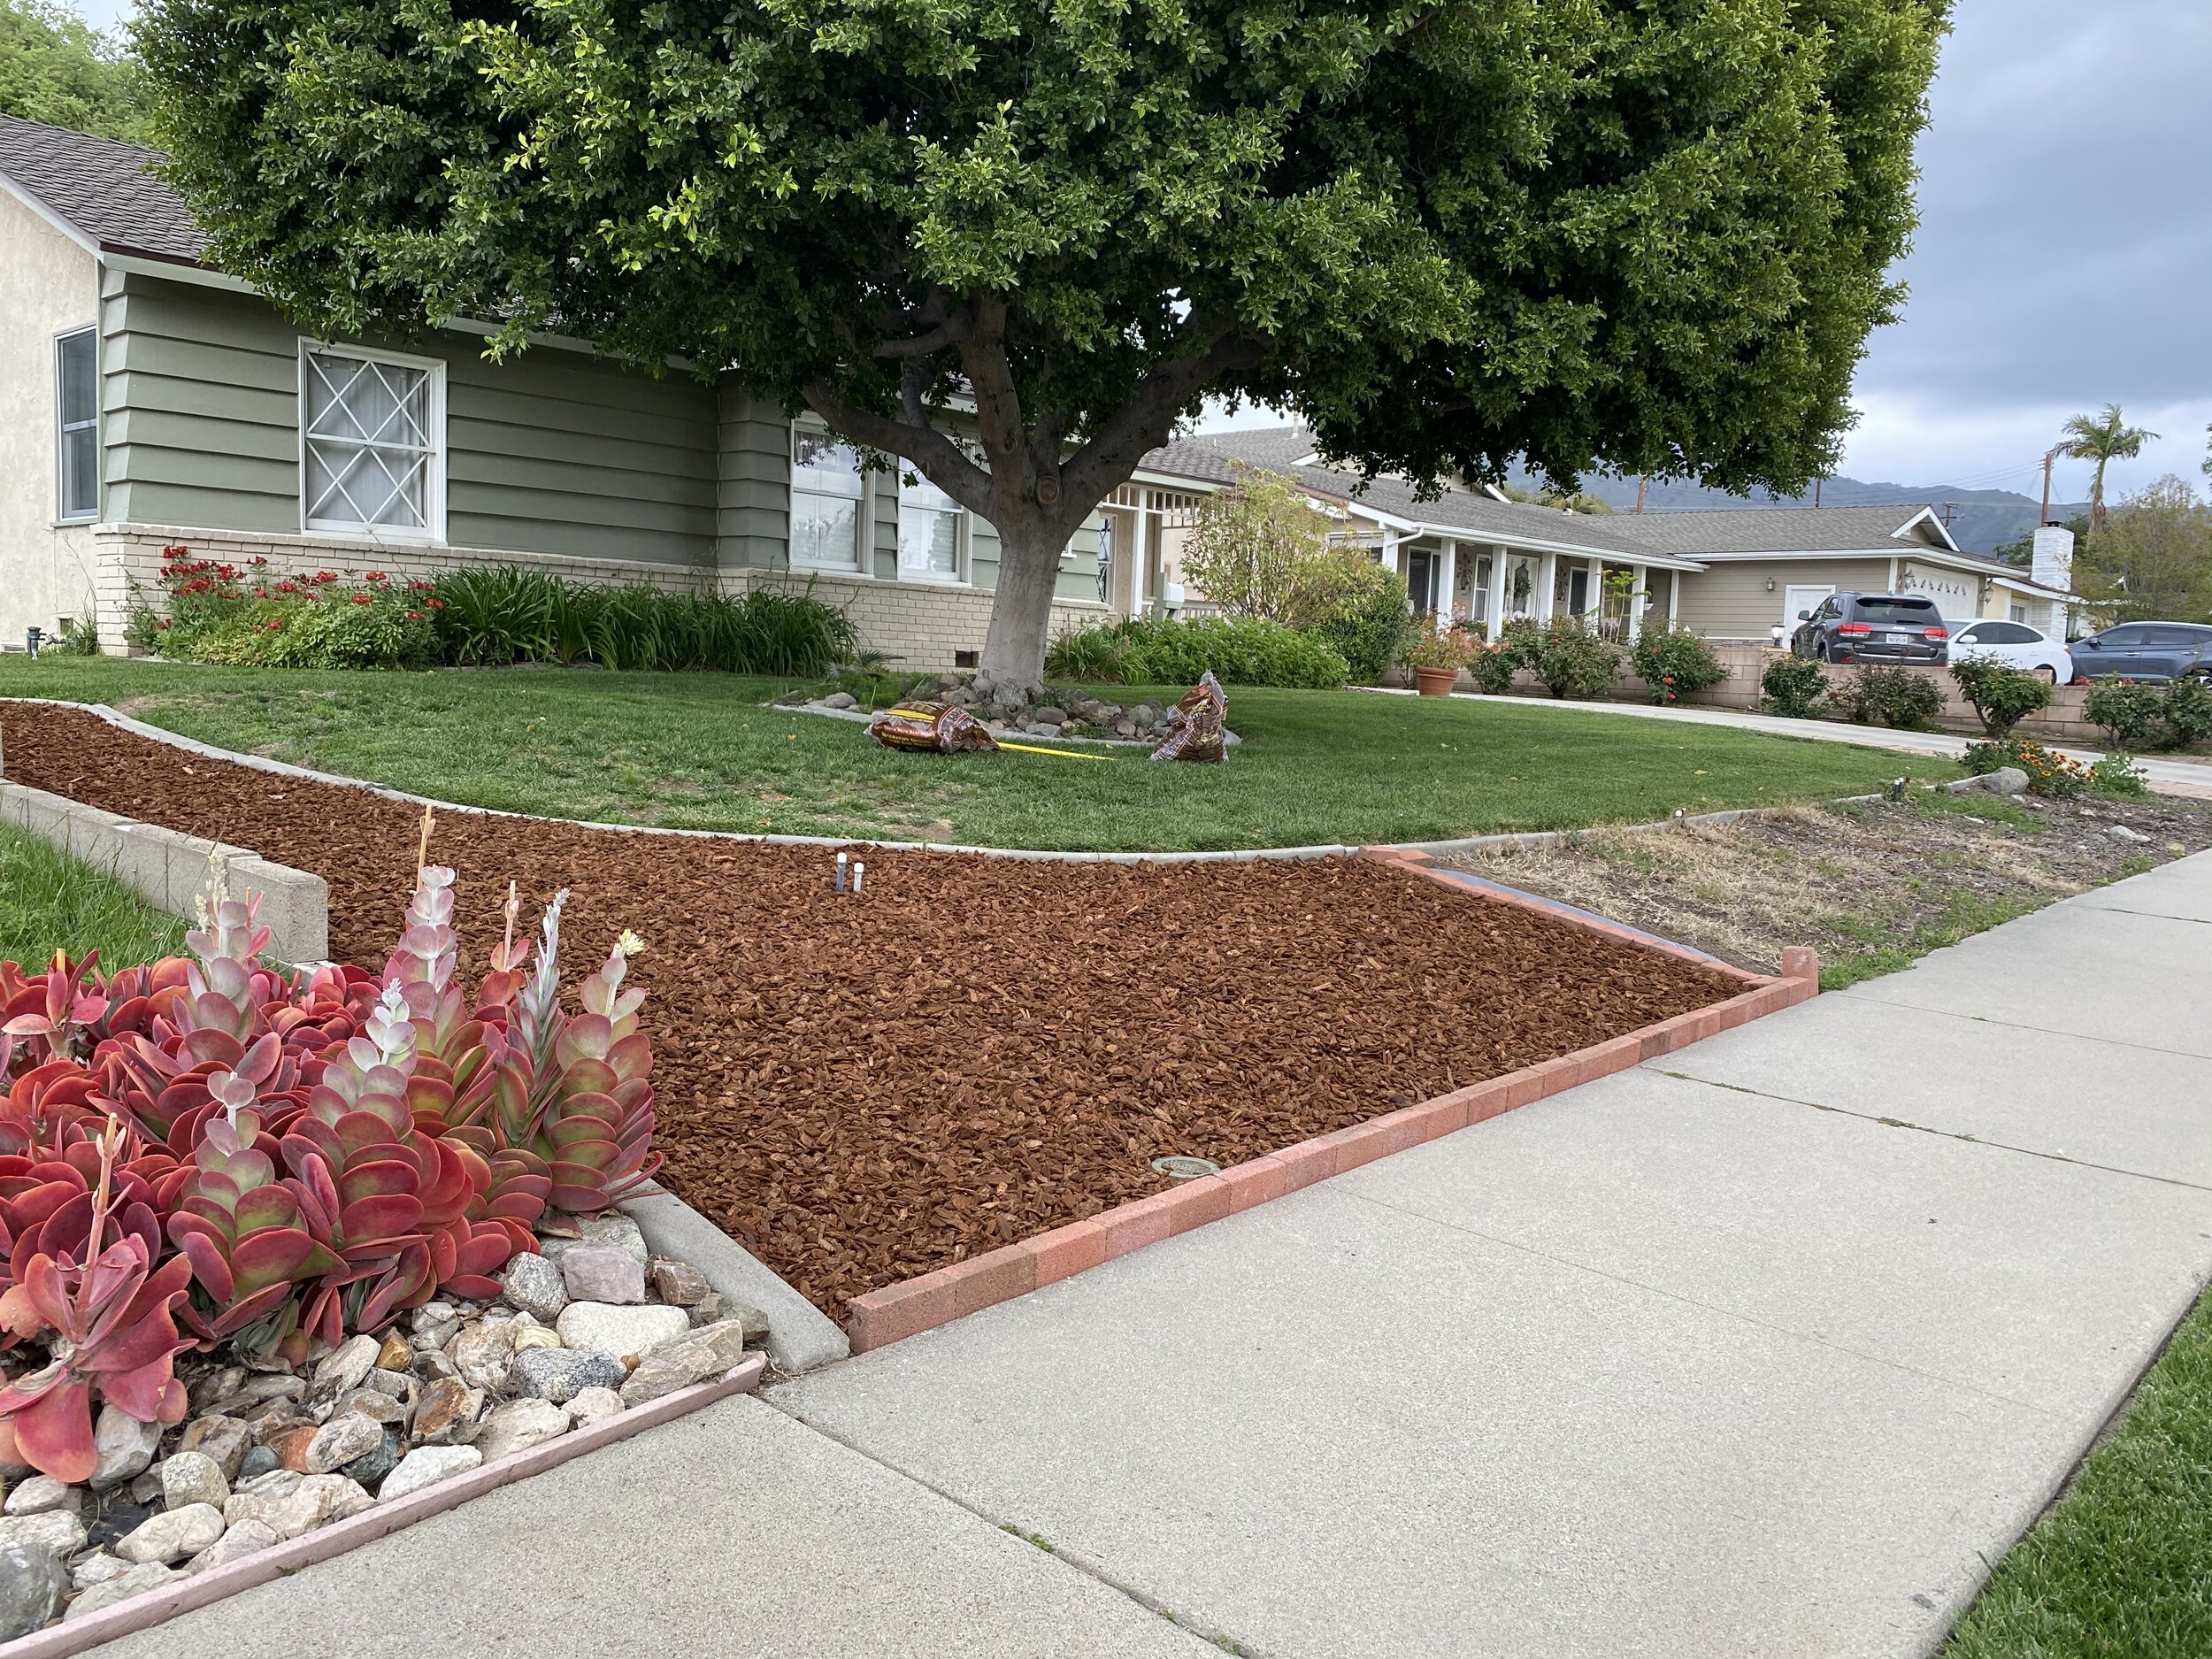
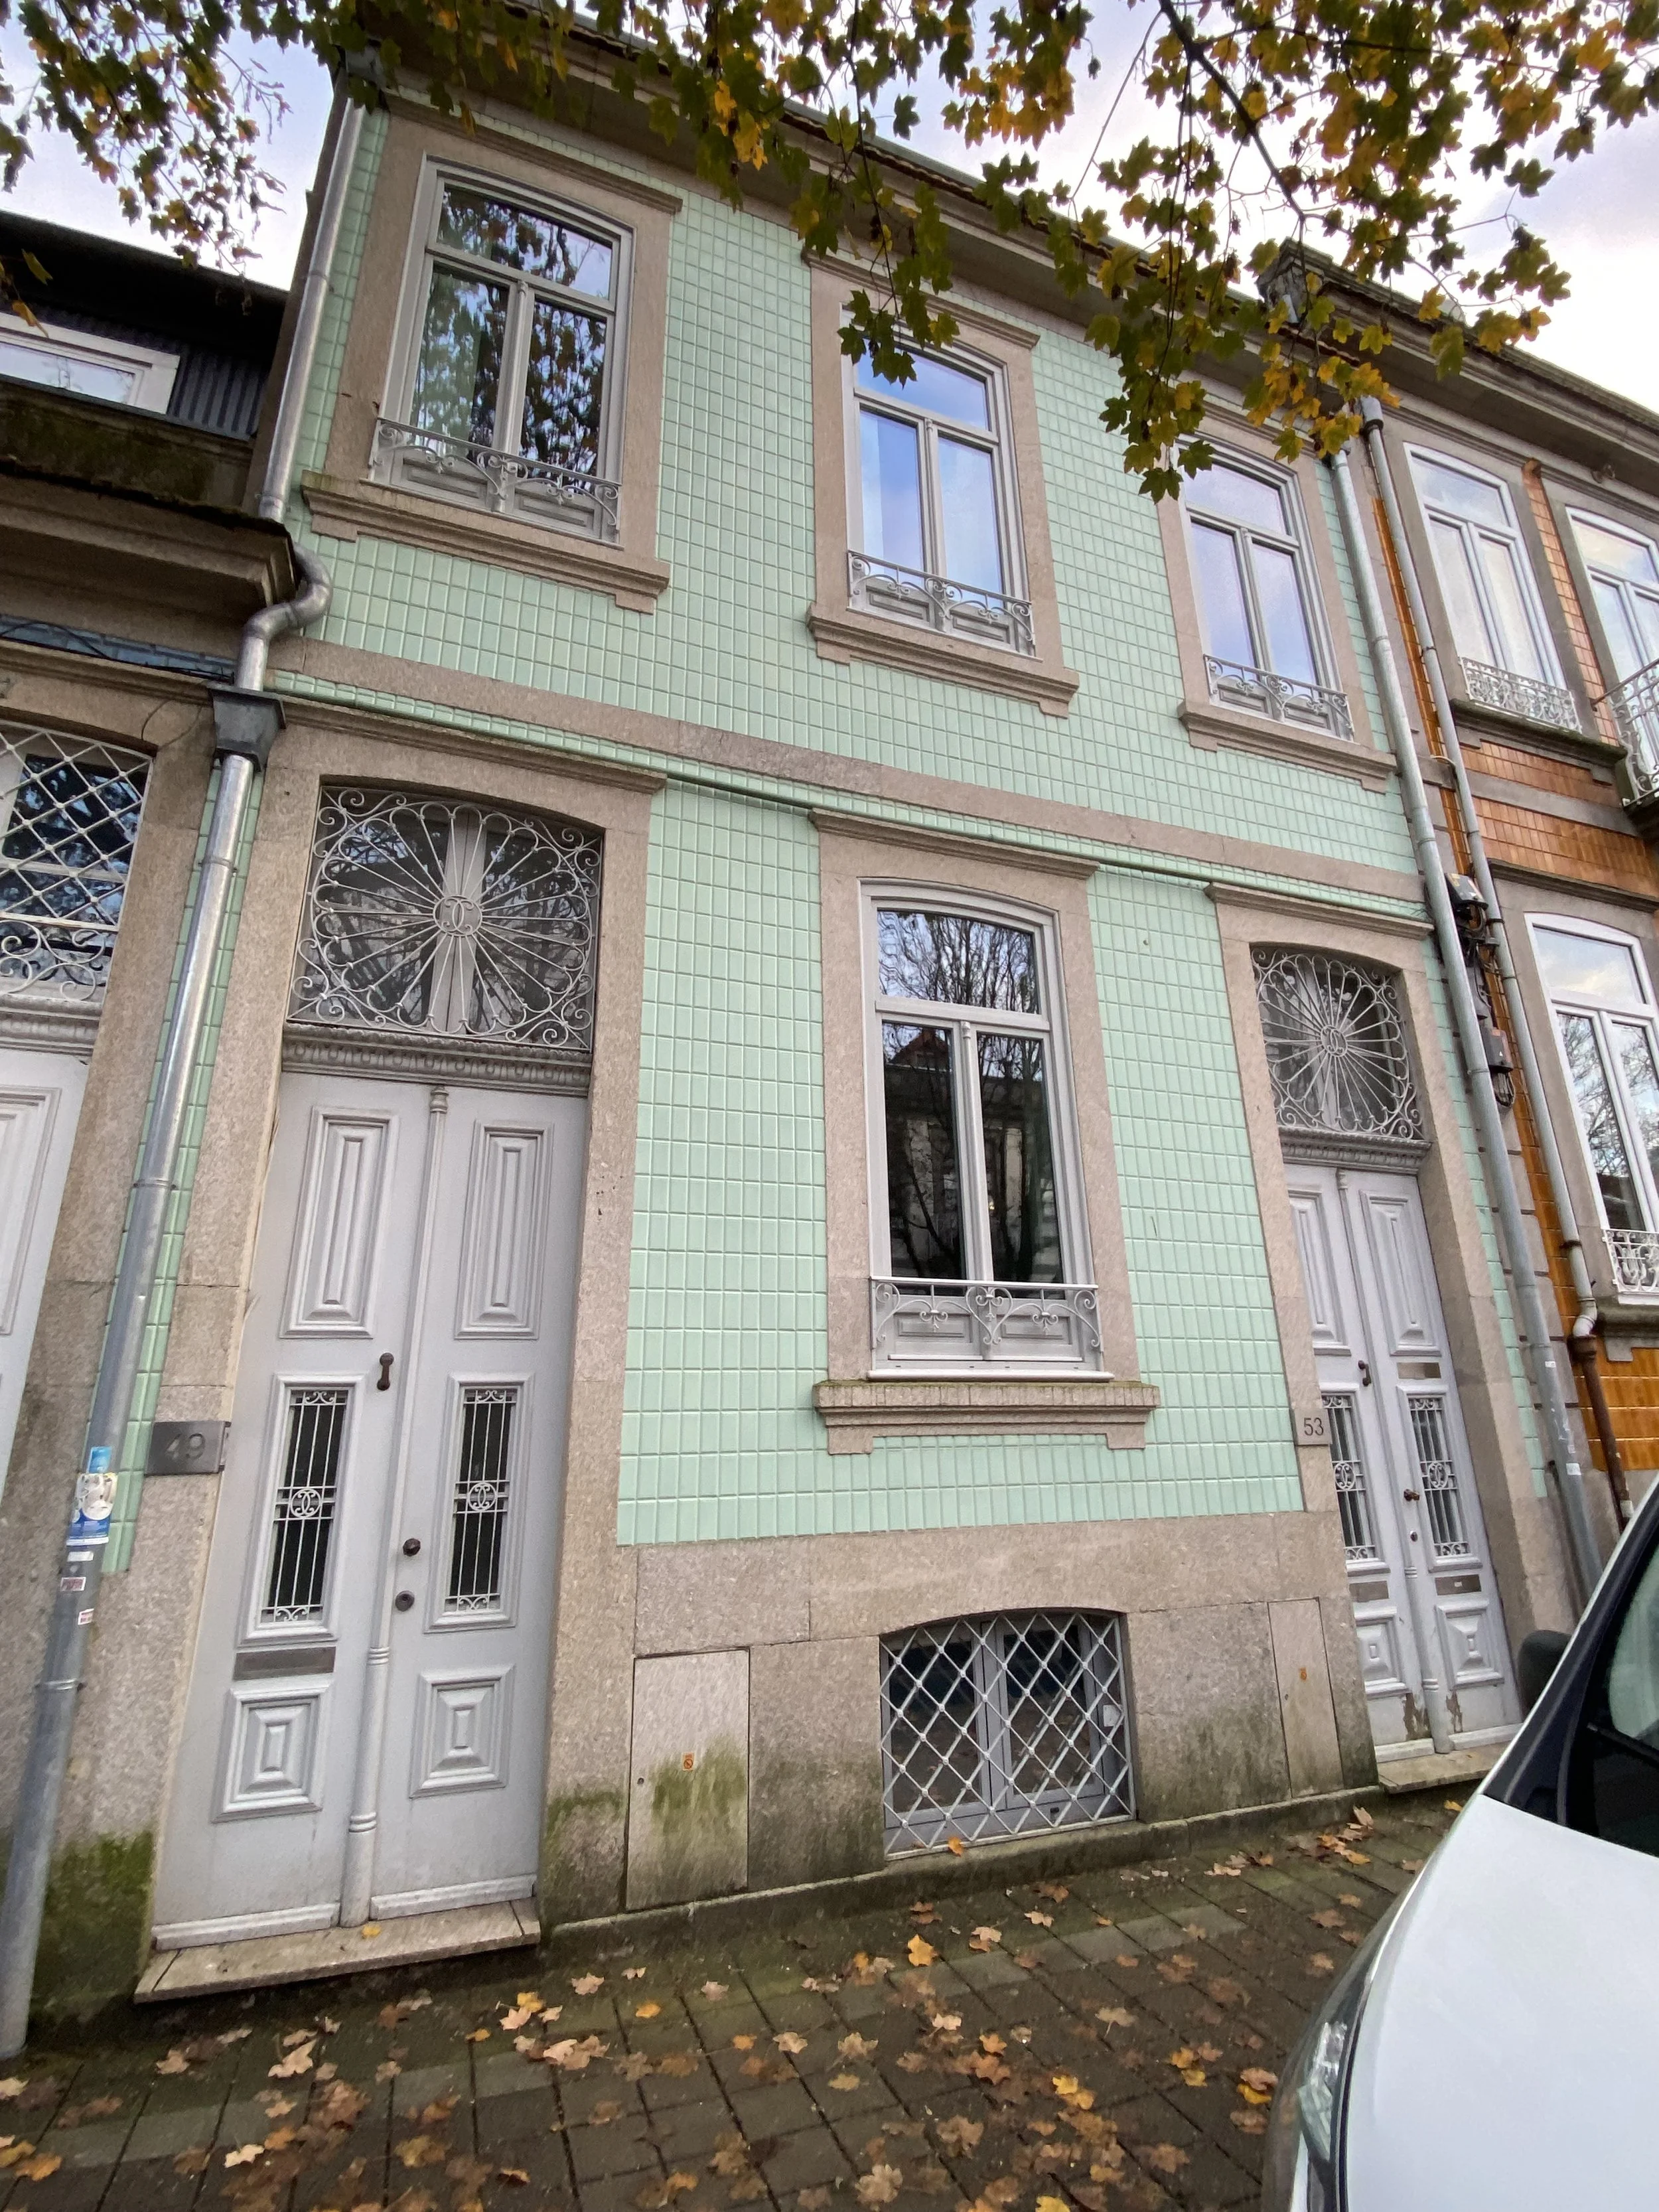
If you geek out on architecture like I do, it’s hard not to bump into people on the street while rubbernecking one beautiful building after another. We still have details to attend to in California, I am currently packing up and preparing the house for sale. The painters come next week and there is still much to do to clear the decks for them. There are also more things to do for our visa but I have faith all will come together in the end. I have so many more photos and videos I wish to share with you, but painters don’t wait, so I guess you will have to, until then….
Hugs!